Skip to content
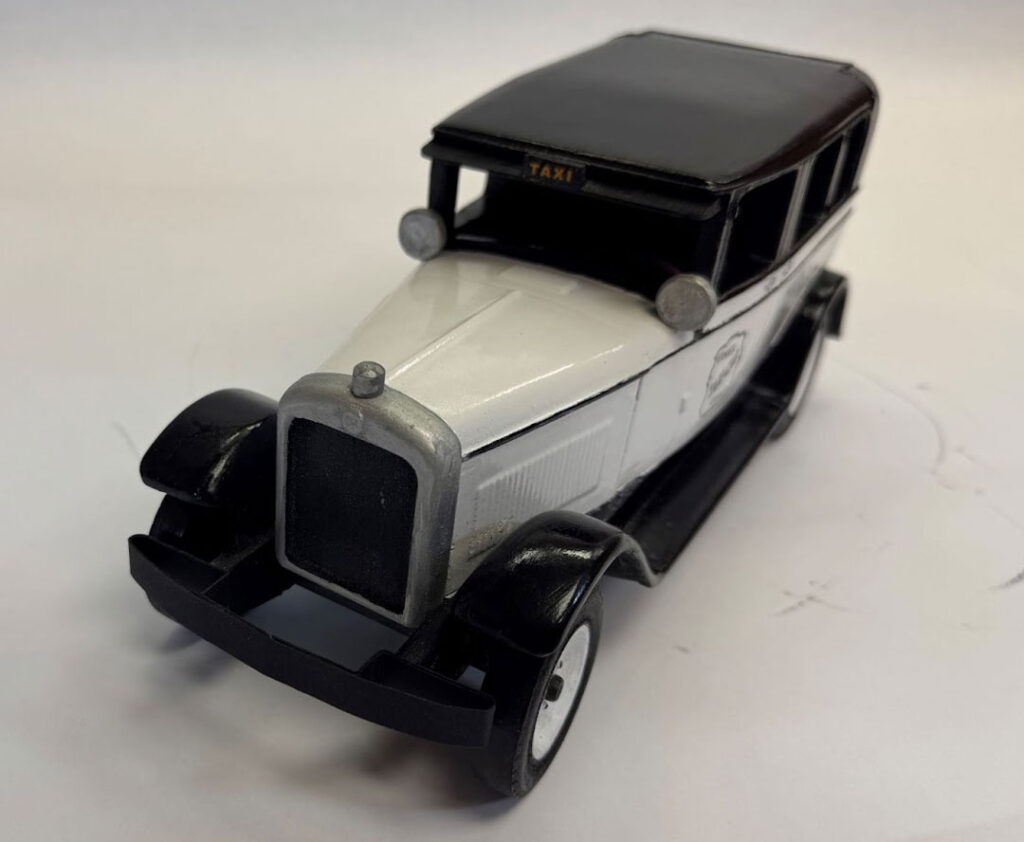
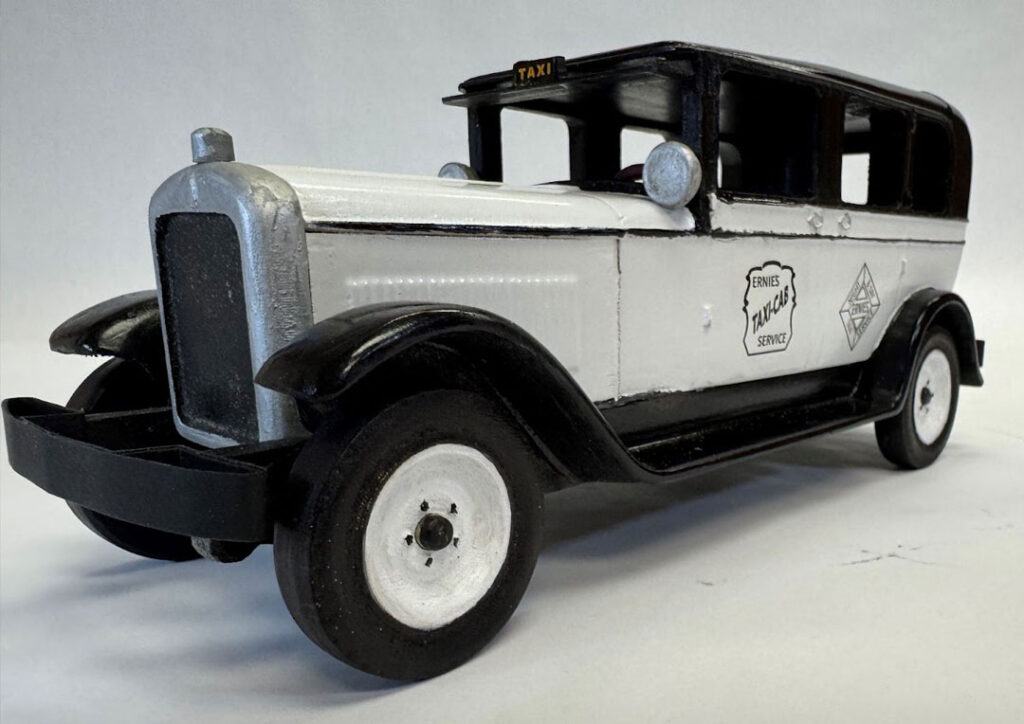
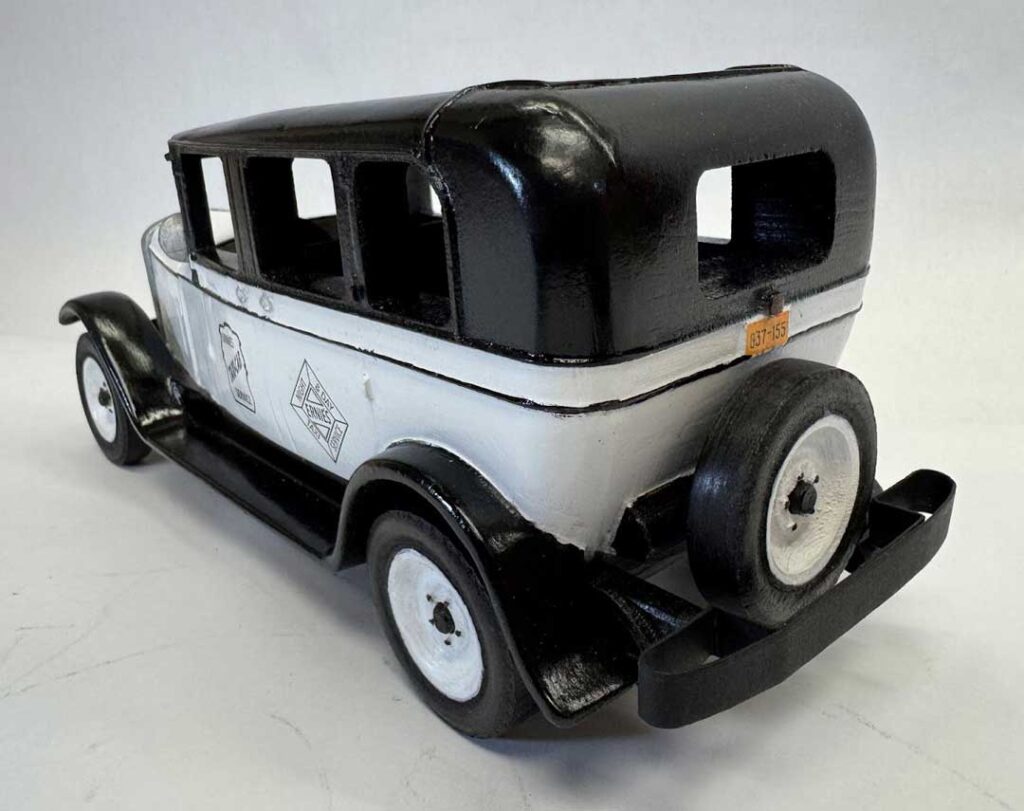
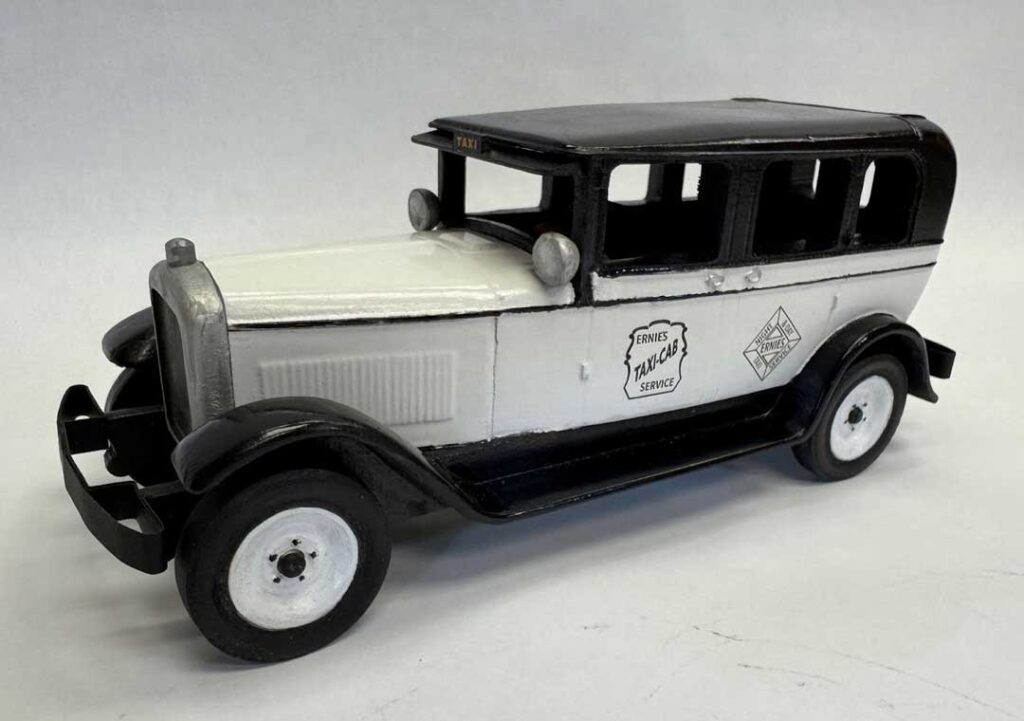
The Christmas classic, “It’s a Wonderful Life” has been enjoyed for generations during the holiday season. We created Ernie’s iconic taxi cab from the movie as a fun holiday project to be made as gift, decoration, or even as a product to sell.
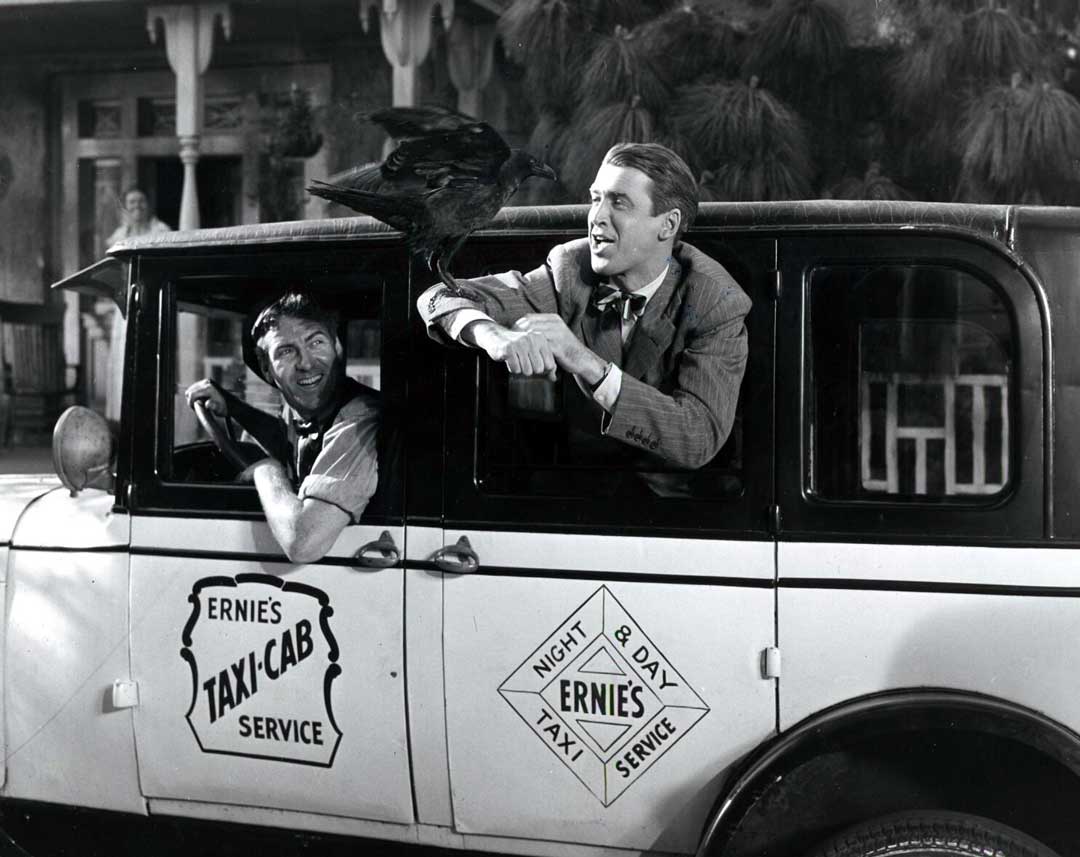
The 1930 GMC Model 6 Taxi Cab were produced on GMC truck chassis with bodywork by Yellow Cab.
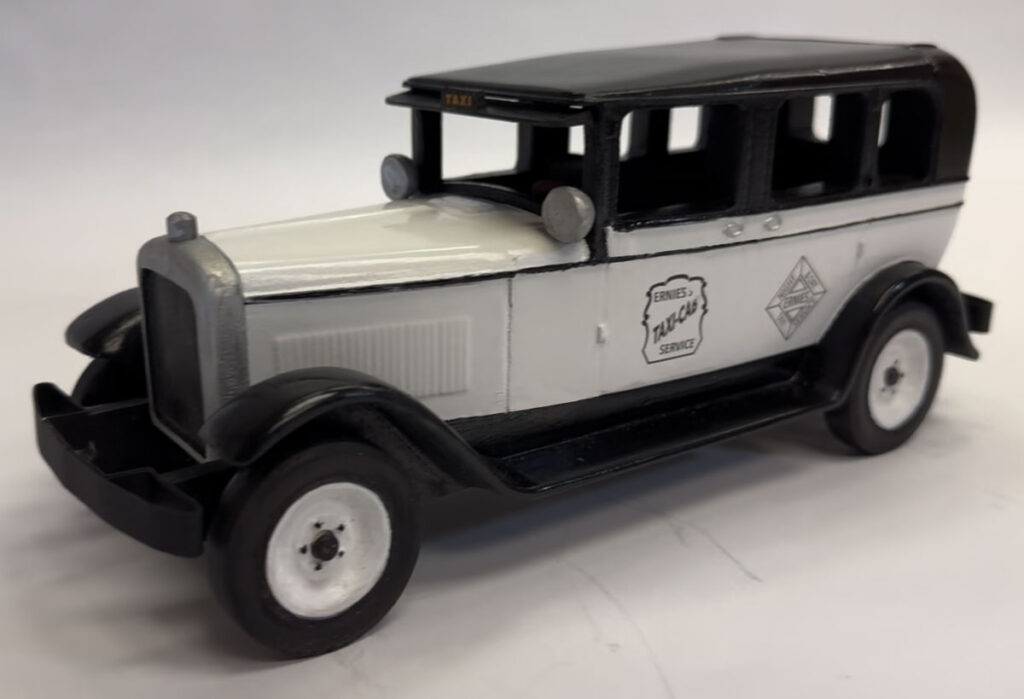
- Finished dimensions are approximately 11.25” L x 4.25” W x 4.75” T
- 1/16″ Carving Bit
- 1/8″ Carving Bit
- Compatible with Designer 5 For RAVEN and G-Code Output Only
ITEMS YOU WILL NEED
- Project Files (Included)
- 1930GMClayout1.rvn
- 1930GMClayout2.rvn
- Bits:
- 1/16” Carving Bit
- 1/8” Cutting Bit
- Boards needed:
- .75” x 5.5” x 27.5” (1×6)
- .75” x 3.5” x 28” (1×4)
- Other Needed Items:
- Sandpaper, wood glue, CA glue (superglue) for “tacking” parts in place, woodstain (and/or paint) and clear finish.
- 1/8” wood dowel
- 1/4” wood dowel
- Water slide decal sheets
- Black card stock
- Recommended Items:
- Large 240 grit sanding mop
- A Dremel-type rotary tool with assorted sanding wheels and bits
STEP 1 – Compile Project
Launch the Designer software and open the included project files. You can then simply compile (upload) the projects. These projects are set for multipass so there is no need to run on quality greater than good.
1930GMClayout1.rvn
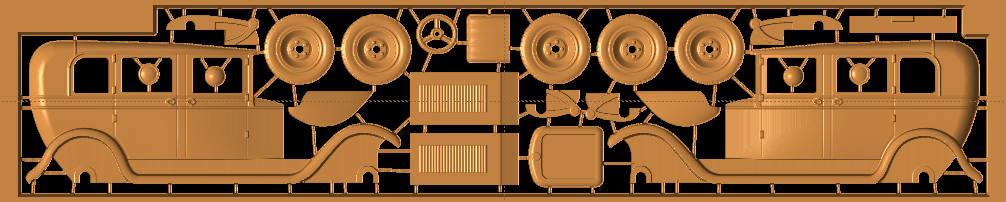
1930GMClayout2.rvn

NOTE: Carve times for RAVEN are as follows:
- 1930GMClayout1.rvn
Good – 5 hours 52 mins
- 1930GMClayout2.rvn
Good – 1 hours 59 mins
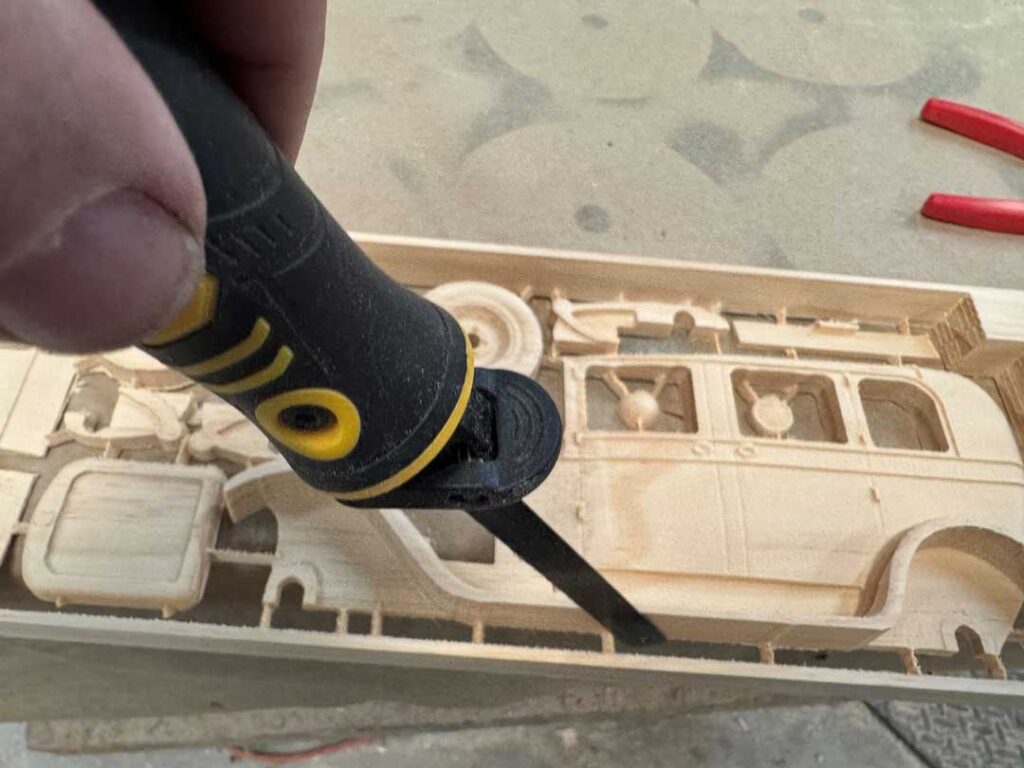
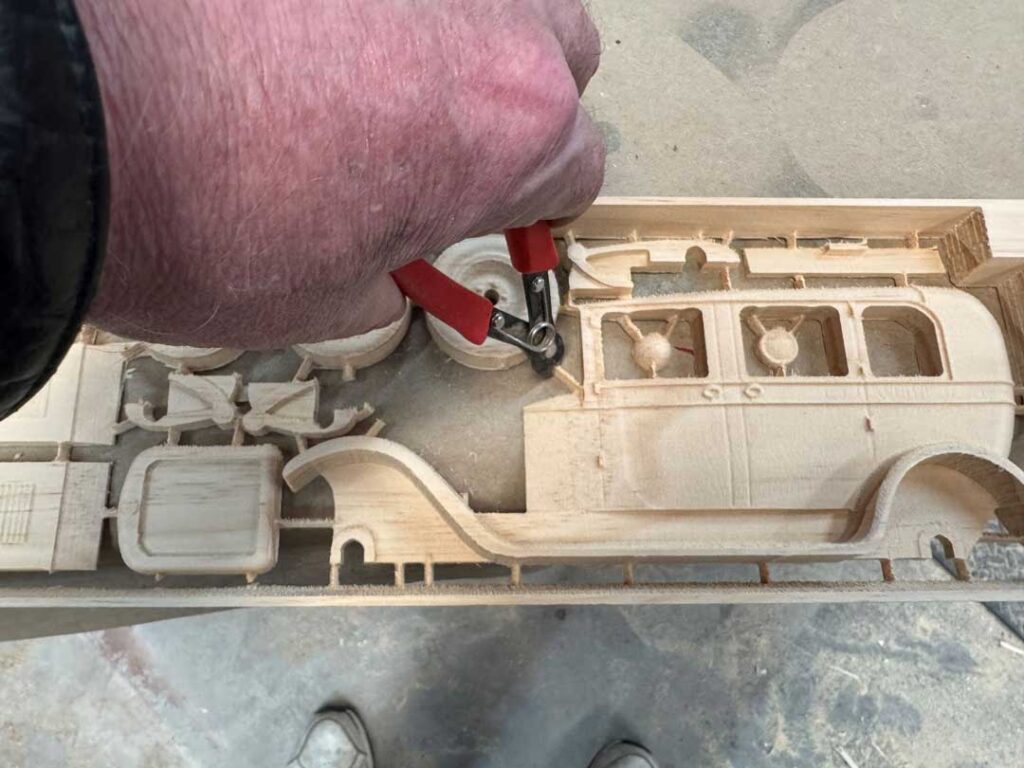
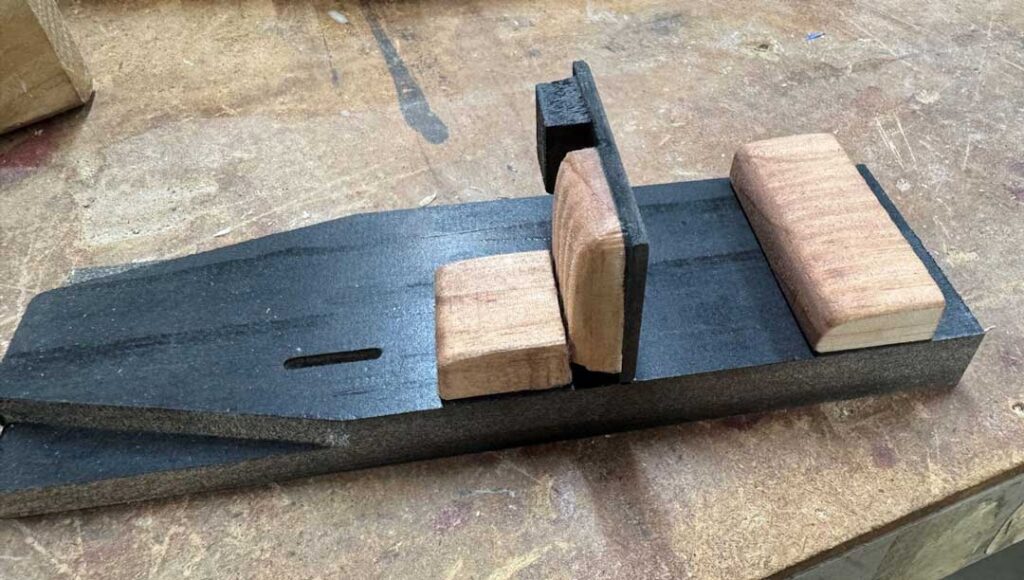
STEP 2 – Separate the Parts
Separate all the pieces from the tabs using a small side cutter, thin saw blade or a sharp chisel.
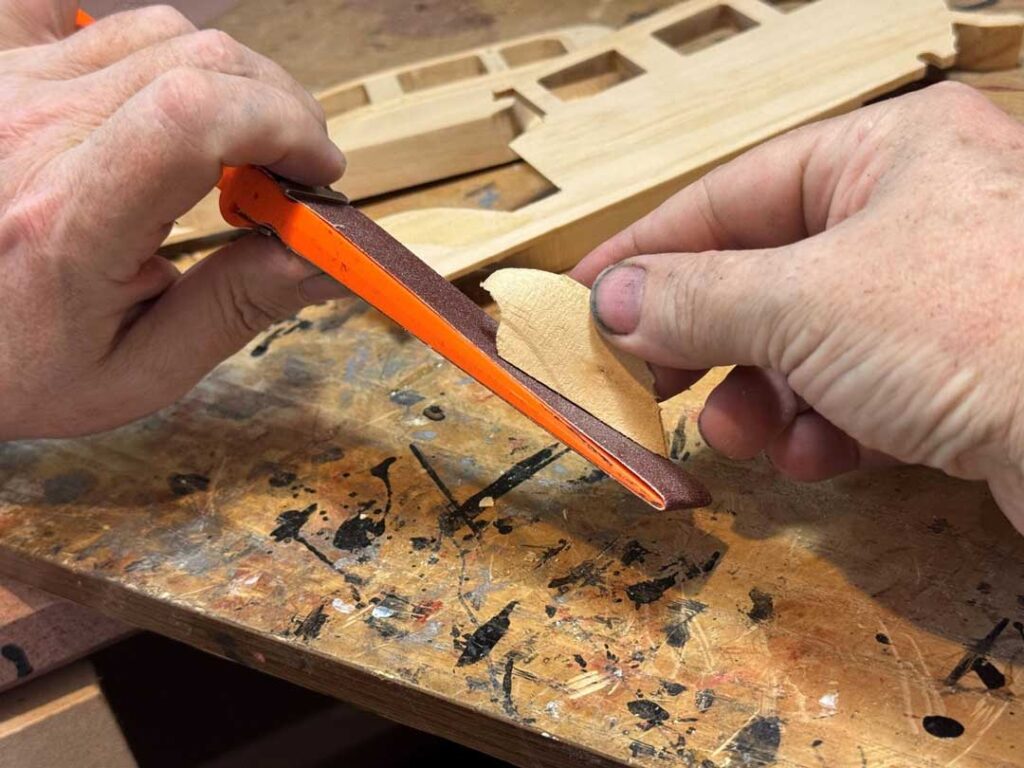
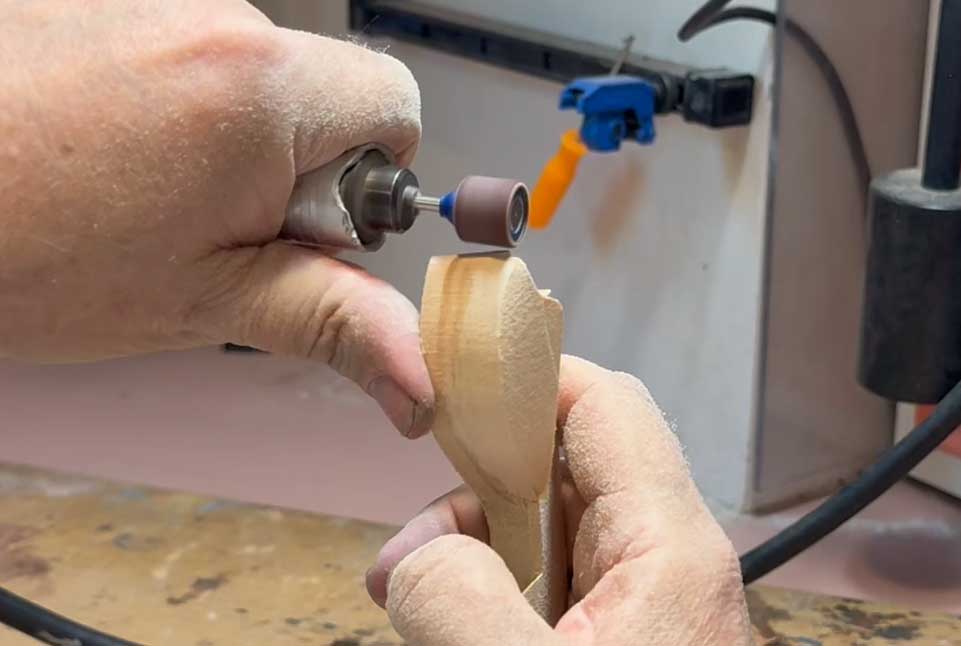
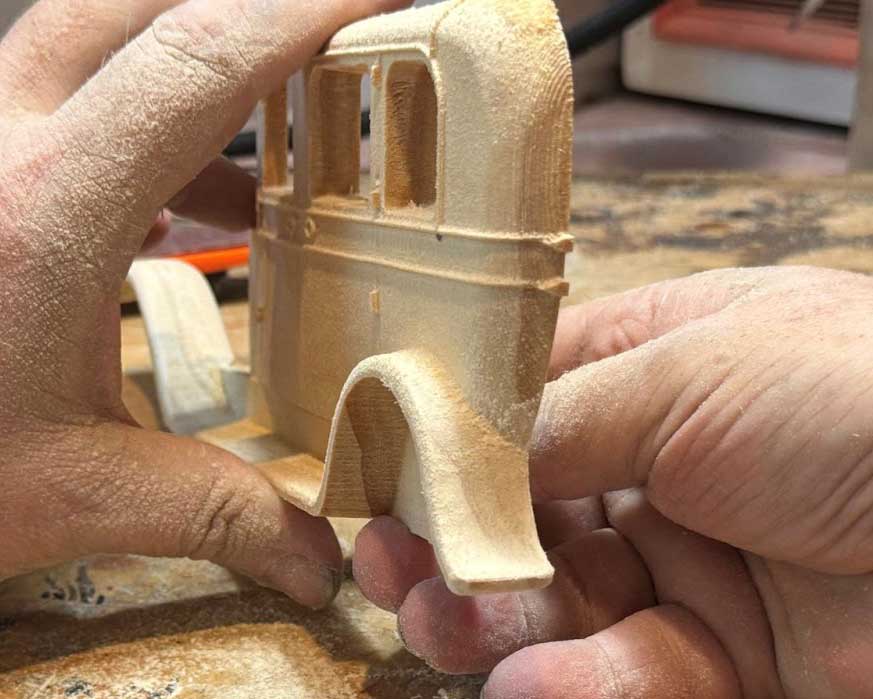
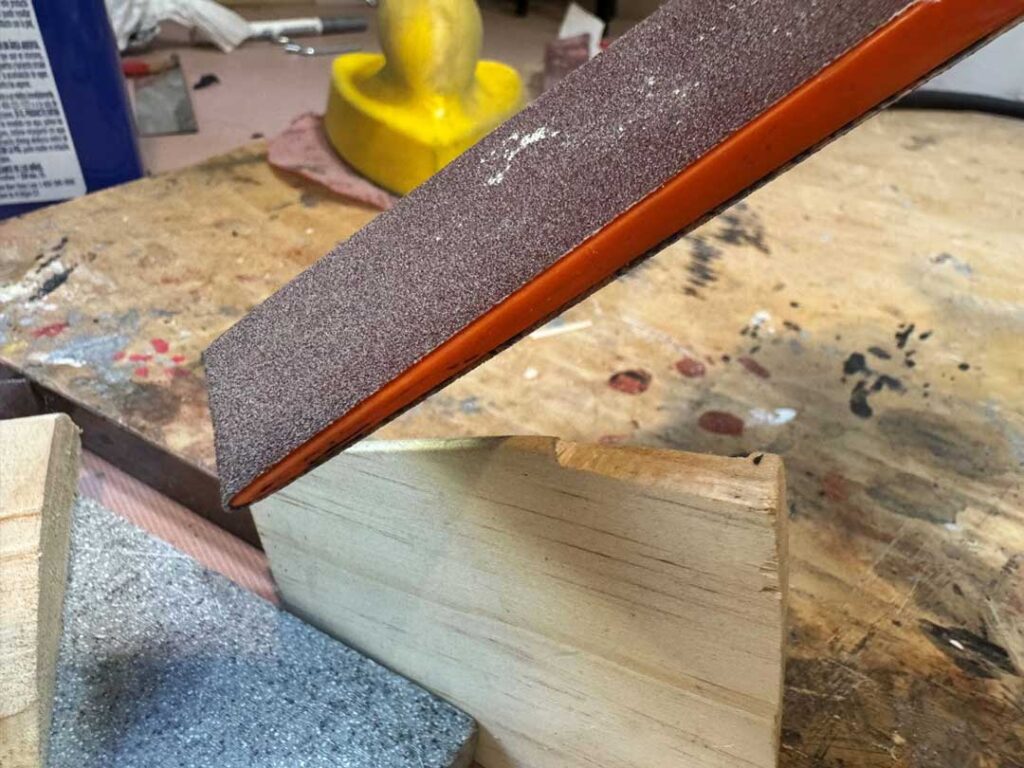
STEP 3 – Fenders
Sand the bottoms of the Inner Fenders to remove the draft allowing them to sit flat.
The Inner Fenders glue to the backside of the front fenders on the side of the car. To position them, you will need to place a ¼” spacer under the base so the axle cutouts have clearance. Then position and glue the inner fender only to the side of the car.

The fenders were tapered to keep them from chipping out when carved. When the glue is dry, start shaping the fenders by flattening the top of the fender.
Once the top is flattened, blend the Inner Fender to the top of the fender.
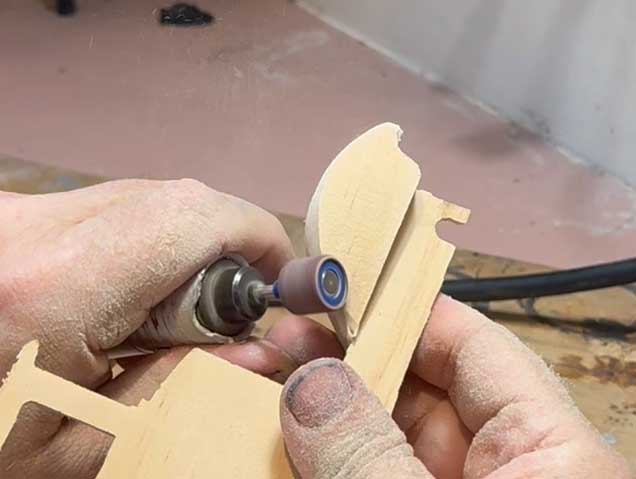
Next square the front end of the fender and round all the corners.
Then, undercut the fount of the fender,
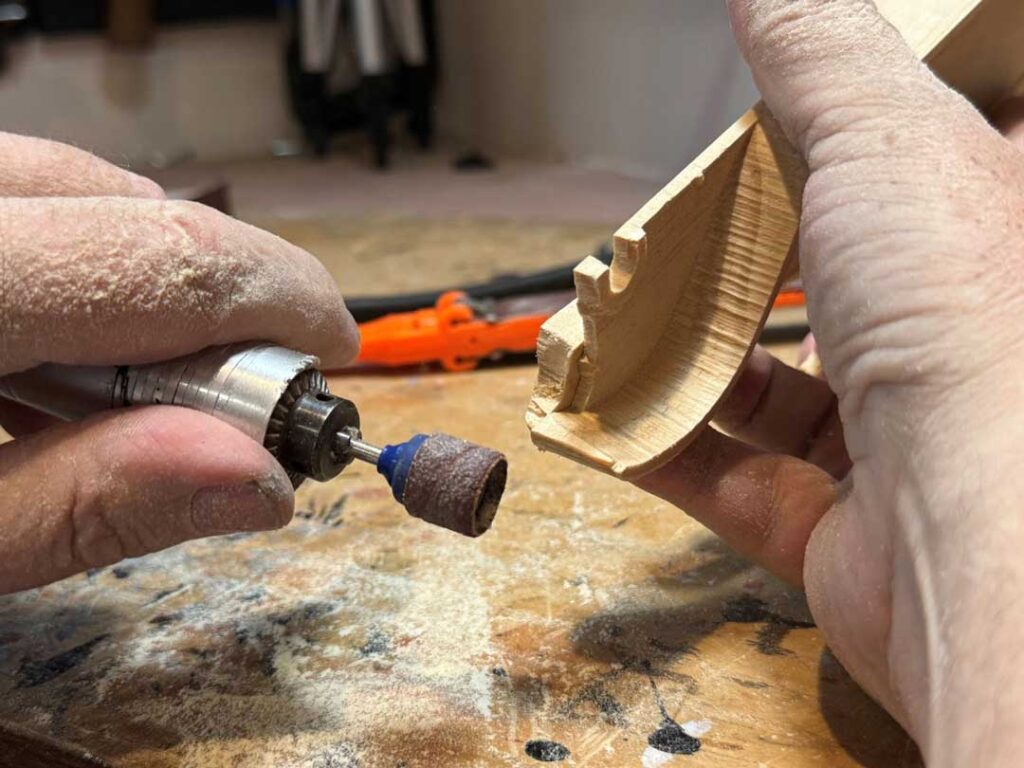
and, flatten out the top of the back fenders
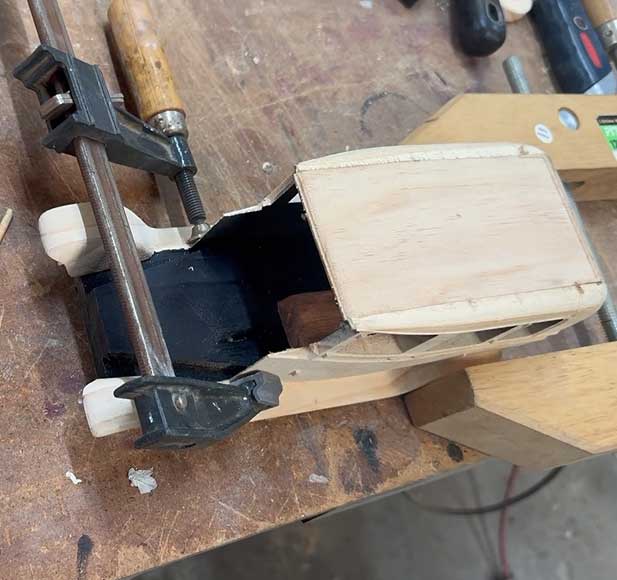
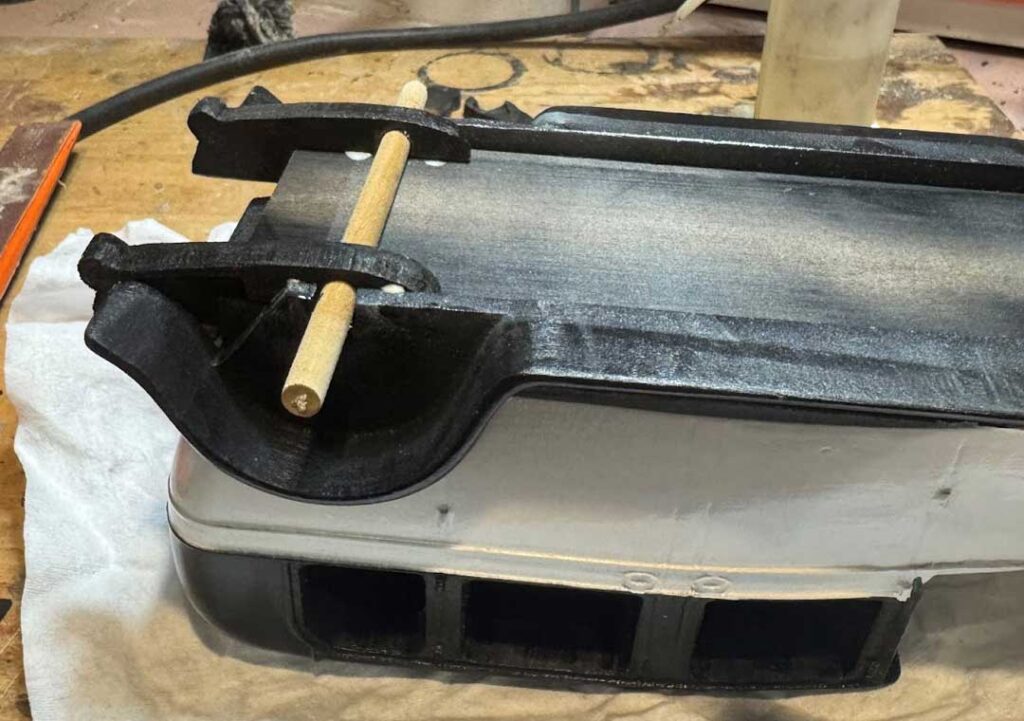
STEP 3 – Assembling the Cab
First glue the Top, Back, Left Side, and Right Side together. Use the base to help with clamping but do not glue it in yet.
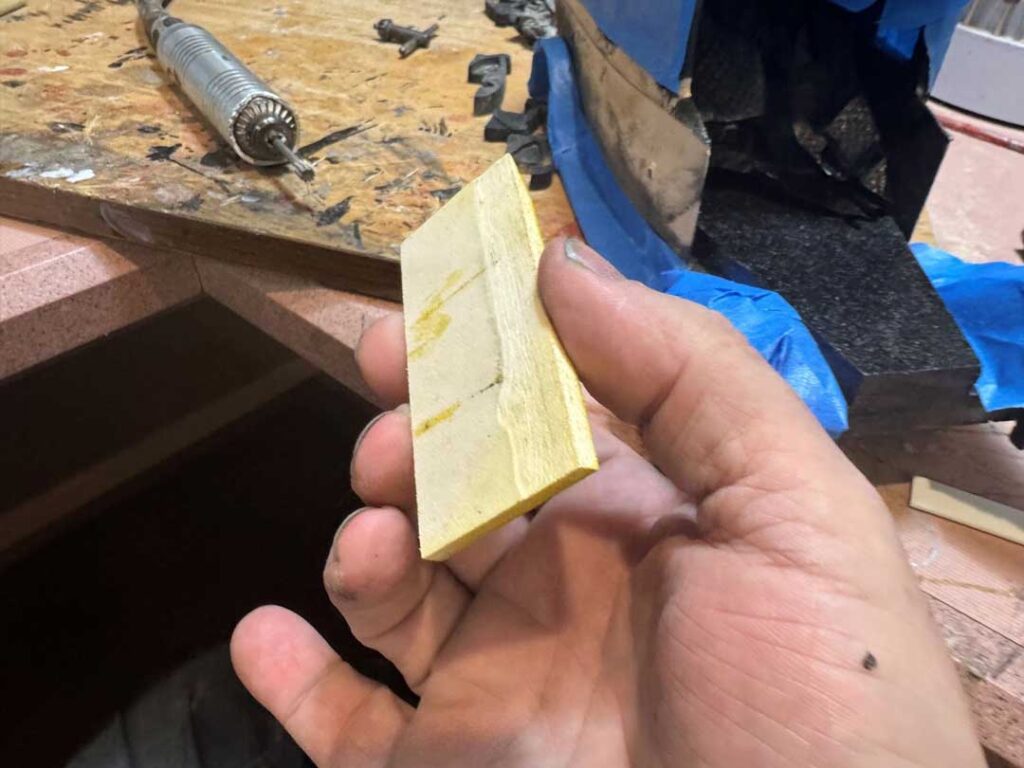
Paint the Base and the inside of the cab.
Sand the seat parts so they are slightly narrower than the Base so the cab can slip over them. Do some dry fitting to make sure everything has enough clearance, then paint.
Glue the Front Seat Back into the slit in the Base, and glue the seat bottom up against it.
Then, measure .5 inch from the back of the base and glue the Bench Seat bottom. Last, glue the Bench Seat back into the back of the cab so that it fits directly behind the seat bottom.
Place the Base on a ¼” thick spacer again and glue the Base into the cab.
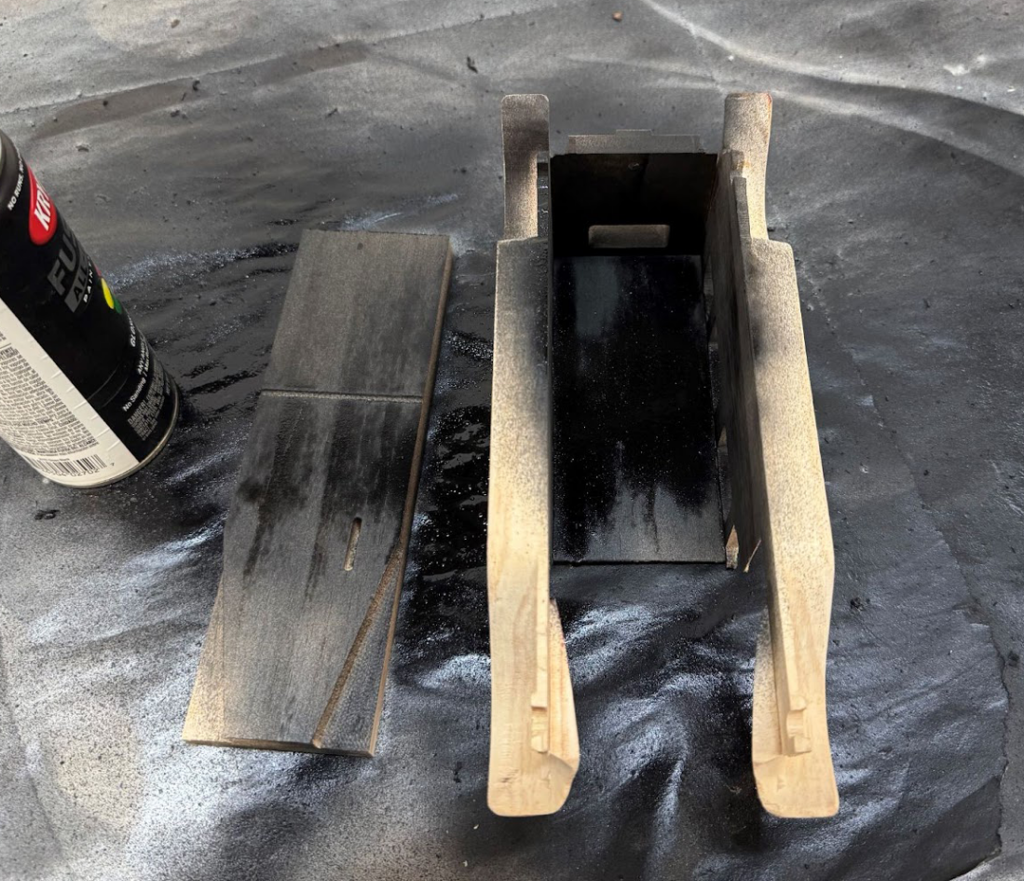
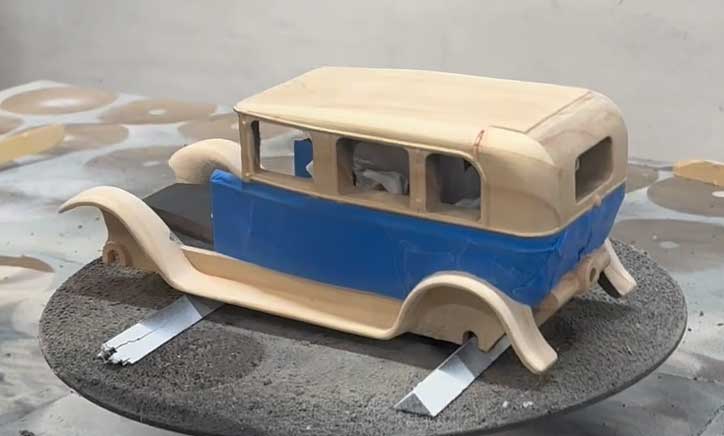
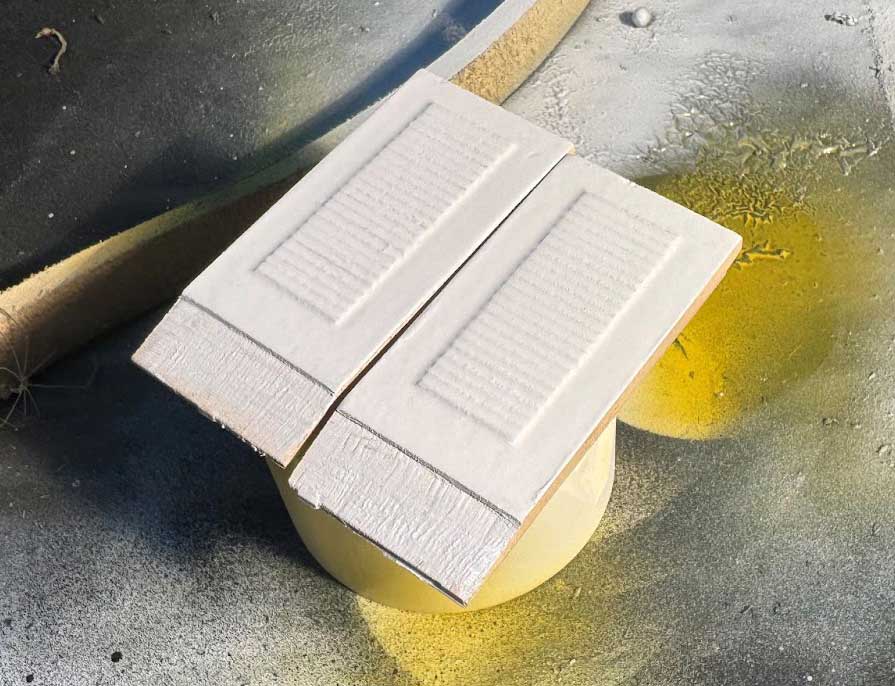
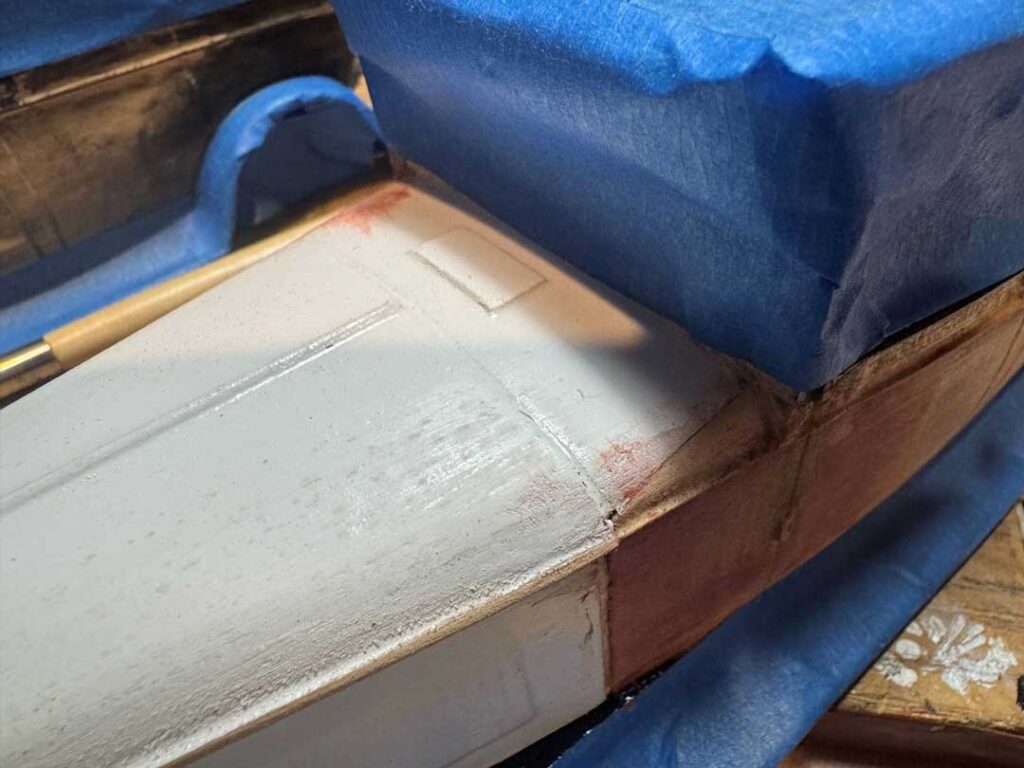
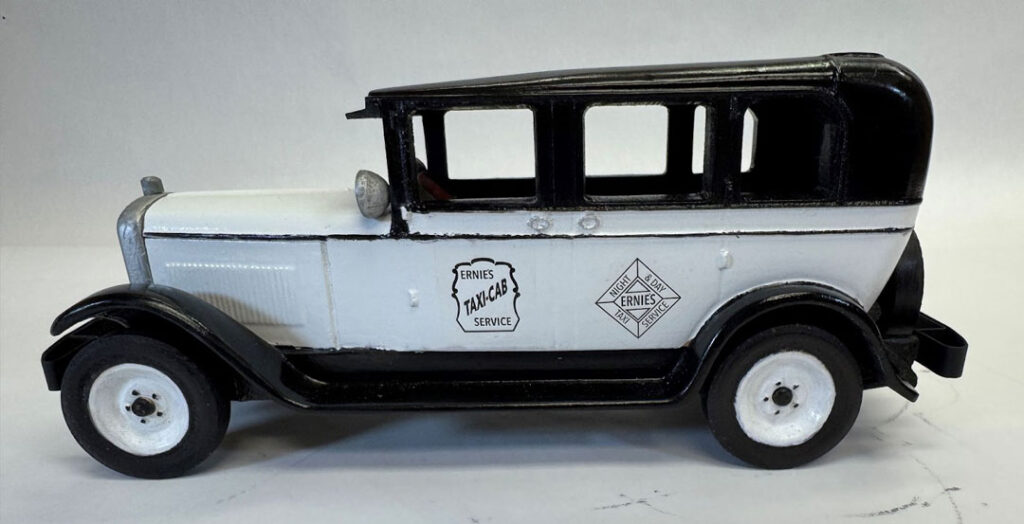
STEP 4 – Painting the Cab
The top of the cab, the frame and the fenders are all painted black. Mask the mid portion of the cab as shown and paint the black portions of the cab.
TIP: Use a sanding sealer such as a spray shellac before painting.

STEP 5 – Parts
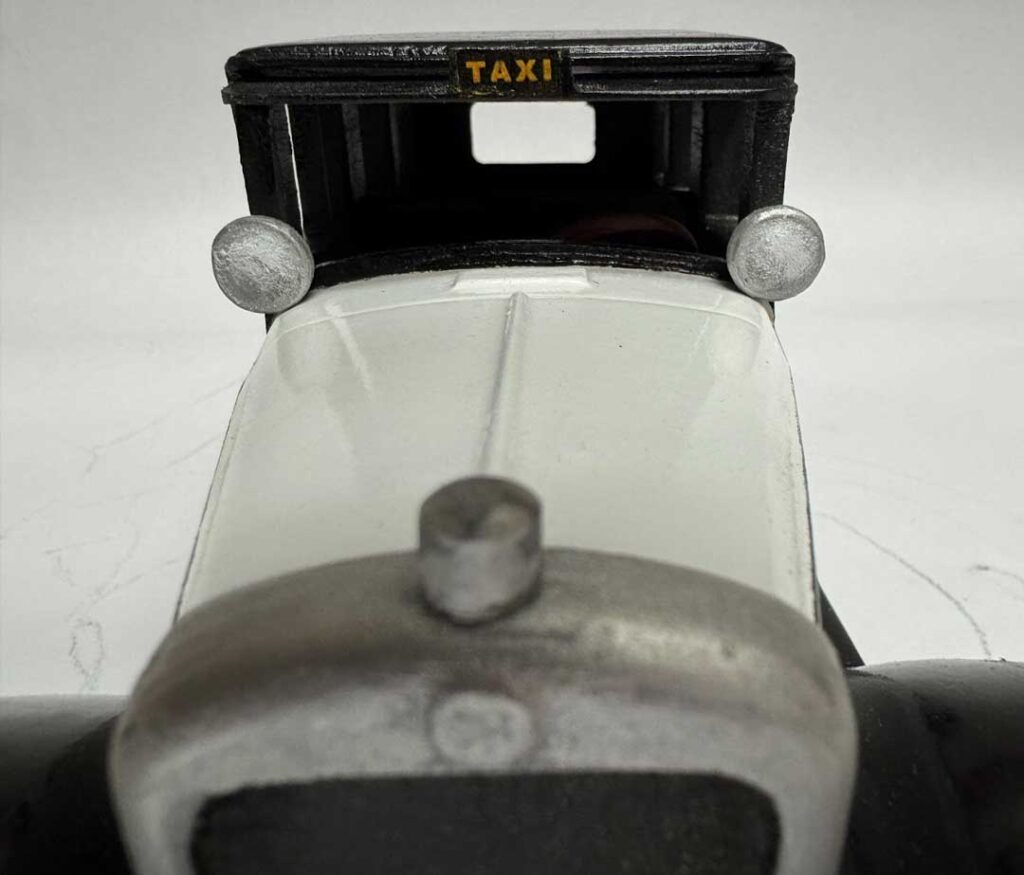
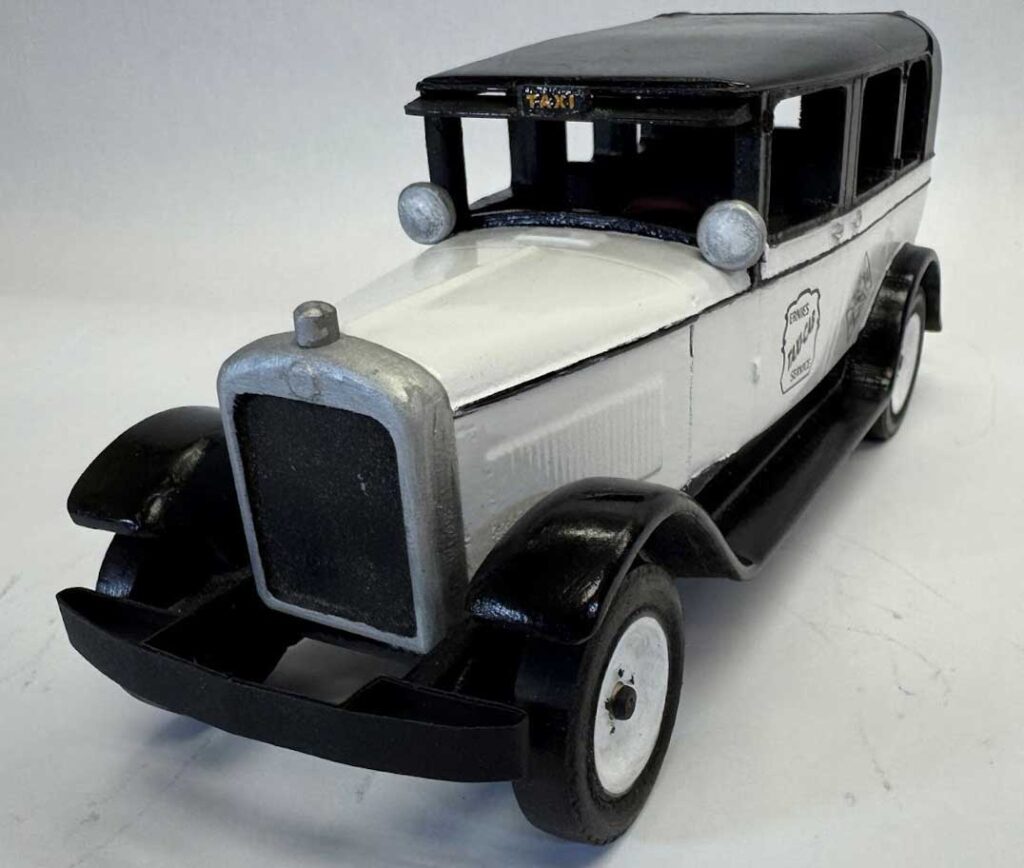
Glue the Headlight Front and Back together.
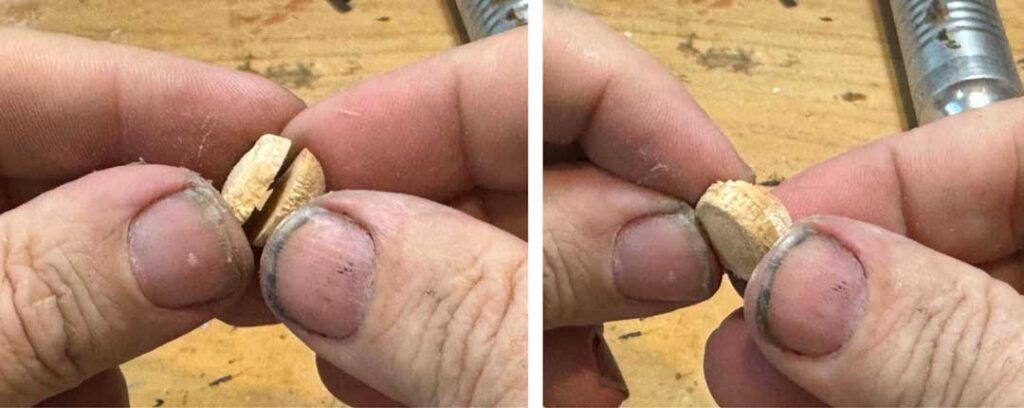
Round the end of a 1/4” dowel and cut it to 3/16” length to make the radiator cap.
Glue cap on top of radiator and paint the assembly.
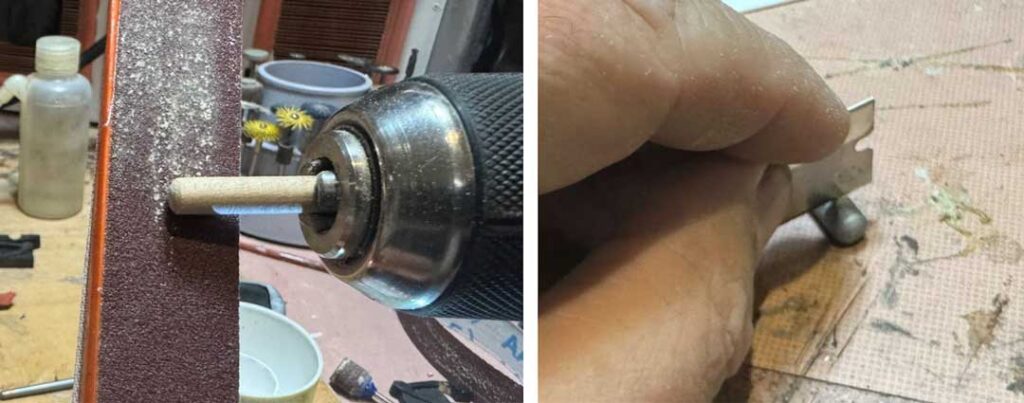
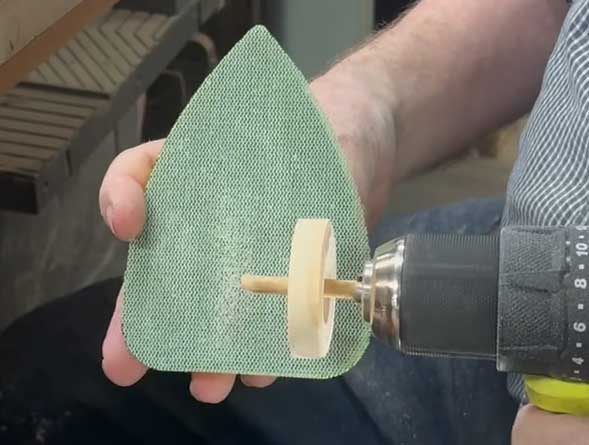
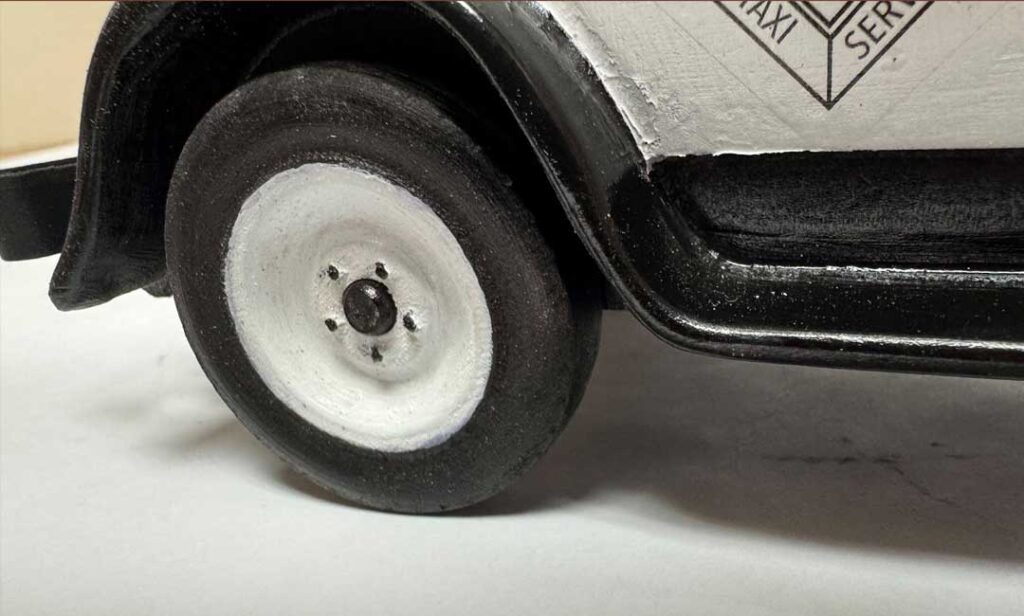
To finish-sand the Wheels, including the Steering Wheel, chuck a short piece of dowel into a hand drill. Wedge the Wheels on to this dowel to finish sand.

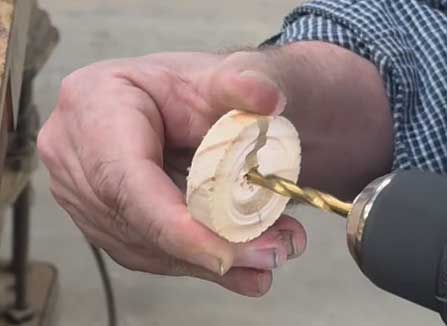
Drill the center of the wheels using a 1/4” drill bit.
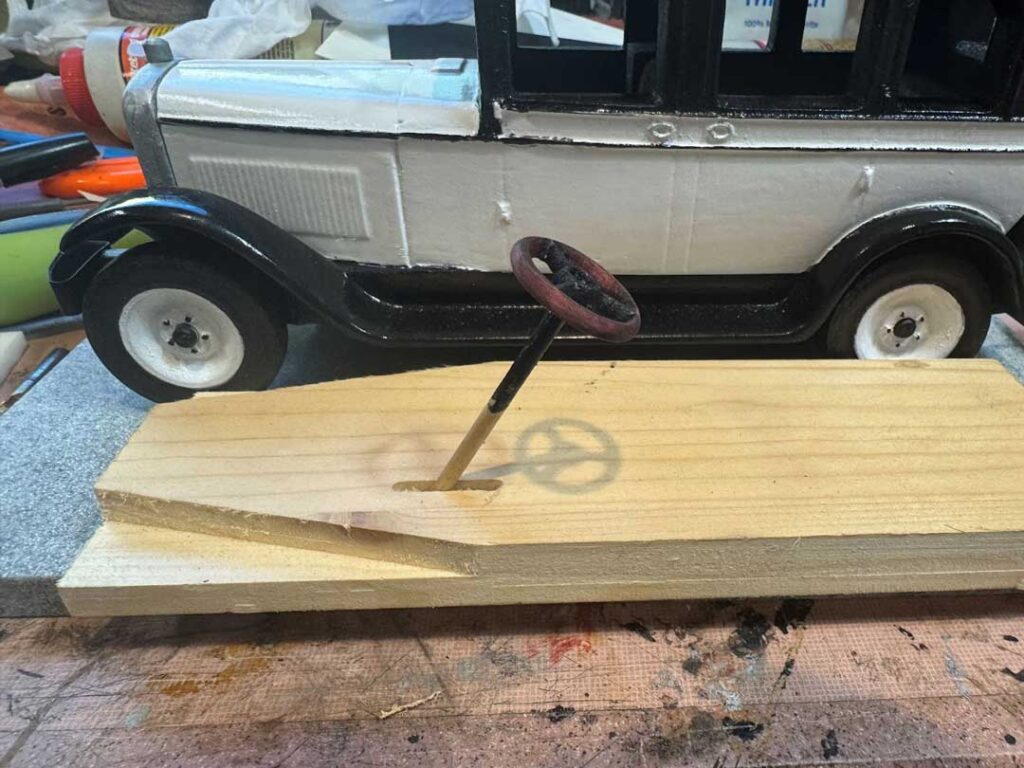
Glue the steering wheel to a 2” long ⅛” dowel and paint. Then glued into the slot in the base at an appropriate angle.
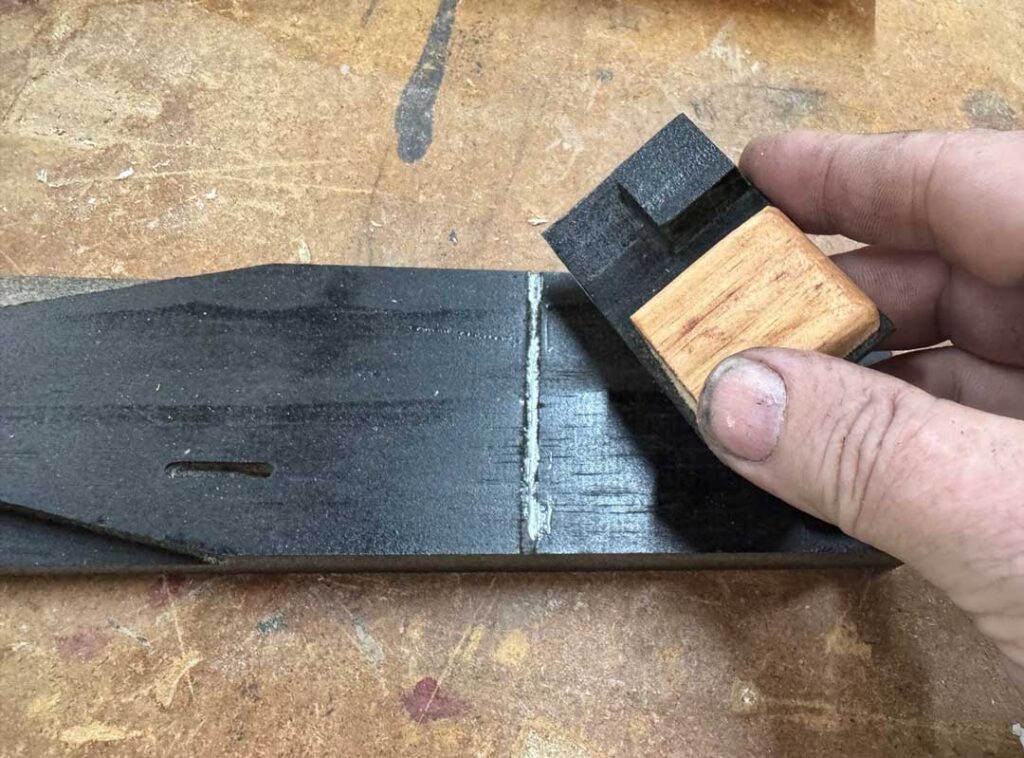
Paint the Suspension parts black and file the axle slots so that a 1/4” dowel will turn freely in them.
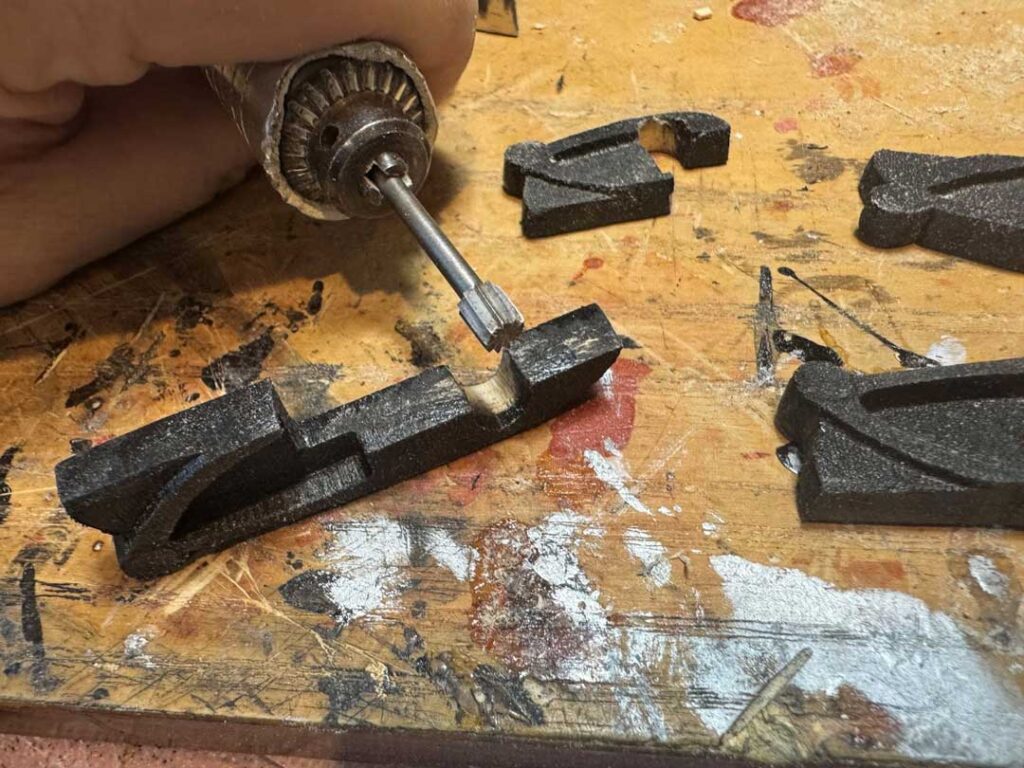
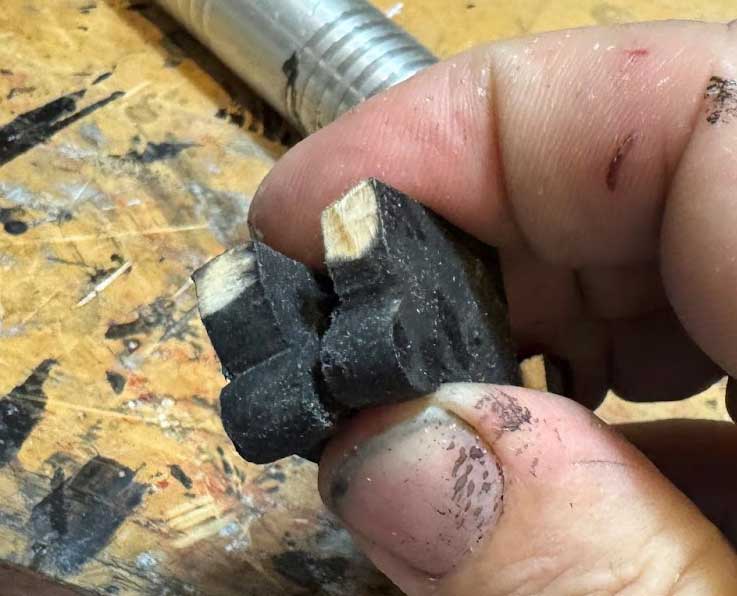
Flatten the ends of the Suspension parts where the bumpers will be mounted.
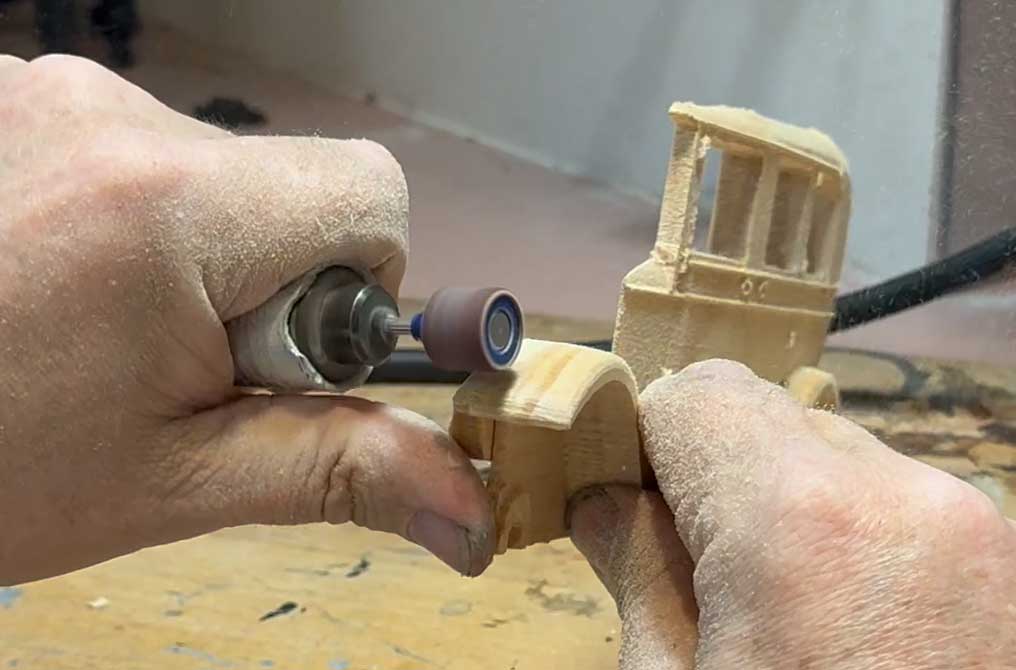
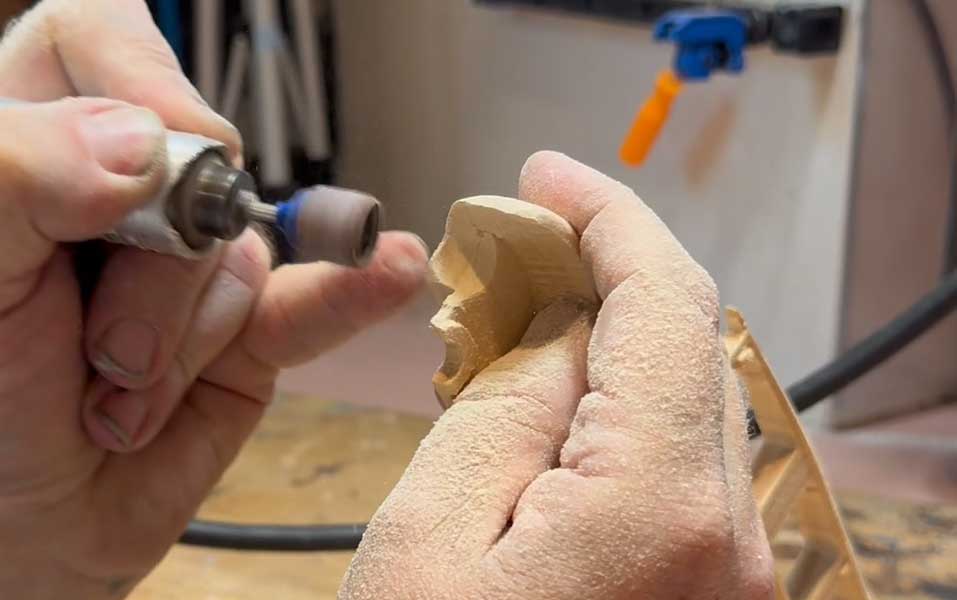
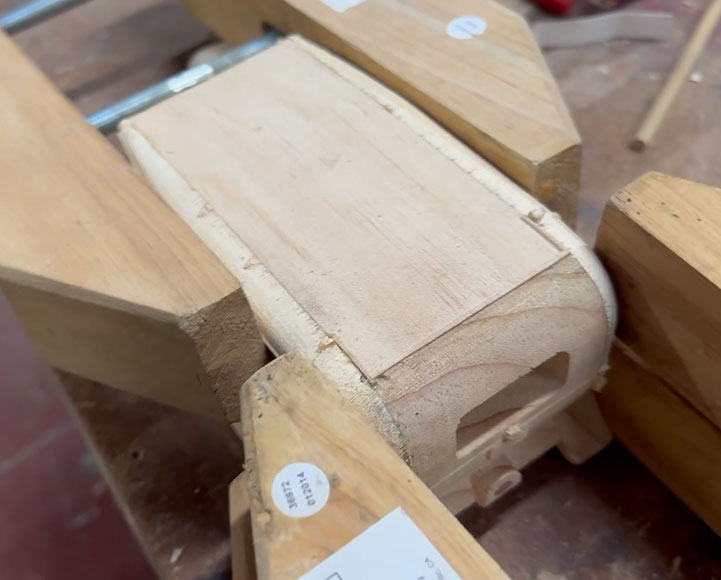
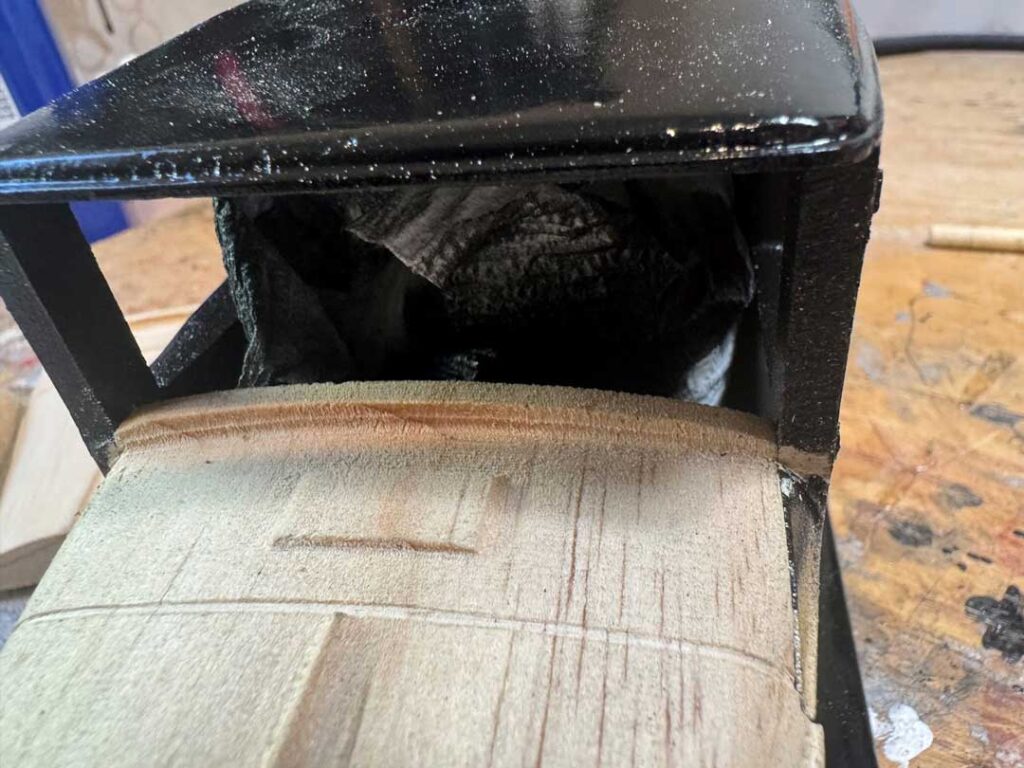
STEP 6 – Hood
On both sides of the Hood square off the flat area to a depth that allows the back of the hood to line up with the front of the cab.
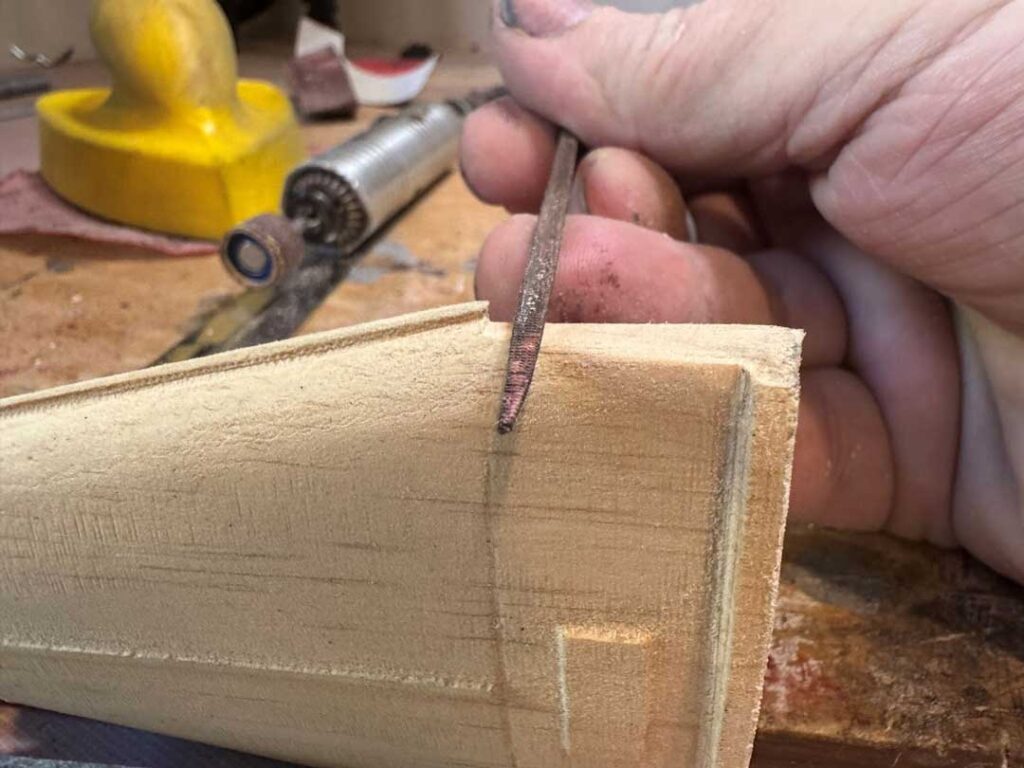
Slightly bevel both under sides of the hood. This will make it easier to blend the trim between the hood and cab
Paint the Sides of the Hood before they are assembled.
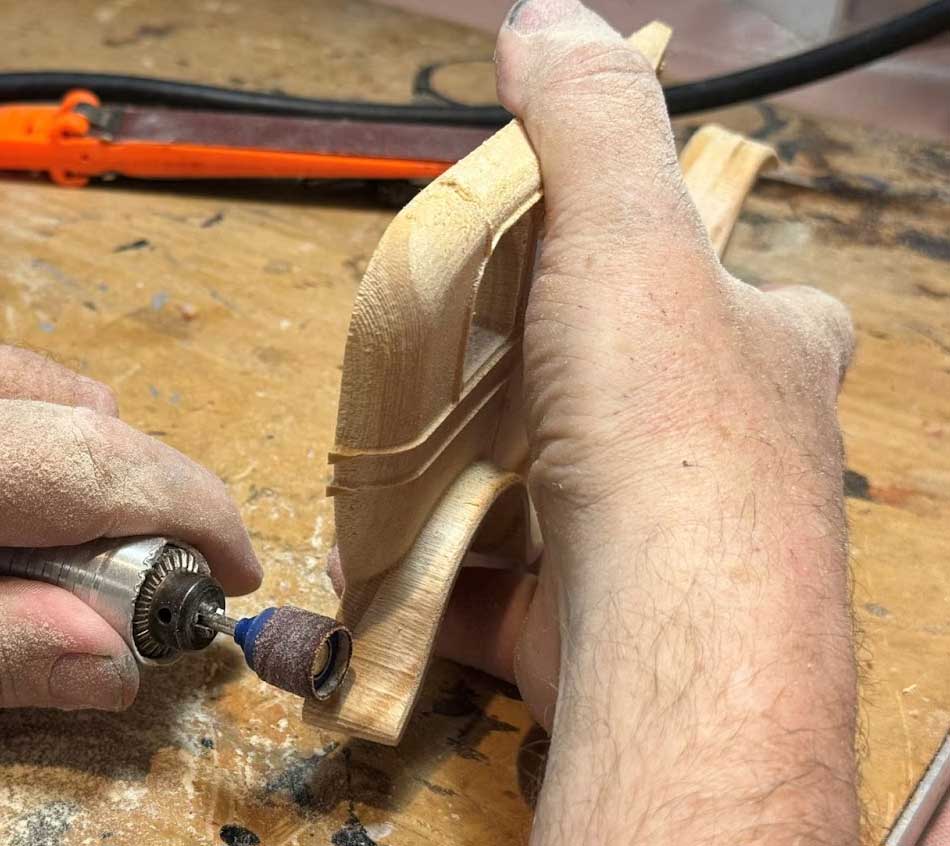
Test fit the side pieces. They should slot into the angles on the base. If they do not fit all the way in, sand to fit.
The front of the two sides of the Hood, the Hood and the Base should all line up reasonably well on the front.
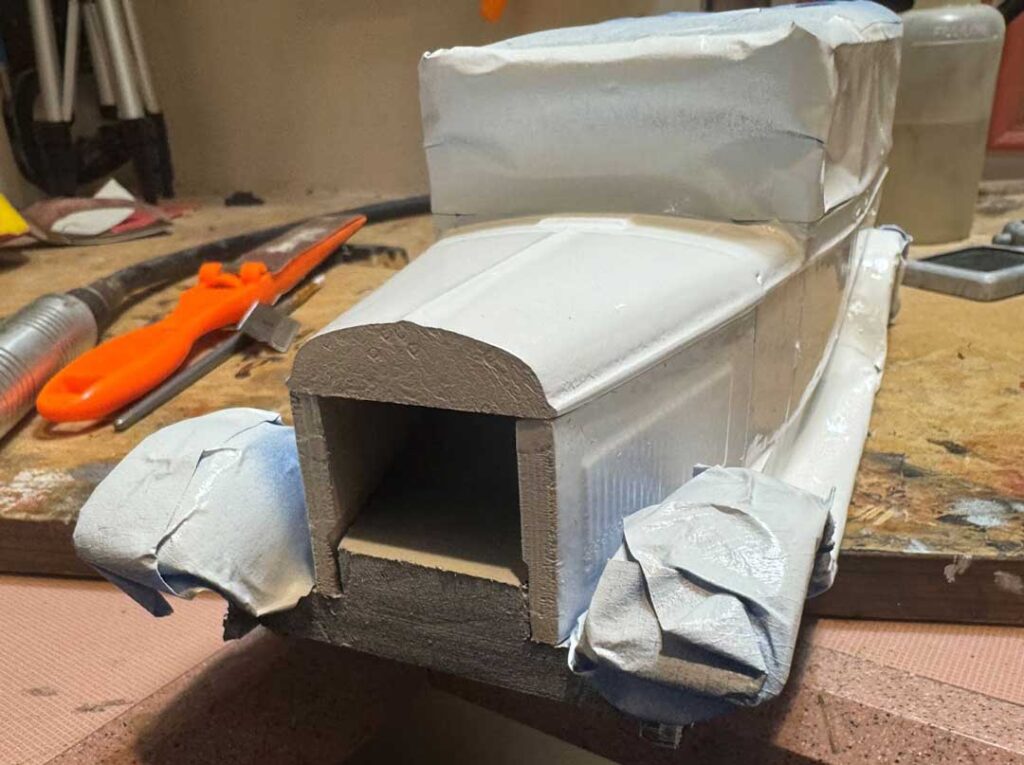
Once everything is fitted, glue the Hood sections in. Sand and fill if needed to blend the hood with the cab.
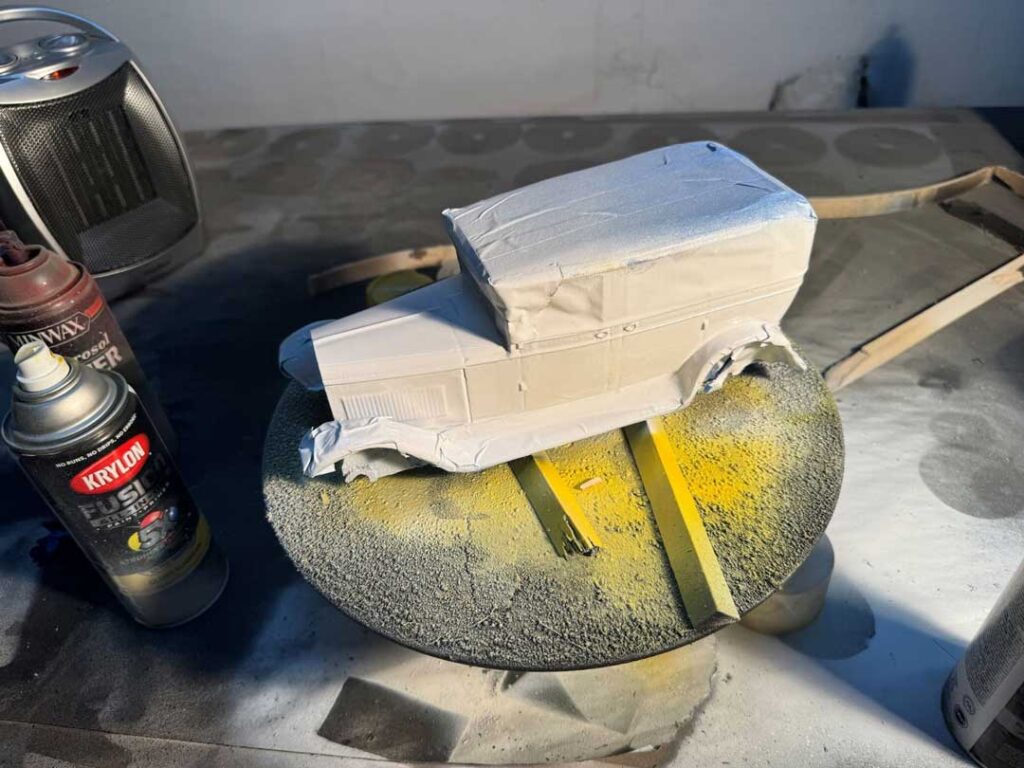
Mask off the painted parts of the Taxi and paint.
STEP 7 – Putting it all together.
Glue the Radiator on.
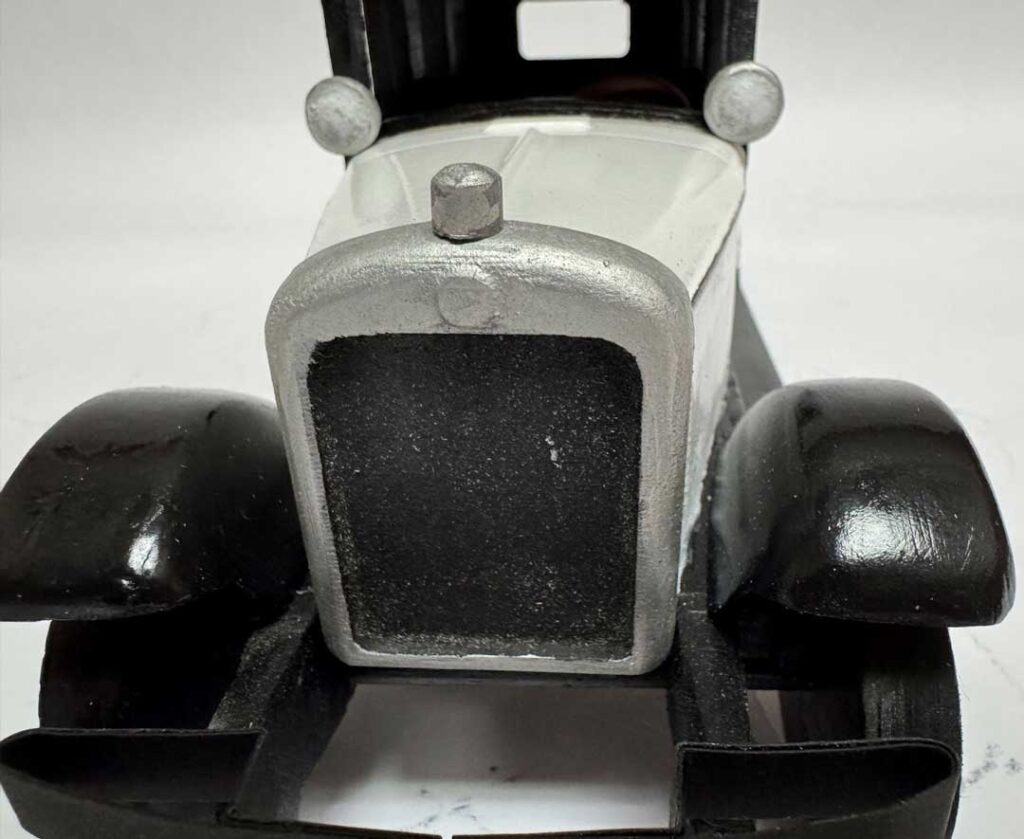
Glue the Headlights on.
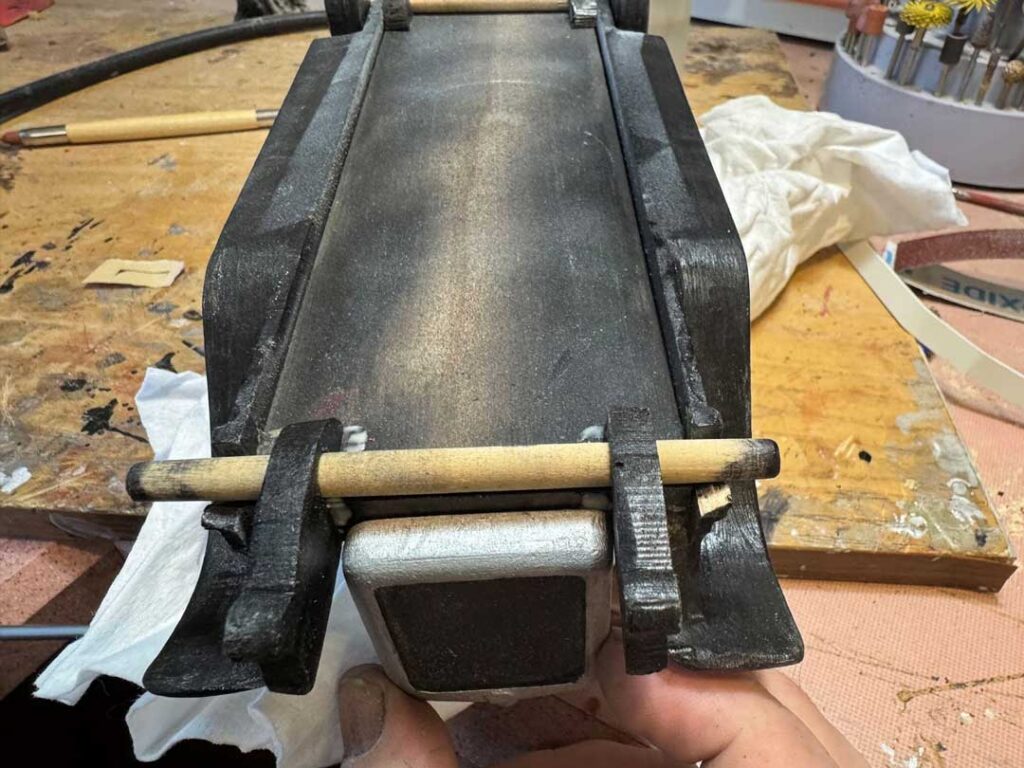
Glue the Rear Suspension parts up against the cab sides. Use a length of ¼” dowel to align these parts.
Glue the Front Suspension parts up against the Radiator. Use a length of ¼” dowel to align these parts.
Cut two lengths of 1/4” dowel 3.75” long for the axles. If needed sand the ends of dowels down so they will press easily into the wheels. Round the ends of the dowels and black the tips. Mount the wheels so that the tips of the dowels stick out slightly.
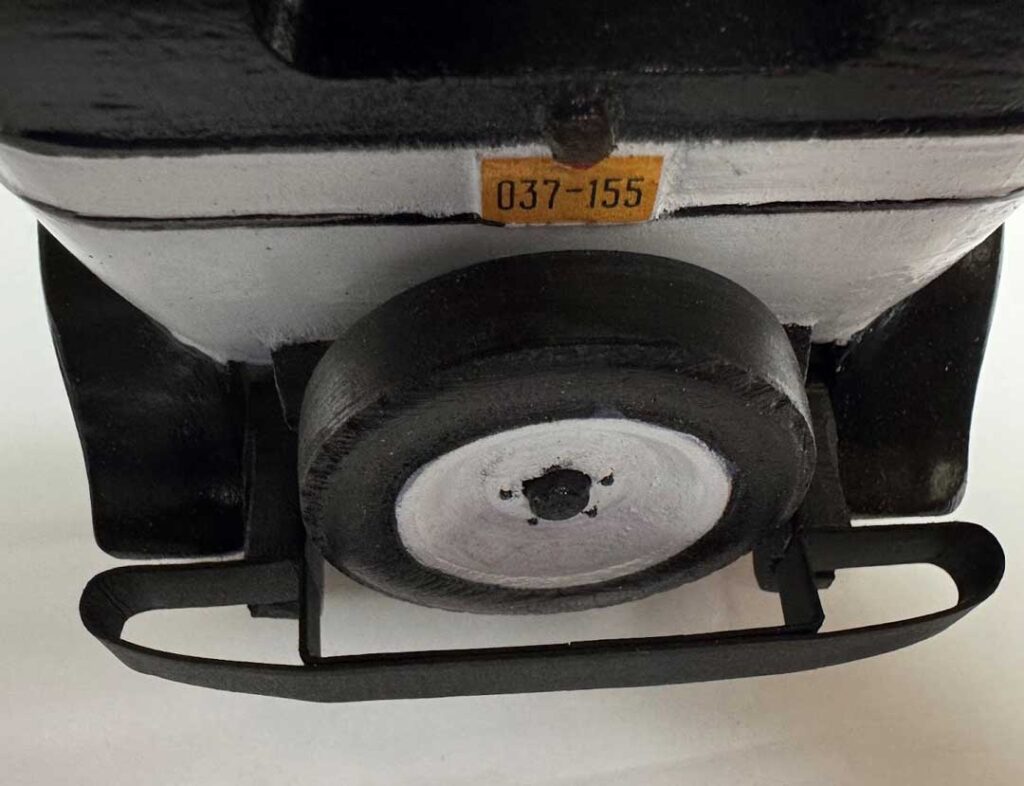
Cut another length of 1/4” dowel 75” long for the Spare tire.
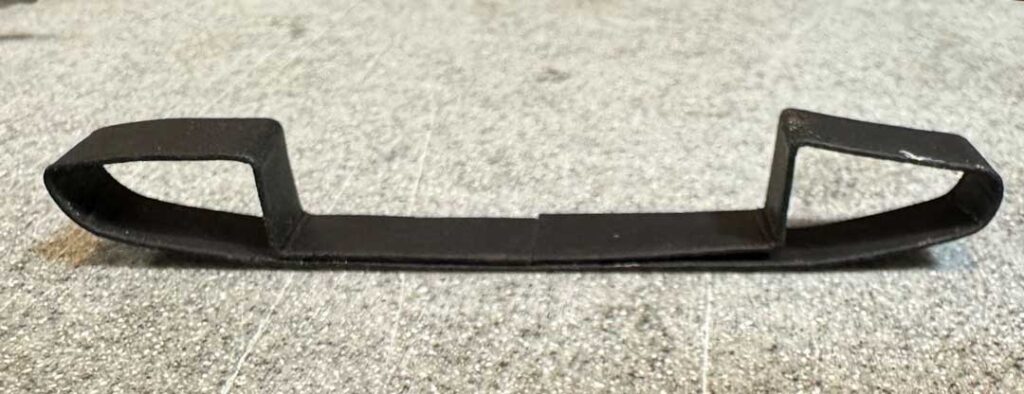
STEP 8 – Bumpers
The bumpers on the car are not something that can be carved so now we enter the origami portion of this project.
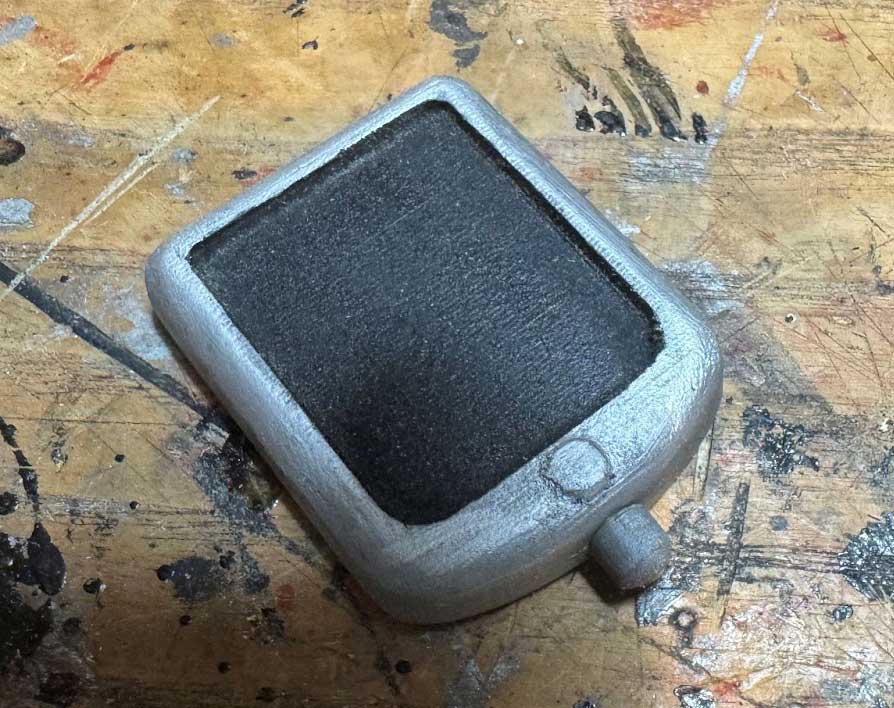
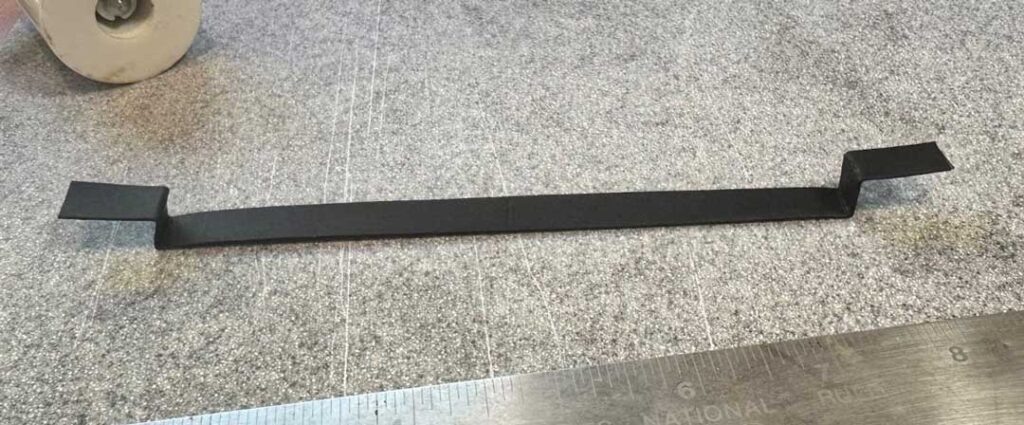
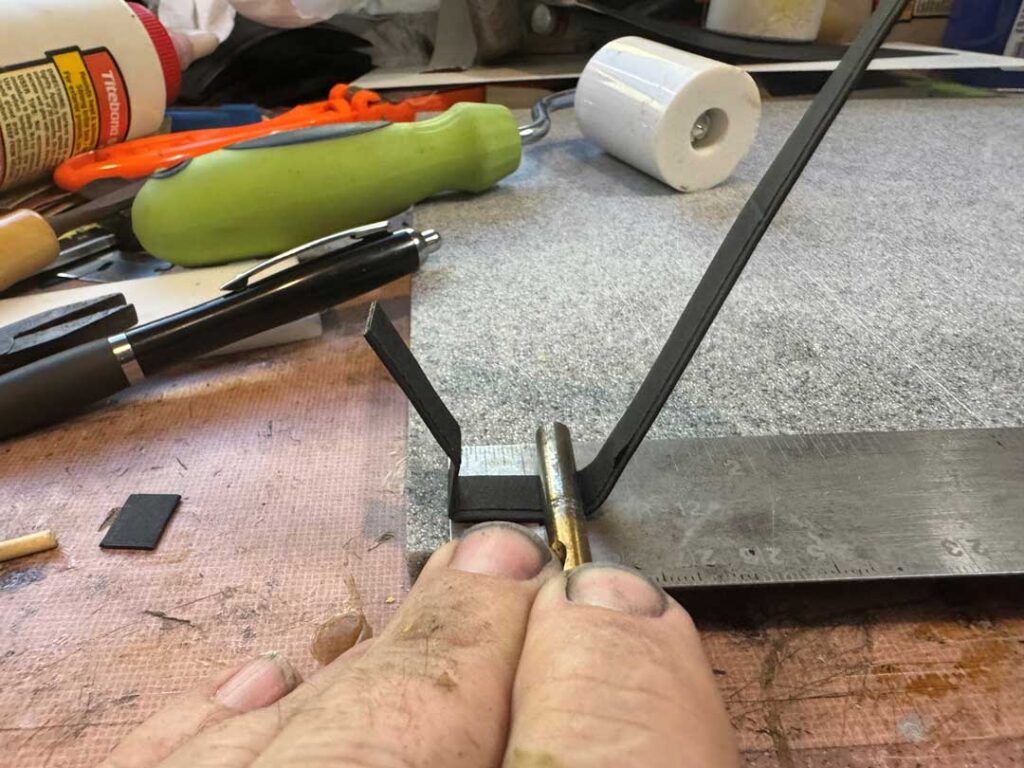
For the front bumper cut a strip of black cardstock 1.125” x 8”. Score a line on length .375” from each edge and prefold.
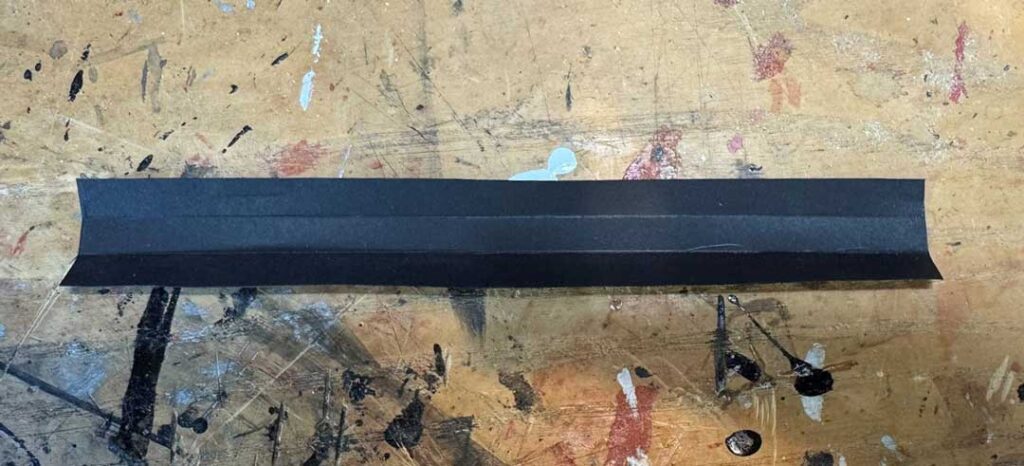
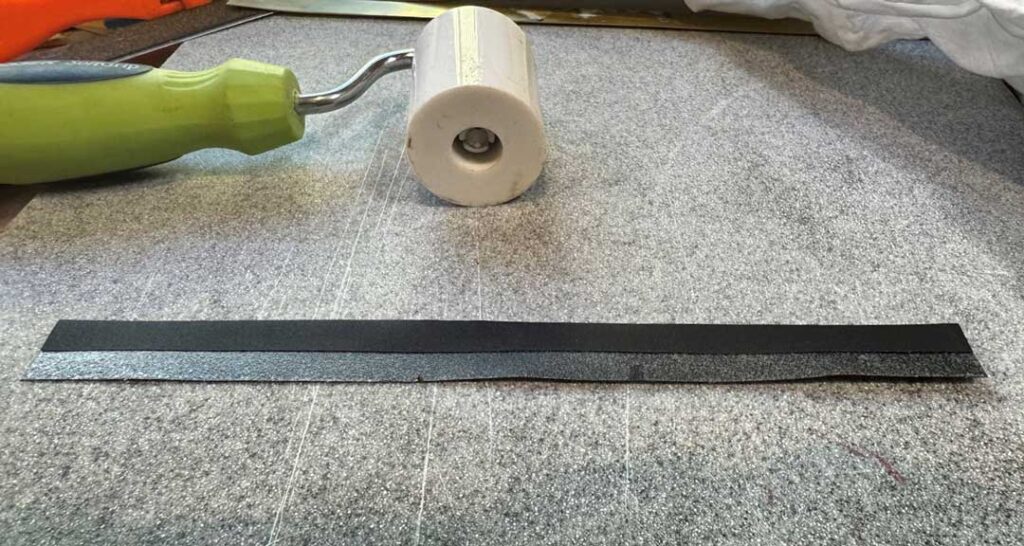
Spray the card stock strip with spray adhesive.

Fold these over to strengthen and make the card stock thicker. Use a roller to help flatten the strip out.
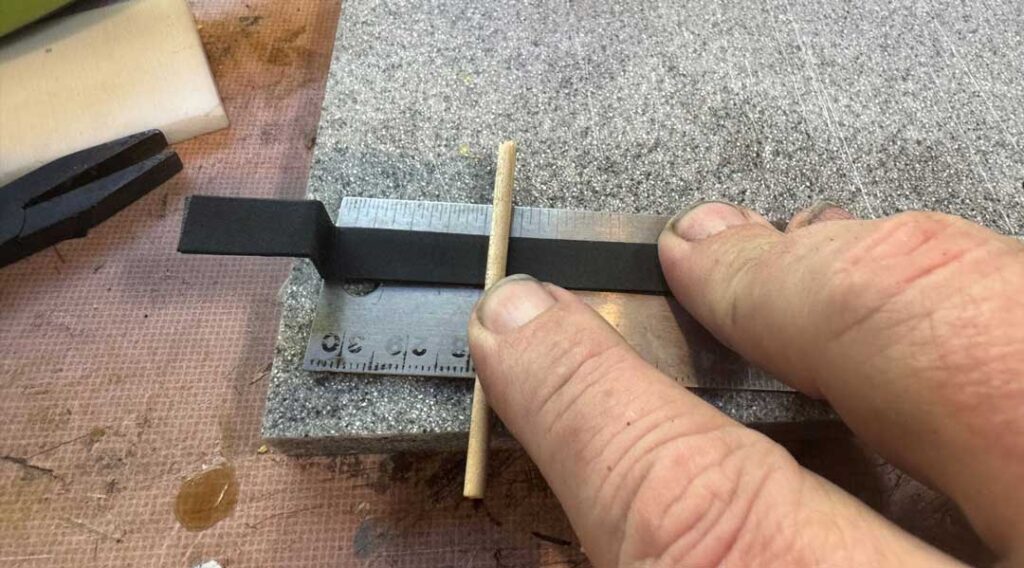
Make a mark in the middle, then flip the part over and mark .75” from each end. And fold these over.
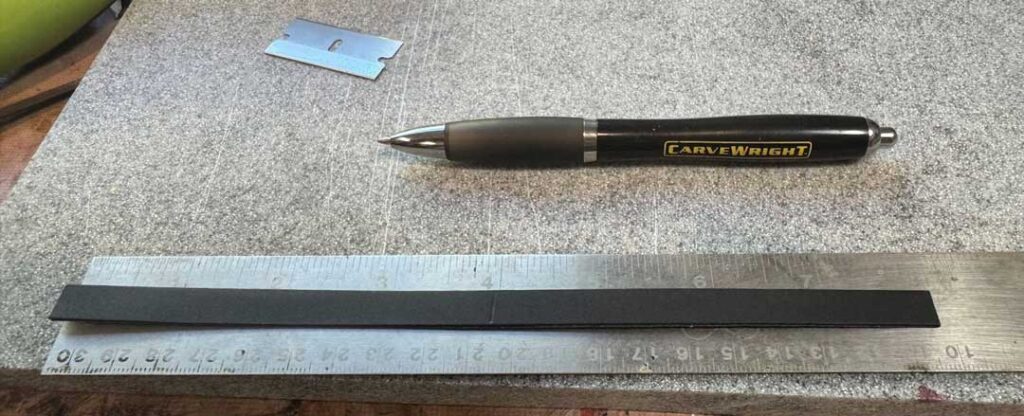
Turn the strip over again and mark .375” from the last bends and fold over.
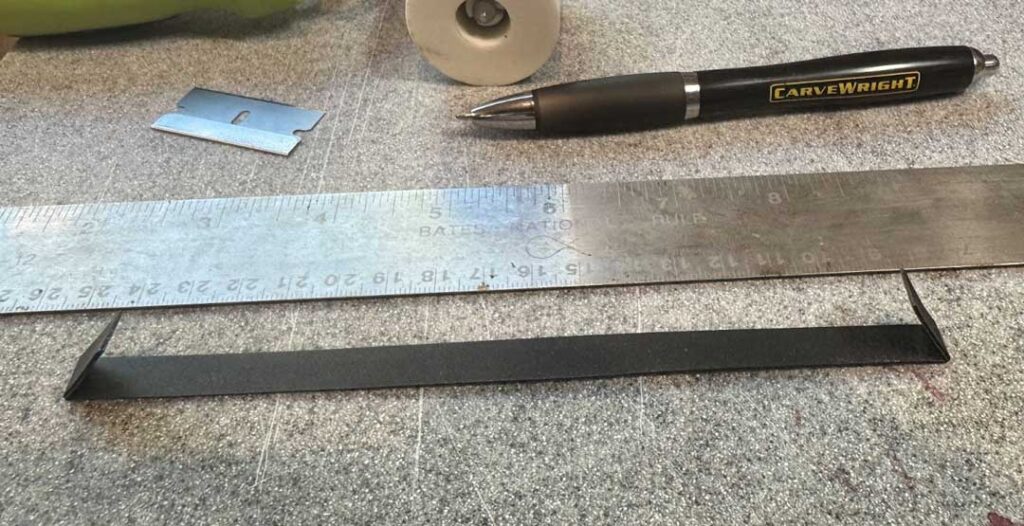
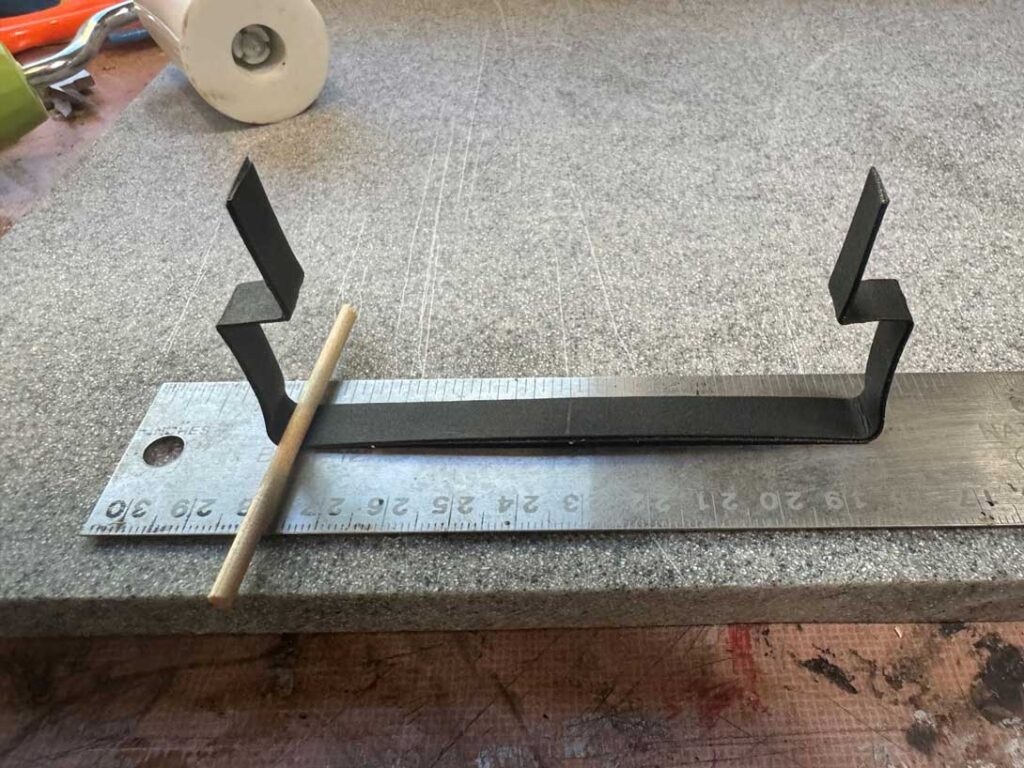
Turn the strip over again. Measure 1” from the last fold and use a ⅛” dowel to bend the strip in.
Next line the end of the strip up to the center point and glue down using CA glue.
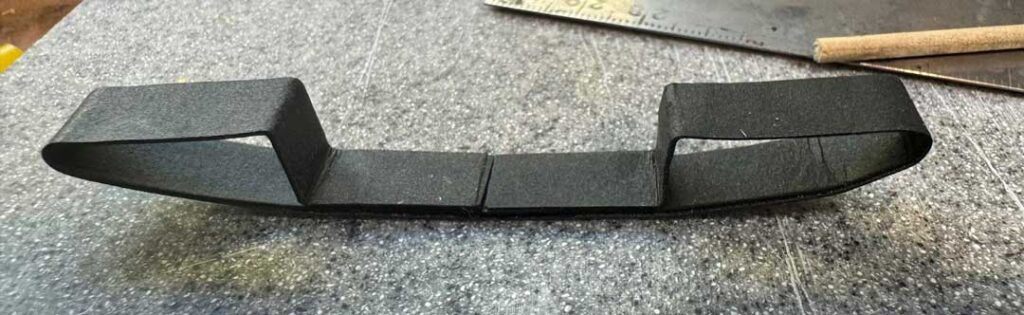
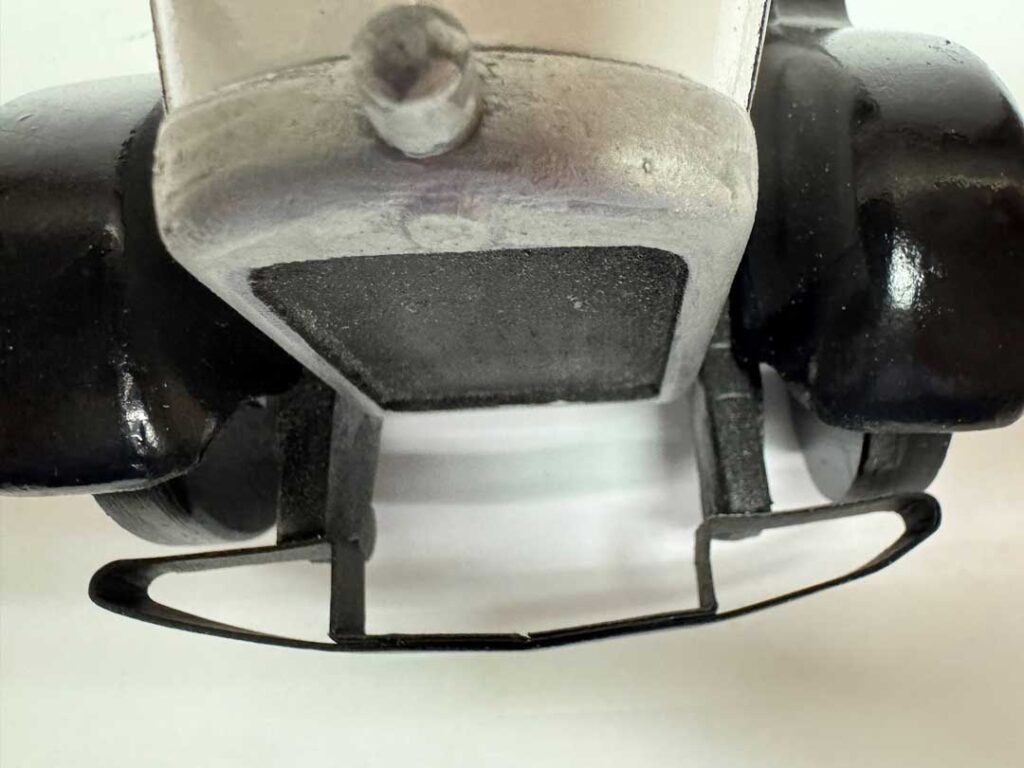
The back bumper is made from a cardstock strip 1.125” x 8.5”. The strip is glued and folded the same way as the front bumper. The differences are the first bend is at 1.0”, the third bend is at .75” and a ¼” dowel is used.
The bumpers are glued on using CA glue.
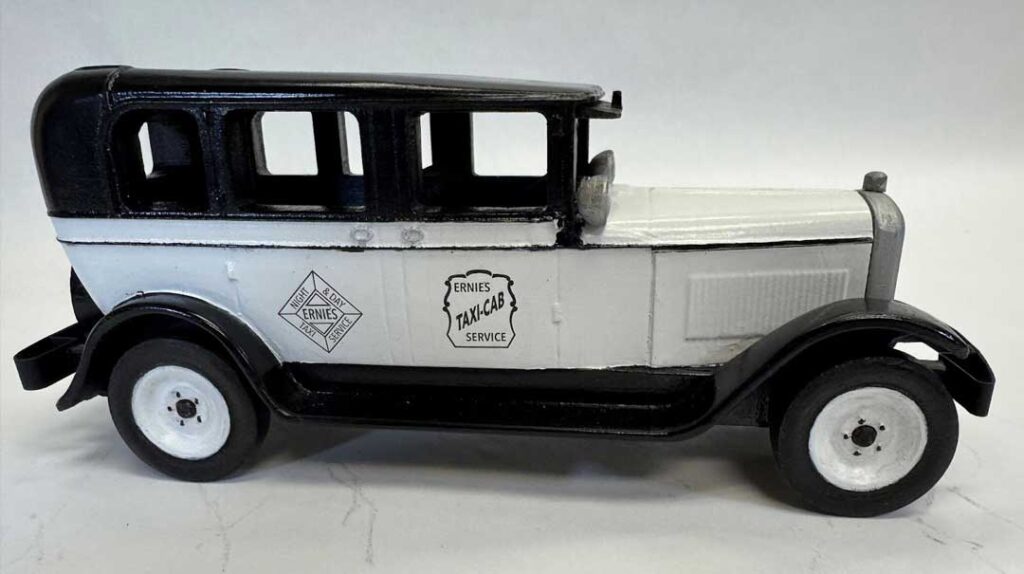
STEP 8 – Decals
Graphics for decals are included. I used Hayes Paper, Waterslide Decal Paper for inkjet clear.
We hope you’ve enjoyed this project and it gave you as much pleasure as it gave us to design and make it.
Thanks!
Find many more projects at the CarveWright Pattern Depot.