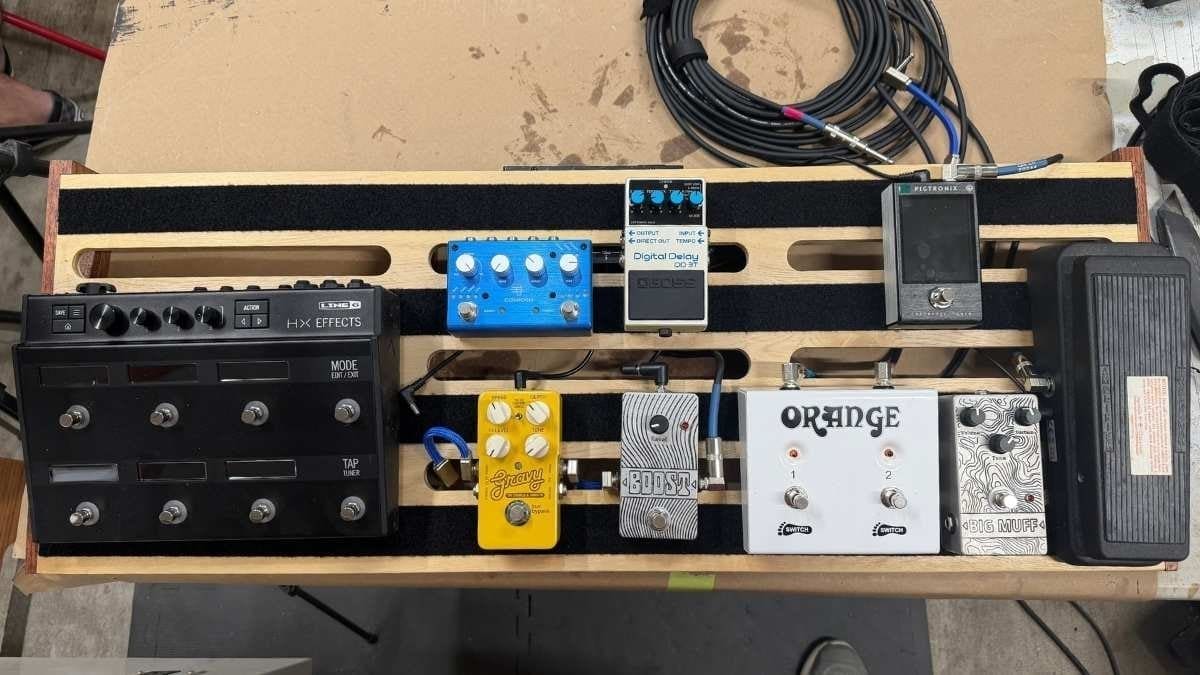
This custom pedalboard project is the perfect solution for guitarists and bass players looking for a lightweight, durable, and fully customizable pedalboard with a premium wood finish. Designed for both studio and stage use, this pedalboard combines functionality with craftsmanship, giving your rig a clean and professional look.
The design supports pedalboards up to 36″ long, while remaining fully adjustable so you can create the exact size and layout that fits your setup. Whether you need a compact travel board or a large performance-ready platform, this project can be tailored to your needs.
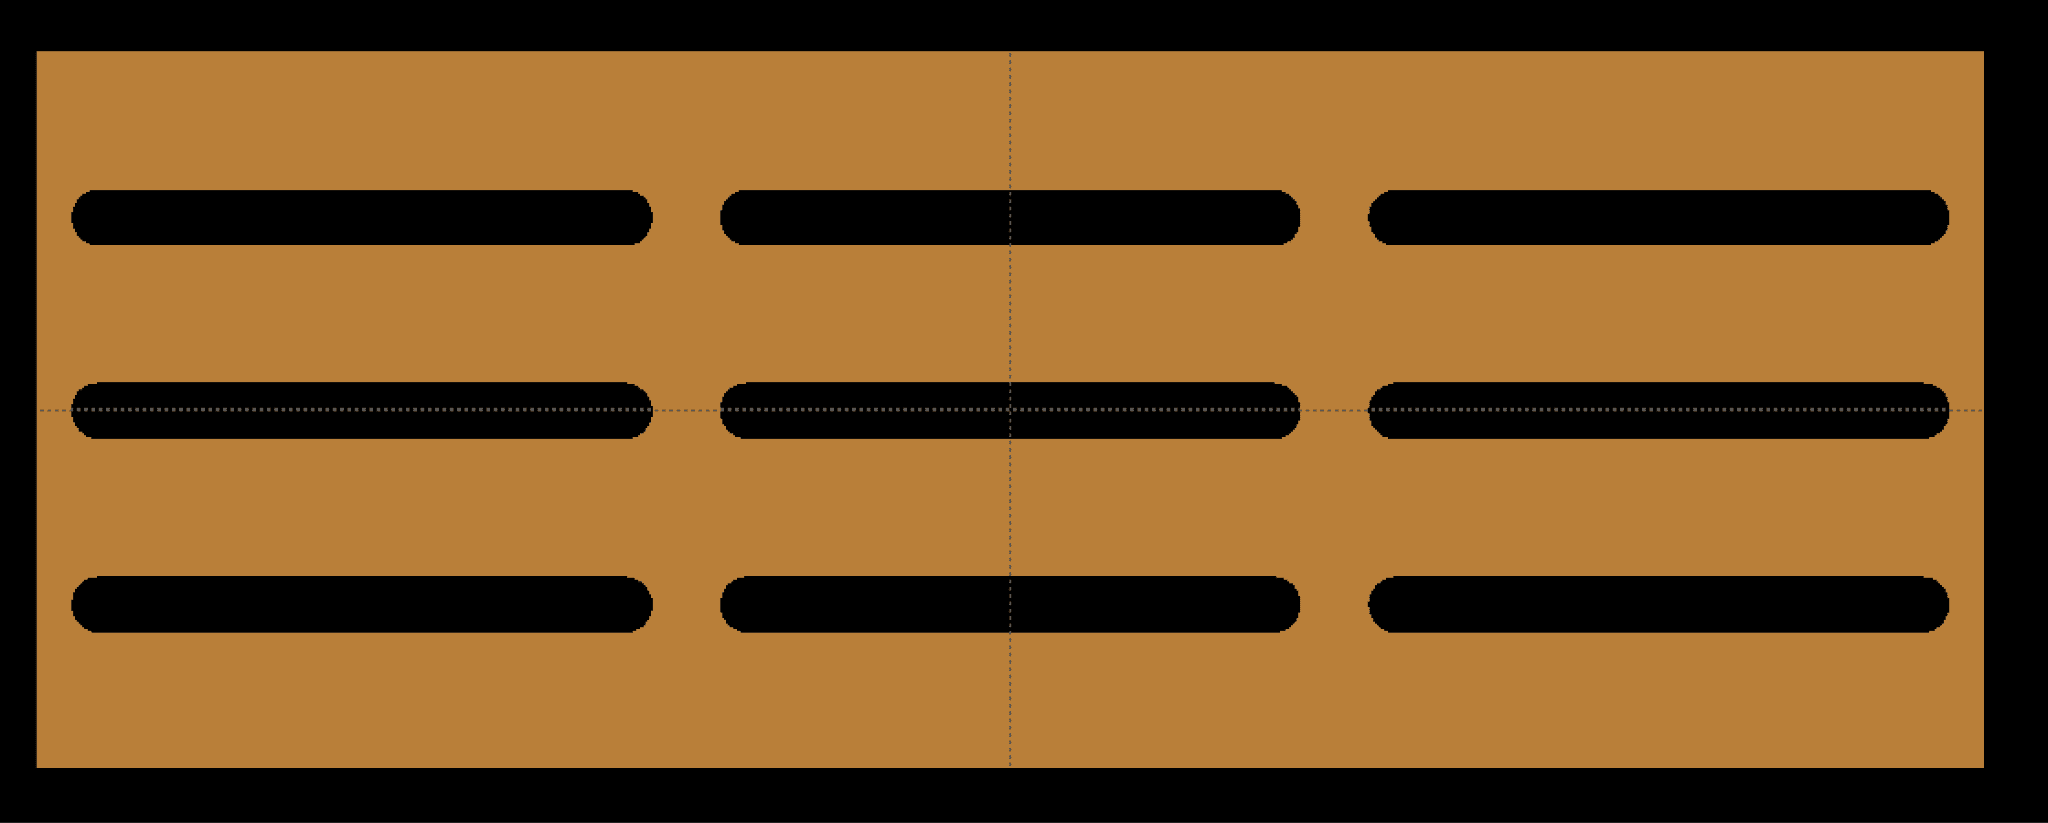
Crafted with CNC precision, the pedalboard features a sleek angled design for comfortable access to your pedals, along with plenty of room for cable management and power supply mounting. Finish it with stain, paint, or a natural clear coat to showcase the beauty of the wood and create a one-of-a-kind piece that matches your personal style.
Perfect for makers, musicians, and woodworking enthusiasts who want a custom pedalboard that stands out from generic store-bought options.
Step 1 – Carve the Parts
Open the included project files and compile them in your CNC software.

Estimated Carve Times:
- Pedal Board Top: ~45 minutes
- Pedal Board Risers: ~1 hour 24 minutes
Apply AccuTrack to the bottom edge of your boards, then load them into the machine and begin carving.
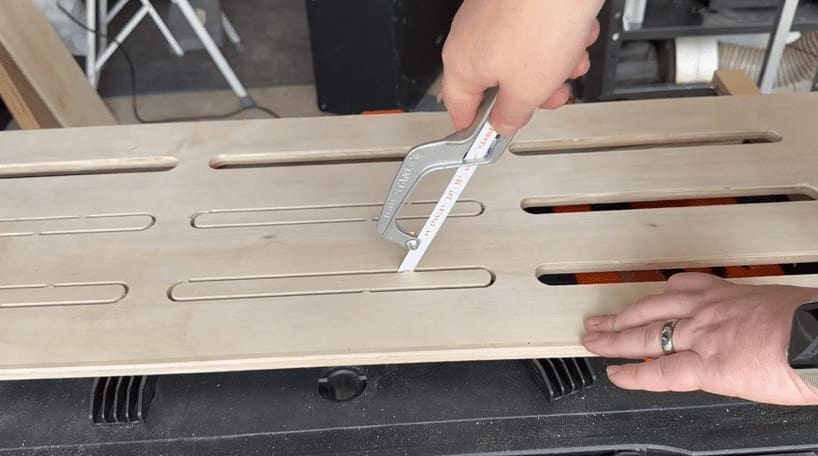
Step 2 – Remove the Parts
Once carving is complete, carefully cut the tabs to release the parts from the material.
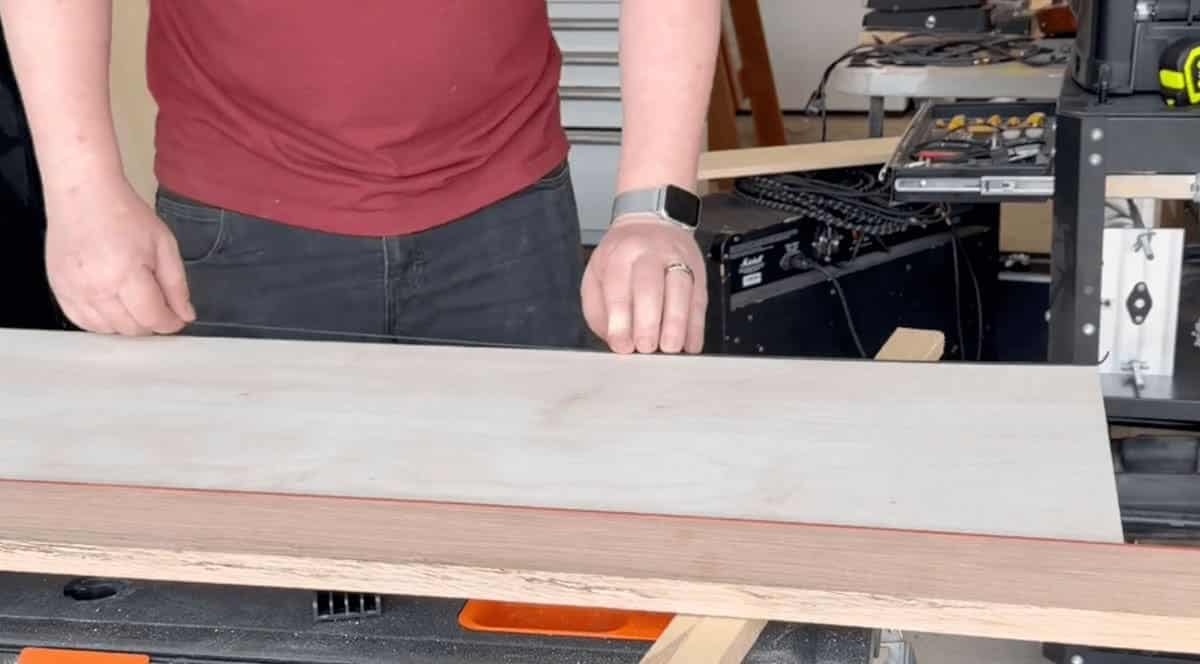
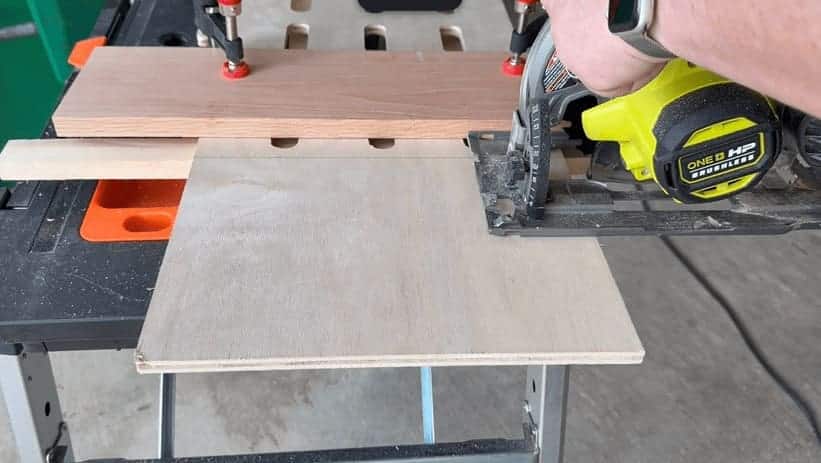
Step 3 – Cut to Final Length
Trim the pedalboard top to your desired final length. The design supports up to 36”, but can be customized to fit your setup.
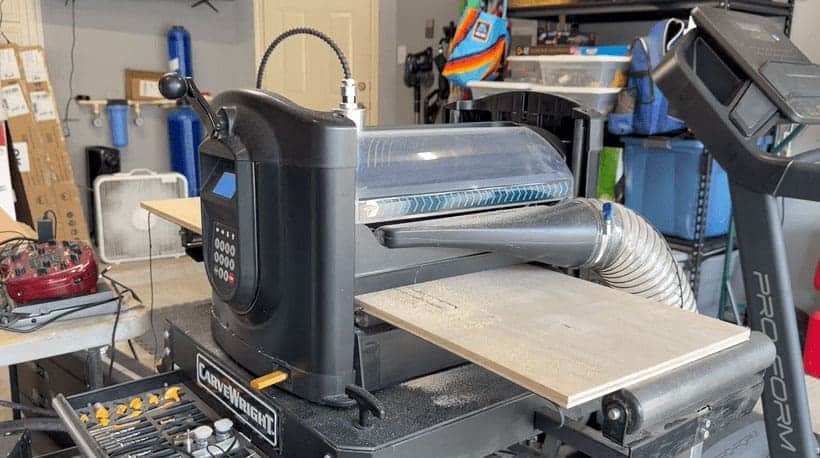
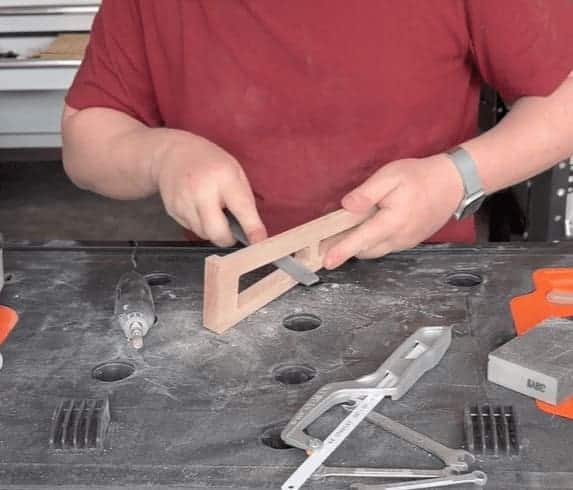
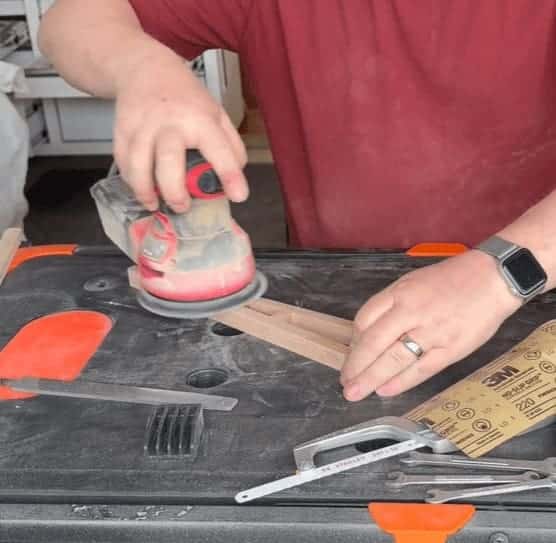
Step 4 – Sanding
Remove any remaining tabs using a rotary tool or file. Sand all surfaces until smooth, paying close attention to edges and corners.
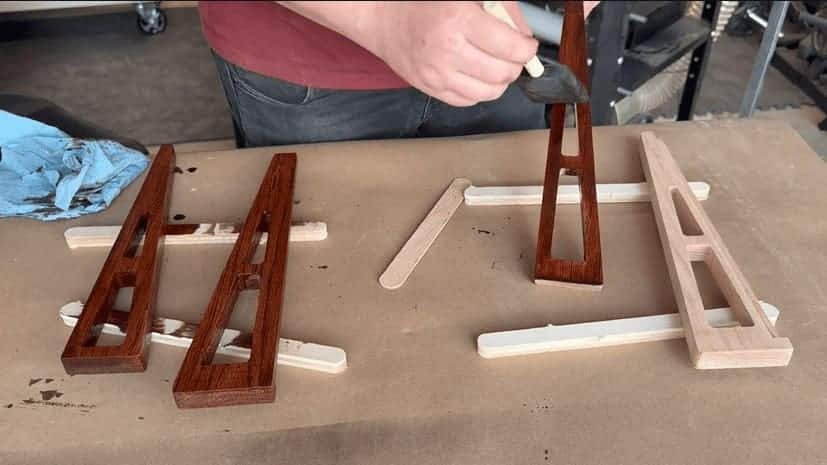
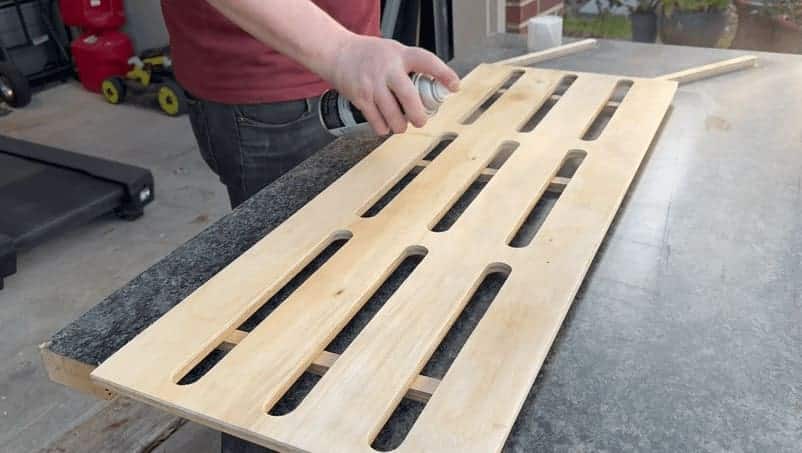
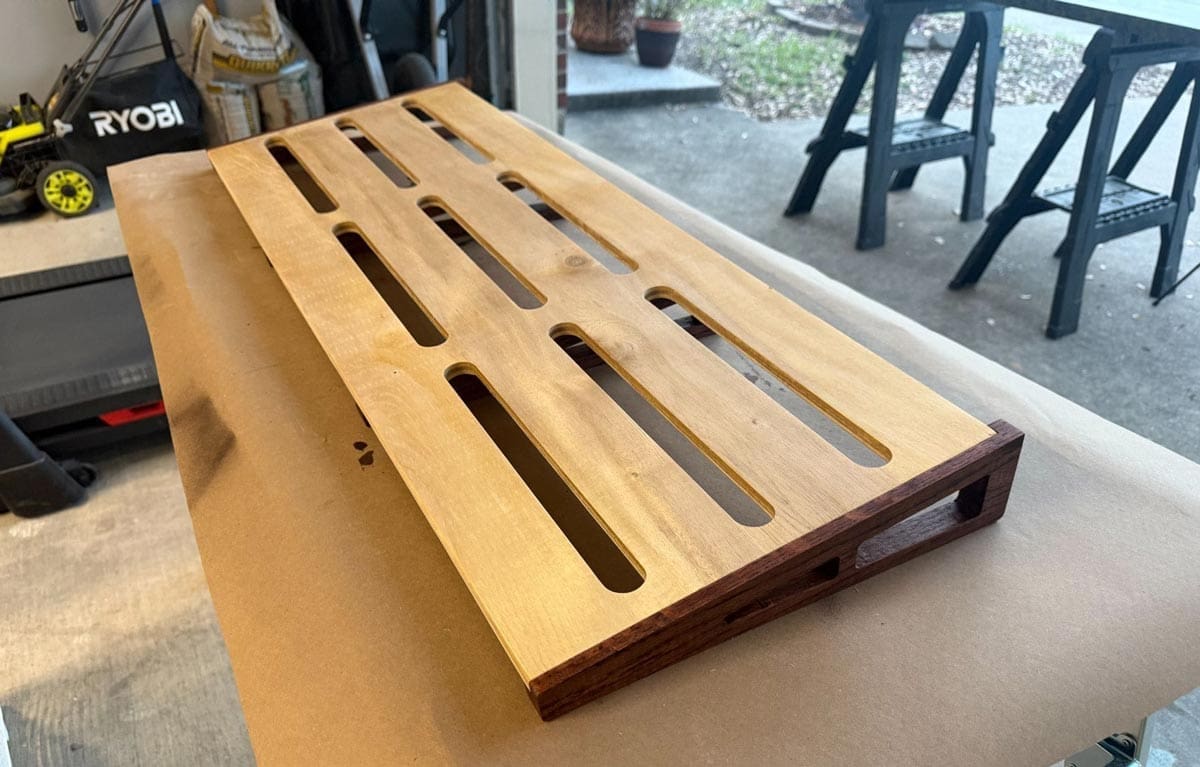
Step 5 – Finish the Parts
If you plan to use different finishes for the top and risers, apply them before assembly.
For example:
- Apply a wood stain (such as red oak) to the risers
- Use multiple coats of a fast-drying clear finish on the top
Allow all finishes to dry completely before moving on.
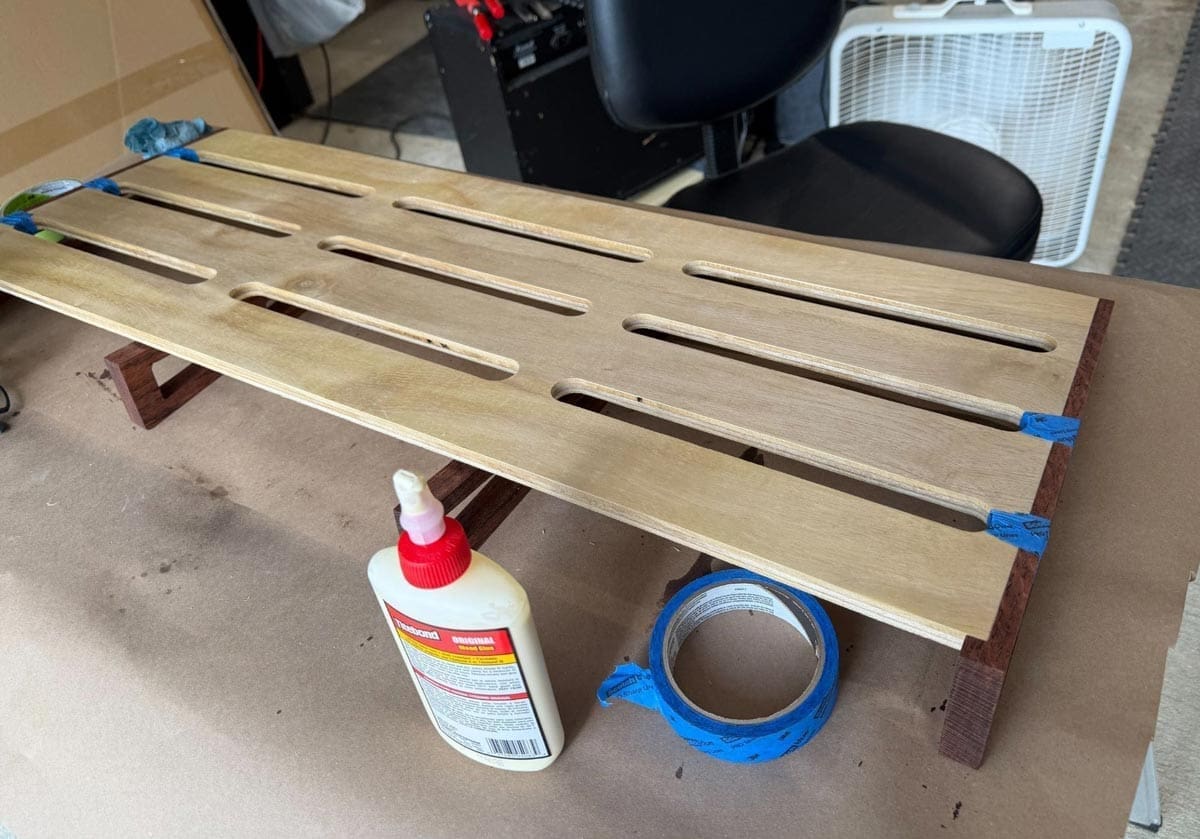
Step 6 – Assemble and Glue
Dry fit all parts first to ensure proper alignment. Then apply wood glue and assemble the pedalboard.
Clamp the pieces securely. If clamps are difficult to use due to the shape, painter’s tape can help hold parts in place. You may also use small finishing nails to secure the risers to the center support if needed.

Step 7 – Final Assembly
Apply 1.5” wide Velcro strips to the top surface. Use the soft (loop) side on the board for best results.
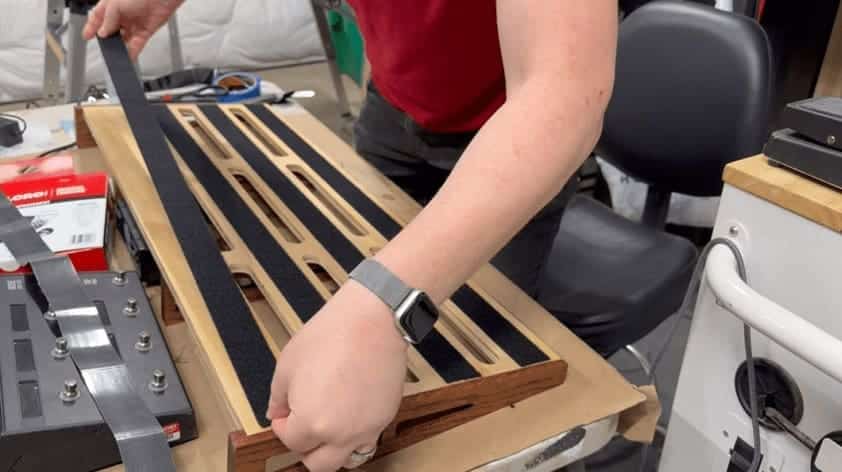
Once complete, mount your pedals and arrange your setup however you like.
Final Thoughts
We hope you enjoy building and using this pedalboard as much as we enjoyed designing it.
Thanks for making!