Skip to content
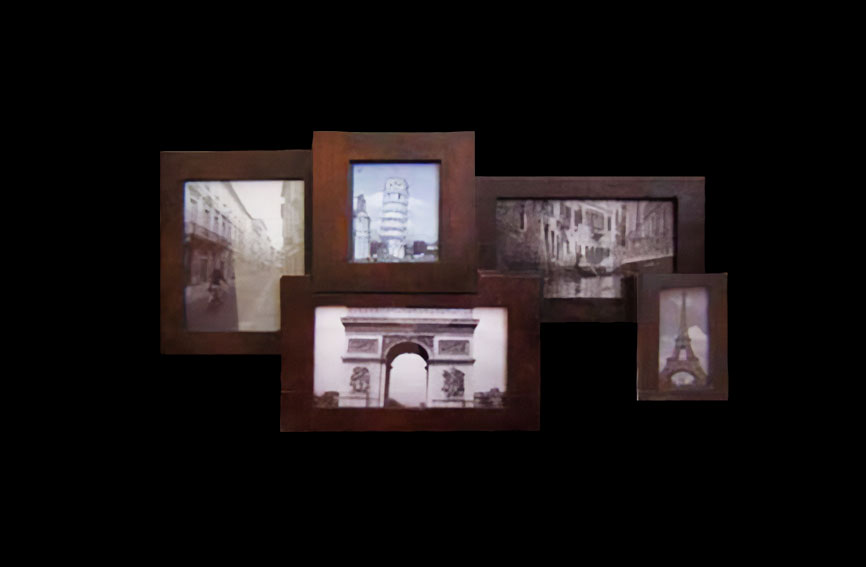
Carve, cut, and create this elegant yet simple picture frame project to accent your home or office.
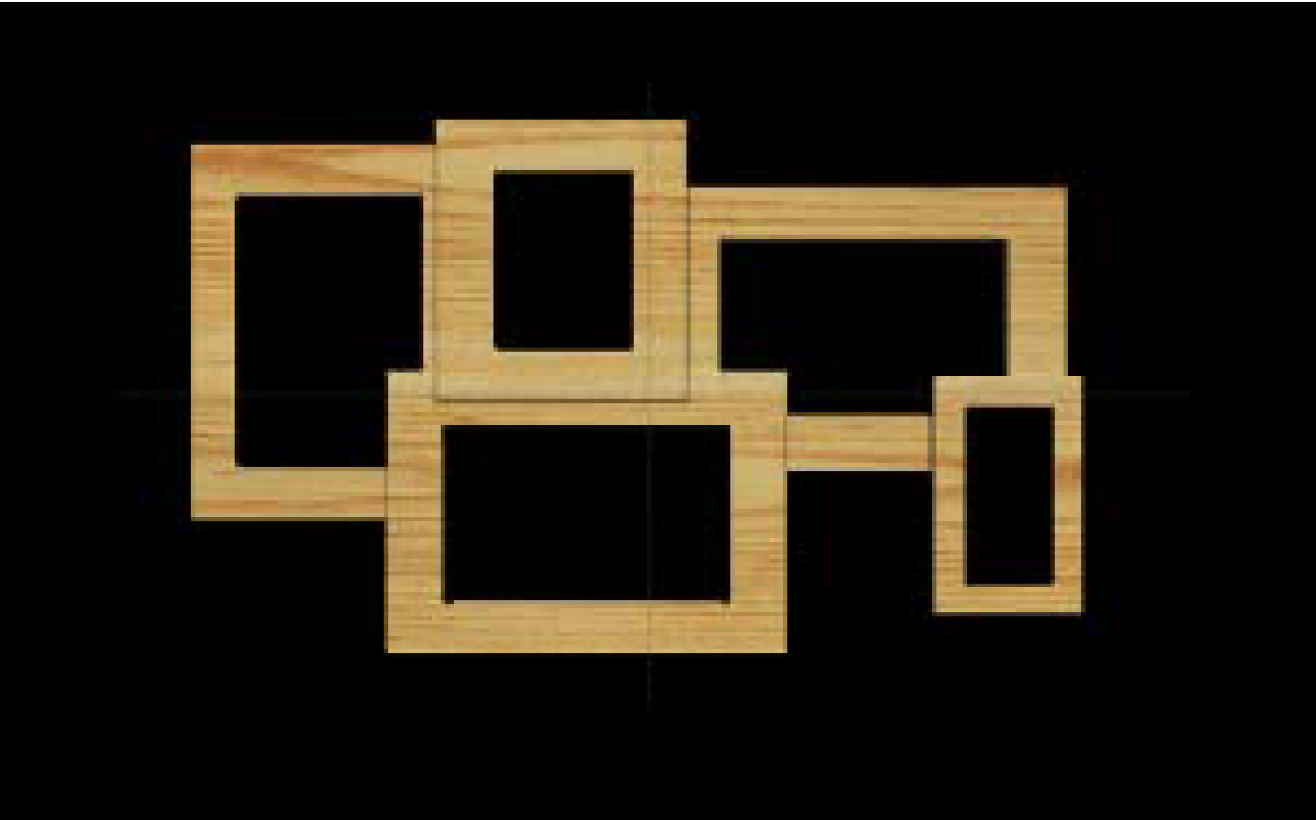
The board dimensions for this project are 31 in. x 14 in. x .75 in.
This project will be carved on the front and back of your board. It is extremely important that your board is square and flat on both sides. This will ensure proper tracking and carving of your CarveWright machine. Again, we cannot stress the importance of proper board preparation. Failure to pay close attention to this easy step can result in project failure. DON’T RUSH.
ITEMS YOU WILL NEED
- Bits:
- 1/8″ Cutting
- 1/16” Carving
- Boards needed:
- 31” x 14” x .75”
- To get a board this size, you may use plywood, or joint and glue boards together.
- Other items needed:
- .093 11” x 14” sheet clear acrylic (Lexan)
- Thick posterboard or photo matte board
- Small screws
- Small picture-hanging bracket
- Photo frame retaining clips
- Accessories:
- Small wood chisel
- Screw drivers
- Scissors
- Recommended Items:
- Sanding mop
- China marker
- Acrylic cutting knife
- Glass pane & glass cutter
- 220 grit sandpaper
- Hot glue and glue gun
- Dremel-type rotary tool with an assortment of abrasive bits
- 3M sanding wheels
STEP 1 – Upload Project
Open the Designer software and open the included project file(s). You can then simply compile (upload) the project(s) to your memory card.
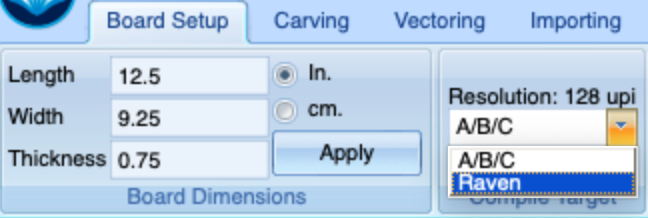
Compile For RAVEN
If you are using a RAVEN CNC, you will first need to convert the project to RAVEN before compiling.
Under Board Setup, choose Raven from the Compile Target dropdown.
Once converted, select Compile under the File (Shell) menu and choose the following options:
- No Jig
- Yes to New board size
Compile For A/B/C
When you compile for an A, B. or C model, you may or may not get a pop-up window with an “Auto-Jig” warning message. If you do see the message, you may safely click on “Ignore” because our actual boards will be large enough that it won’t be an issue.
After the project is compiled, select “Normal or Best” for the File Quality setting. Click “OK” to upload to your memory card. Take and insert the card into your machine and load the project board. Turn your machine on and proceed with Step 2…
STEP 2 – Carving
At the machine, follow the prompts to carve the project. Once the carving is finished, remove it from the machine and vacuum or blow off any excess sawdust.
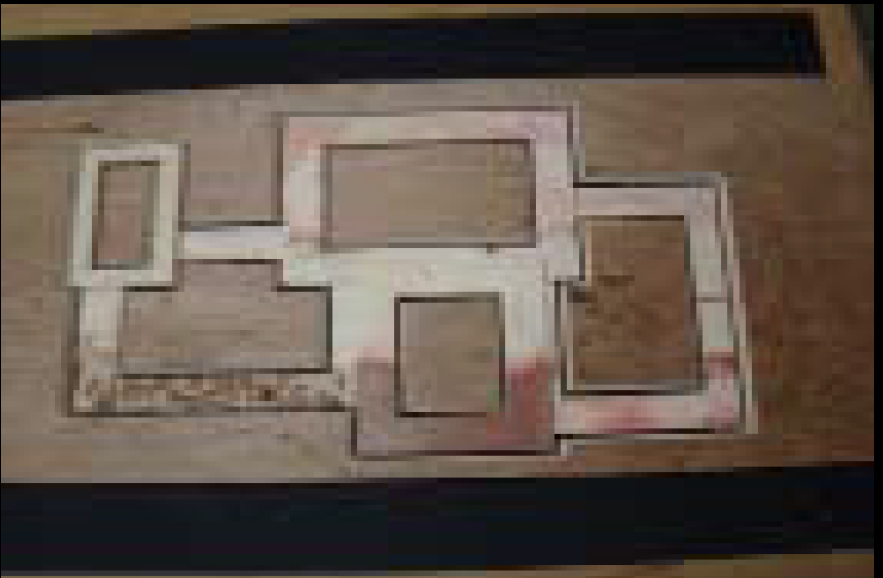
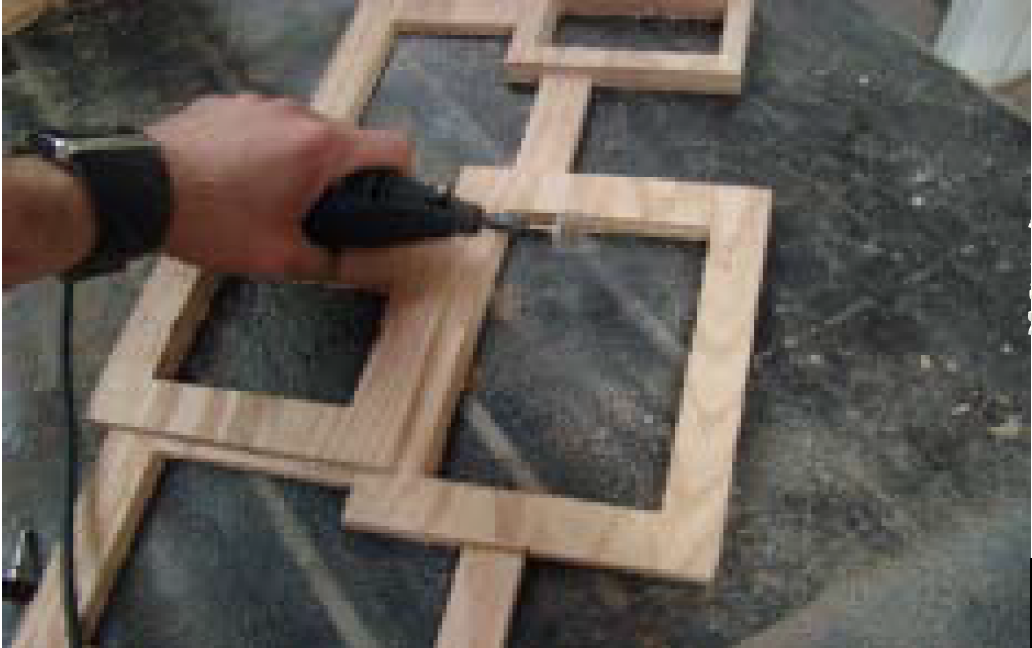
STEP 3 – Working with the Parts
When your machine is finished carving, carefully remove the project board from the machine. cut the tabs with a chisel. Clean up any rough edges with 220 grit sandpaper.

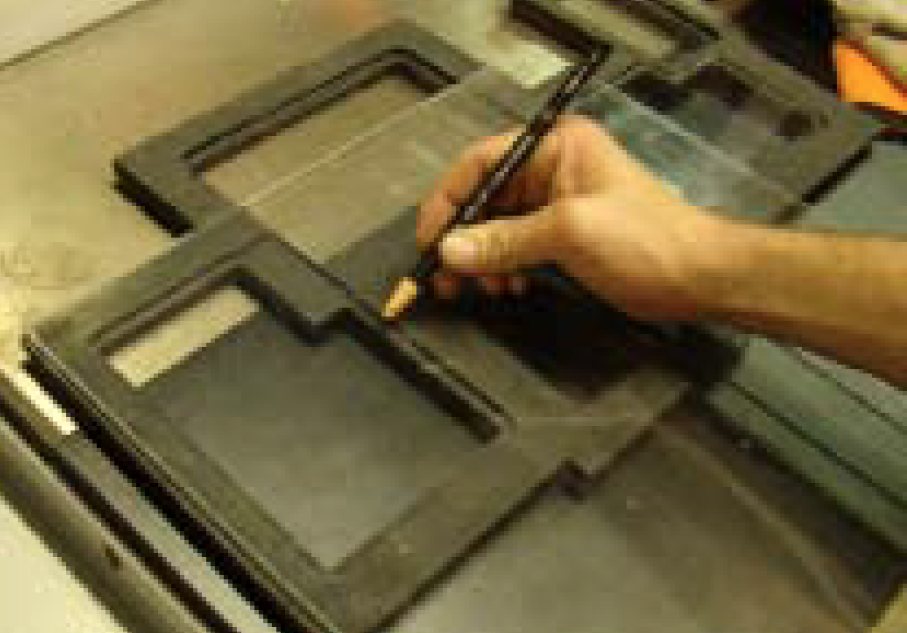
STEP 4 – Sanding
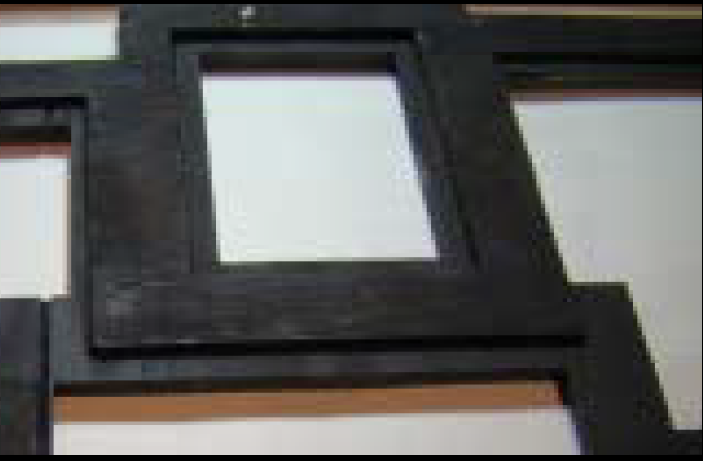
Clean the wood fuzz using a rotary hand tool with abrasive bits, a 6” 180 grit sanding mop, or 220 grit sandpaper. It can also be sanded by hand with 220 grit—your preference. You can then finish the frame
with any decorative finish that appeals to your taste.
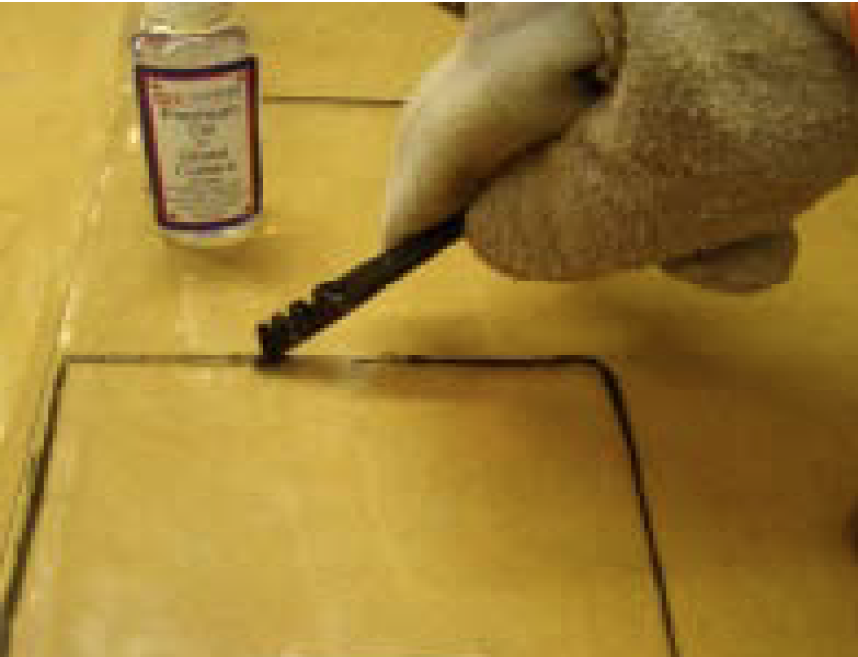
STEP 4 – Cutting the Panes
For the picture panes, use Lexan clear acrylic or glass. If you’re using glass, watch some videos and read up on how to do that properly and safely. Measure the openings on the back of the frame for the dimensions and cut each one. Lastly, repeat the same process with your poster/matte board.
Finally, you will attach the photo board retaining clips to the back of the frame. These are used to hold everything in place. Once you’ve attached the clips, you then attach the hanging bracket hardware of your choice.
FINAL
Add your favorite photos and you now have a beautiful photo collage ready to display on the wall!