Create Some Simple Easter Cutout Projects
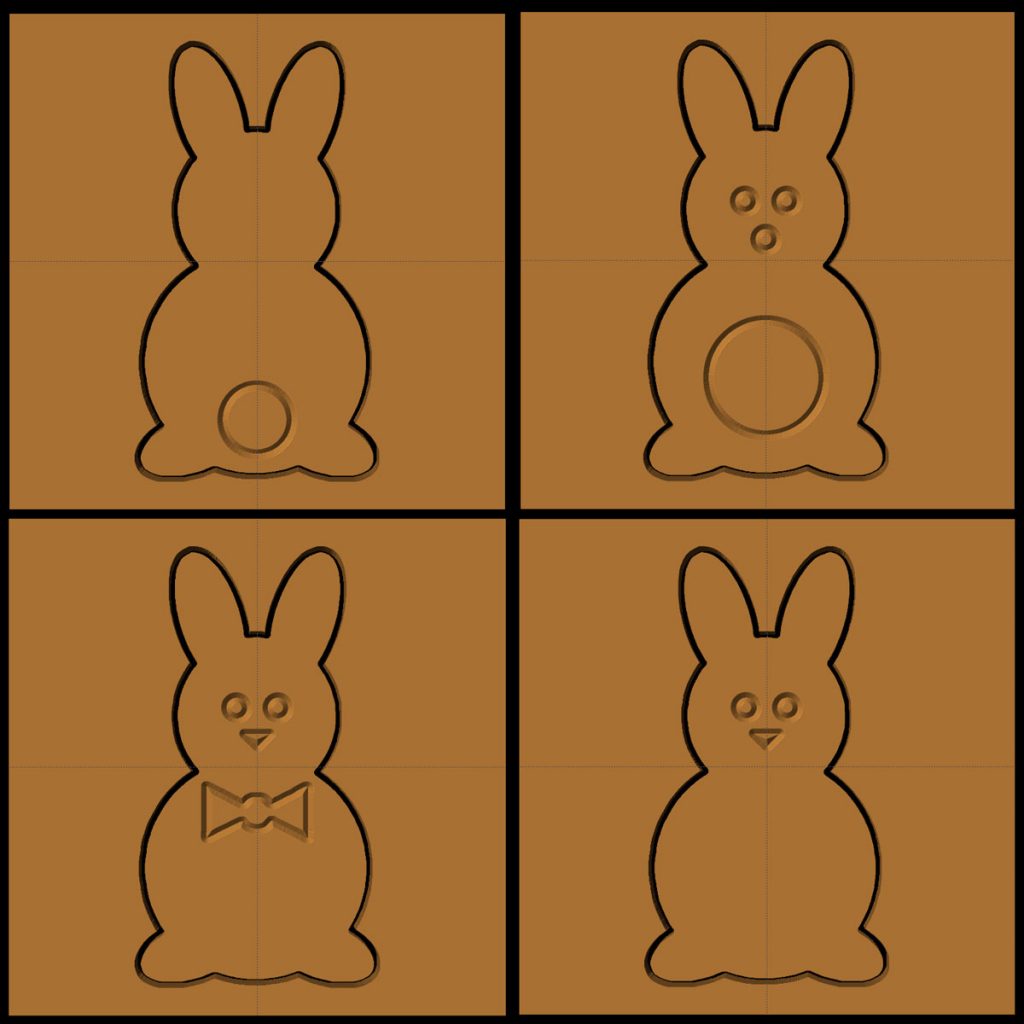
Hi, this is Connie. I am the voice on the phones at CarveWright when you call and, as you would expect, I spend most of my time at work in front of my computer. In between answering customer service calls, I like to play with the CarveWright Designer software and try to create patterns based on things I like on Pinterest. Here are some simple projects that I did for Easter. They are great fun to cut out for the kids stuck at home. They would enjoy decorating them and maybe placing the in the yard or windows.
These patterns were simple to make using three basic shapes. First, I made patterns for a circle, an oval, and an egg shape.
Then, I used those 3 patterns as building blocks to create the designs I wanted. By resizing, overlapping, and rotating I created these simple silhouette shapes of bunnies and a baby chick.

Once the overall outline was created, I drew in some simple details to liven up the designs. I set the outline as a cutpath with the 1/8″ cutting bit and the details to rout with a 90º V-bit.

Have fun playing with all the variations you can make with the details.

The projects are free to download and use. They are set up on 12″ x 12″ x .5″ project boards to be cut on 20″ x 12″ x .5″ plywood. Once cut, coat thoroughly with white primer and paint however you like.
Project files require Designer PRO 3, 90º V-bit, and 1/8″ Cutting Bit.

Also, I’ve been tasked with producing some projects for my brand new grandbaby, Brooklyn! I’ll have more projects to share in the coming weeks as we decorate the nursery. Stay tuned!

Happy Easter, everyone!
Stay Home. Stay Healthy. Stay Creative.
Explore Project Categories
Customer Stories
News
Subscribe To Our Newsletters
Learning, projects, customer highlights, and promotions in your inbox!


