Skip to content
These RAVEN CNC project offer two charming salt cellar designs to suit your style and skill level. Choose the elegant sea shell-shaped cellar for a coastal-inspired touch, or go with the sleek, rounded version featuring a magnetic lid and a matching carved spoon for modern functionality. Both projects come complete with all the necessary files and easy-to-follow instructions, making it simple to create beautiful, handcrafted kitchen accessories perfect for everyday use, a thoughtful gifts, or a great product to sell!
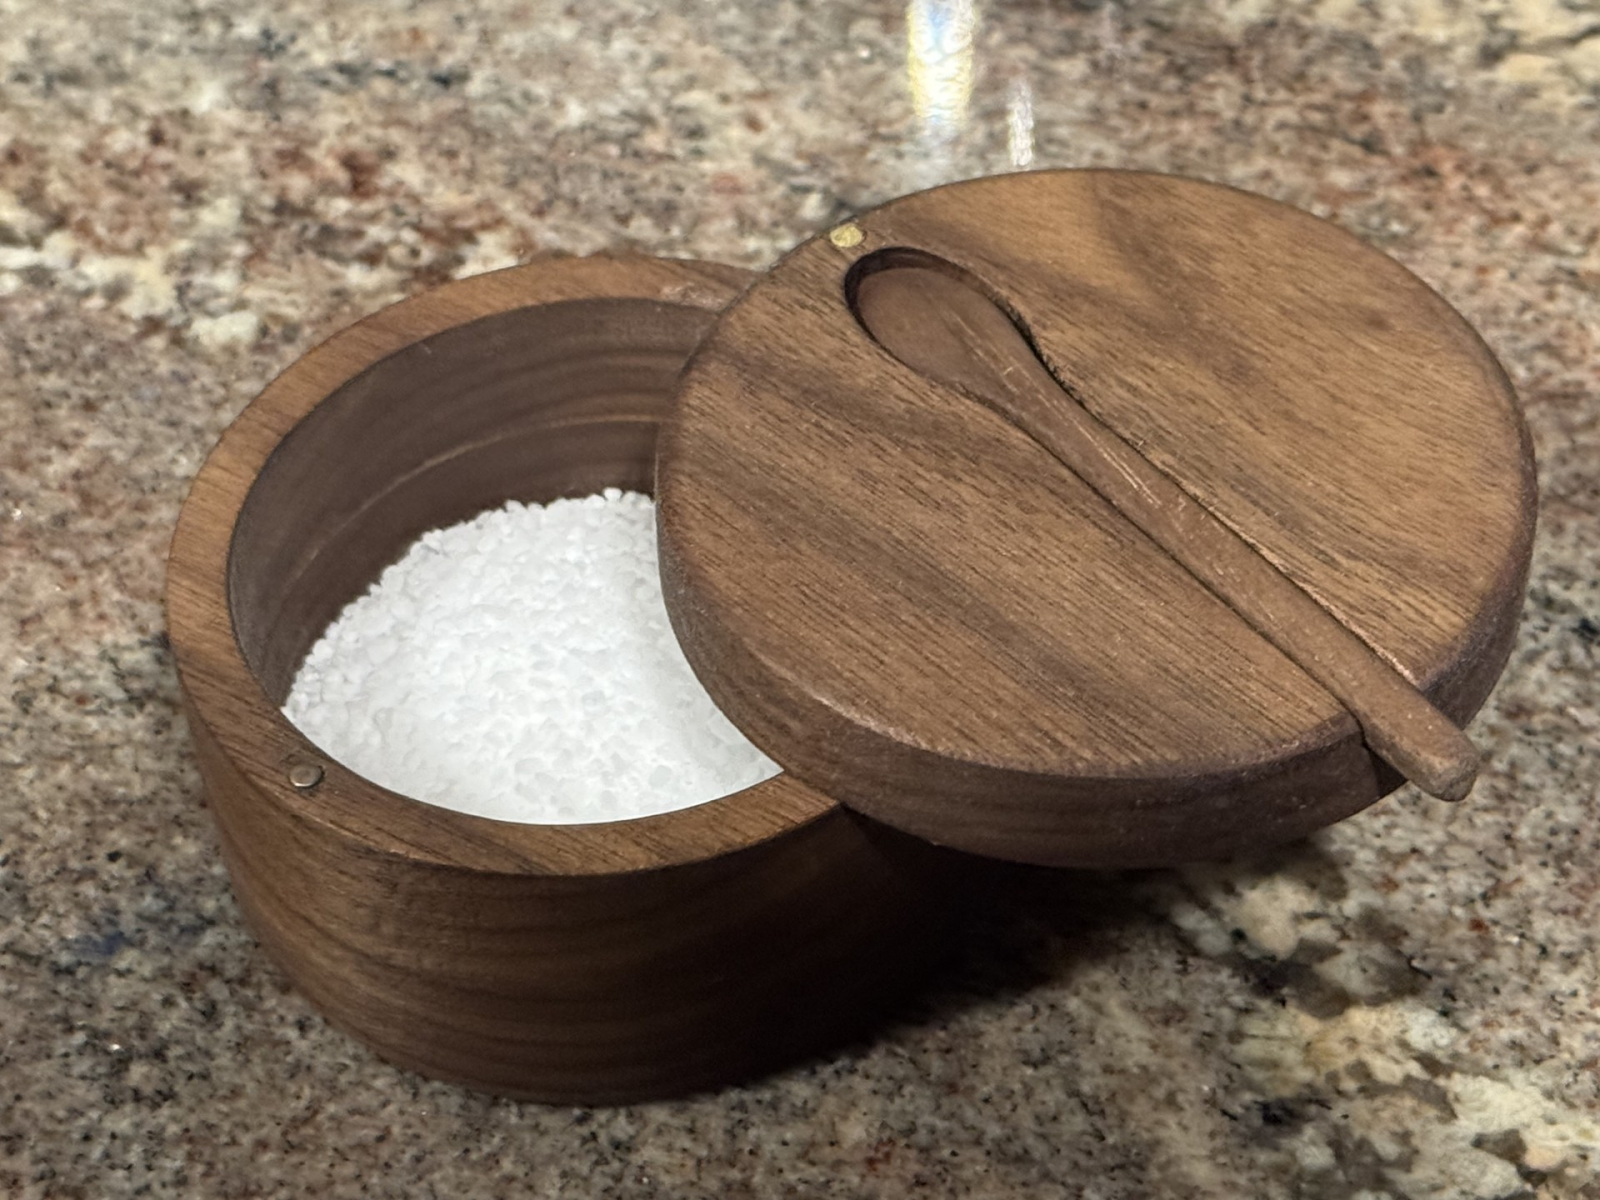
Rounded Salt Cellar
$12.00
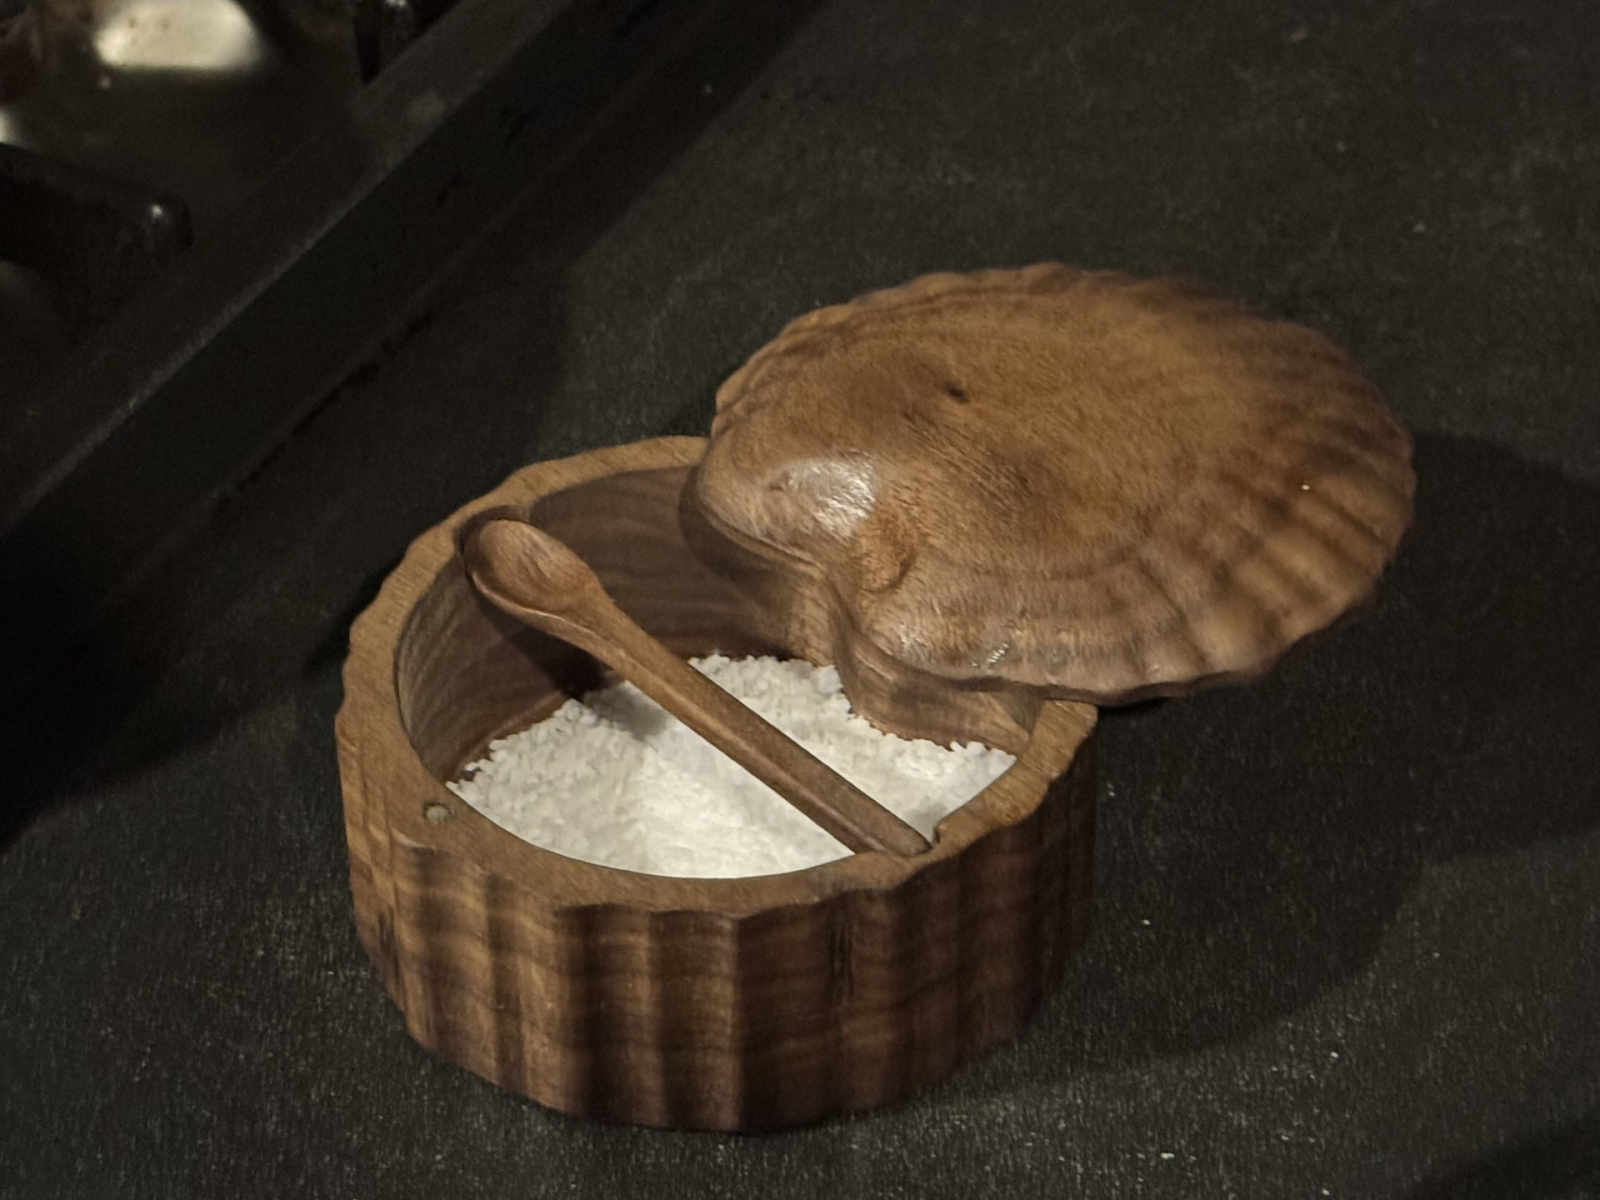
Sea Shell Salt Cellar
$12.00
See How It’s Made!
There are 2 versions of this project available, but for this article we are featuring the Sea Shell version. The instructions for both are very similar.
ITEMS USED
- Project File (Included)
- Shell_Salt_Cellar.rvn
- Bits:
- 1/16” Carving Bit
- 3/16” Cutting Bit
- 1/8” Cutting Bit
- Boards needed:
- .75” x 5.5” x 12.5” (1×6)
- Other Needed Items:
- Sandpaper, waterproof wood glue, CA glue (superglue), food safe wood finish
- Number 6 wood screws at least an inch long
- 1/8” drill bit
- 1/8” brass rod
- 1/8” diameter magnets
- Recommended Items:
- Large 240 grit sanding mop
- A Dremel-type rotary tool with assorted sanding wheels and bits
STEP 1 – Upload Project
Open the Designer software then open the included project file and compile it.
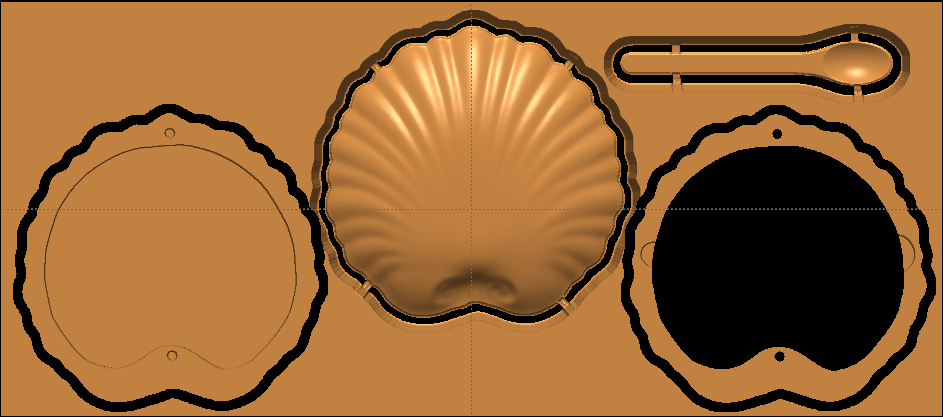
This project was created to use the RAVEN Universal jig. If you are not running the project in the Universal jig be sure to compile the board so that it will be kept under rollers.
On the quality we recommend Good for softwood and Best for hardwood.
NOTE: Carve times are as follows:
Good – 1 hr 09 mins
Best – 1 hr 28 mins
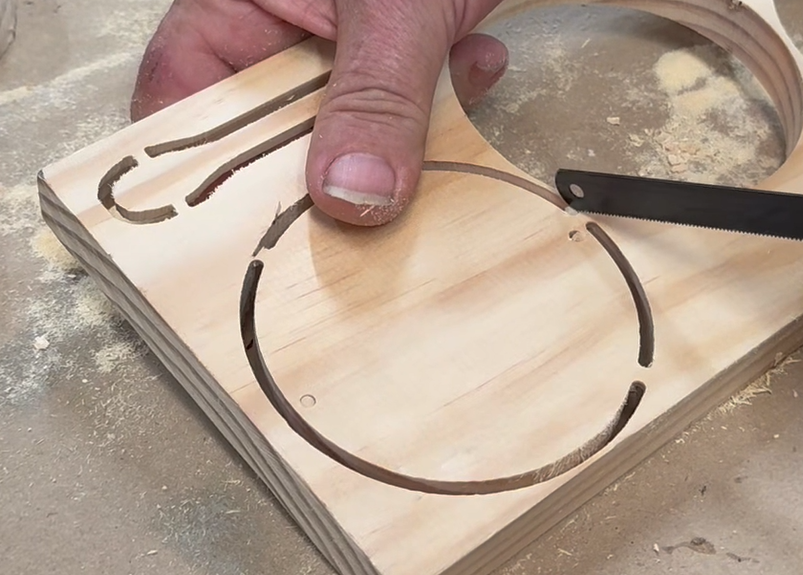
STEP 2 – Separate the Parts
Separate all the pieces from the tabs using a small side cutter, thin saw blade or a sharp chisel.
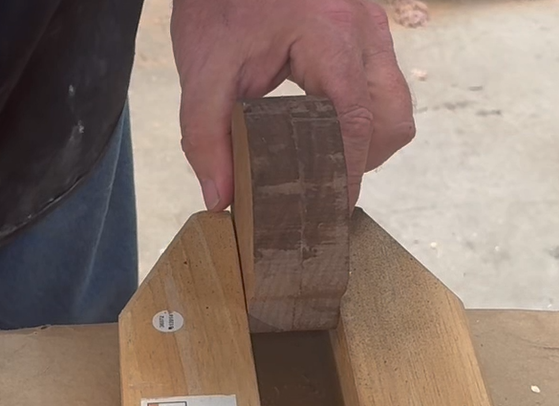
STEP 3 – Top Holes
Thread number 6 wood screws into the holes in the middle section so that they just show through.
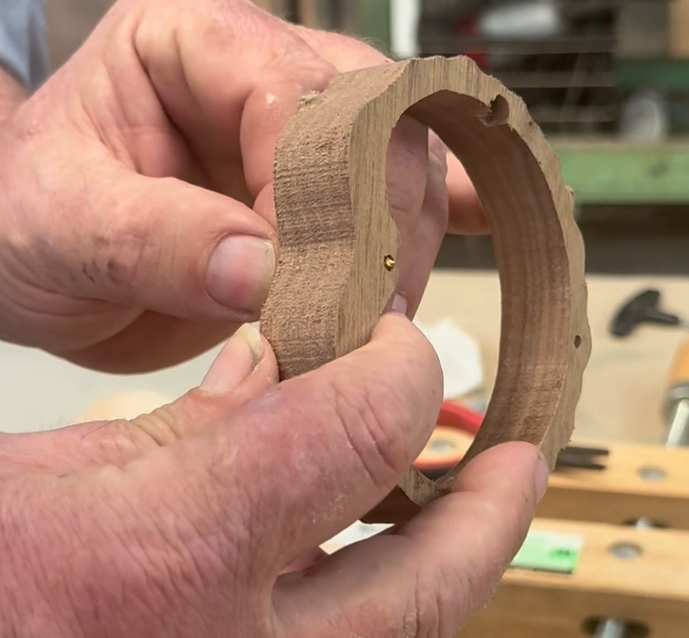
The top is set up with a draft so it will overlap the mid section. Line the top up with the middle section so the overlap of the top is uniform then press the screw points into the top.
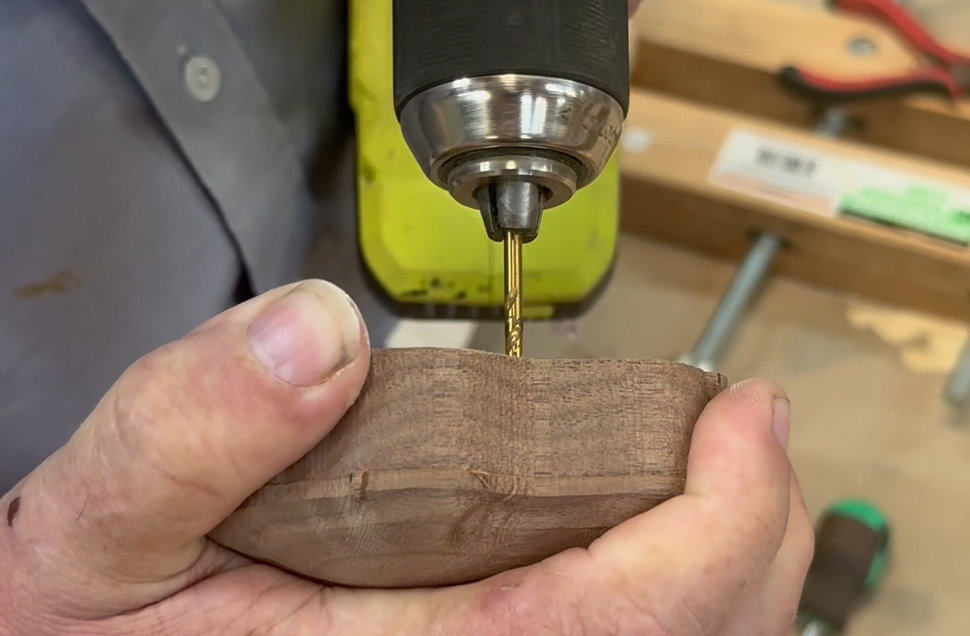
Using an ⅛ inch drill bit, drill a shallow hole for the magnet and a starter hole for the hinge.
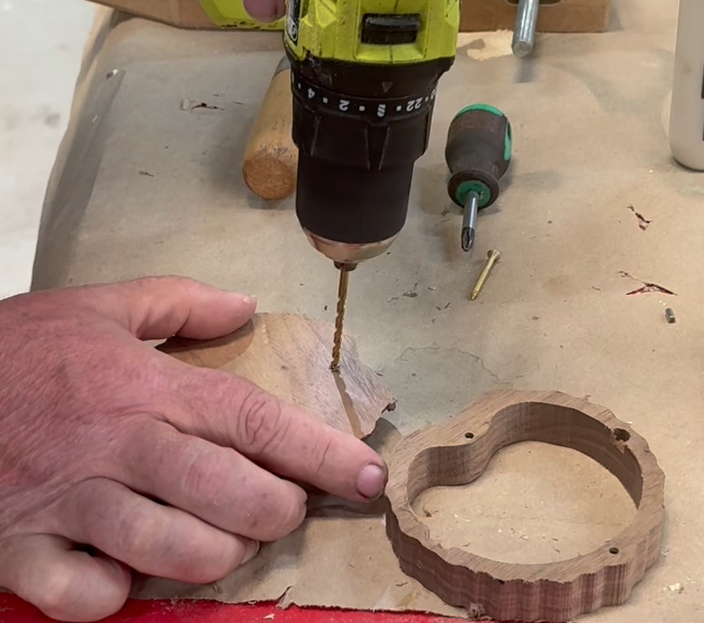
Use the middle section to keep the hing hole in the top square. Be careful not to drill through the lid.
STEP 4 – Assembly
Glue the middle and bottom section together using a water proof glue.
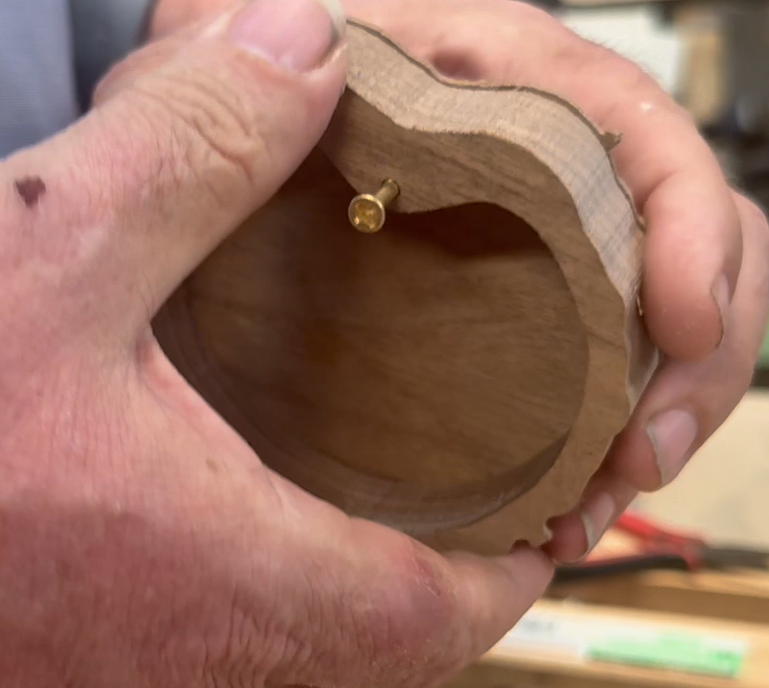
Use superglue to attach the 1/8” magnets into the base and the top. Make sure you have the polarity correct so that the top and the bottom are attracted.
Cut a .75 inch length of the 1/8” brass rod, put a drop of super glue in the hole in the top and press the rod in.
The top is assembled by pressing the brass rod into the base.
STEP 5 – Sanding
I found that a spindle sander made sanding the sides easy.
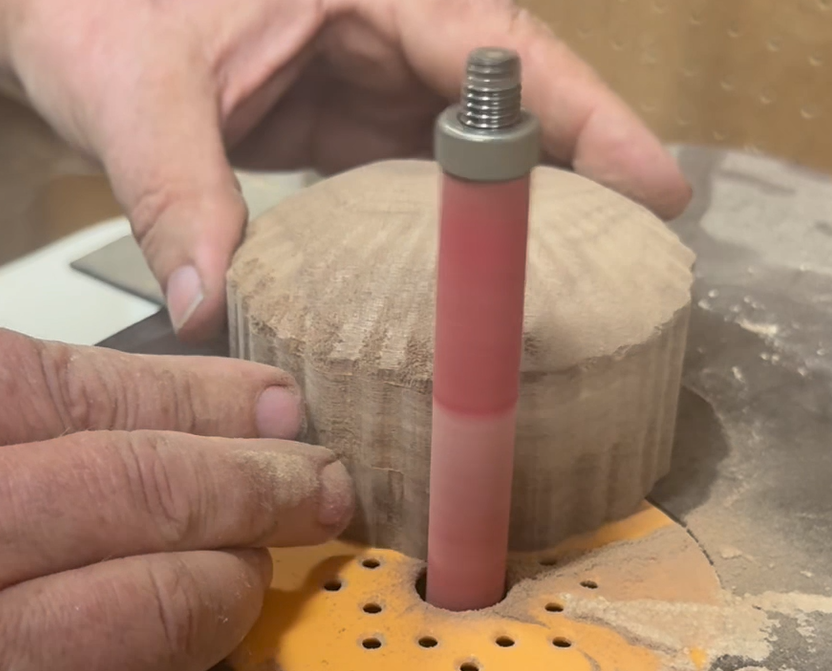
Use a rotary tool to get into the hard to reach areas.
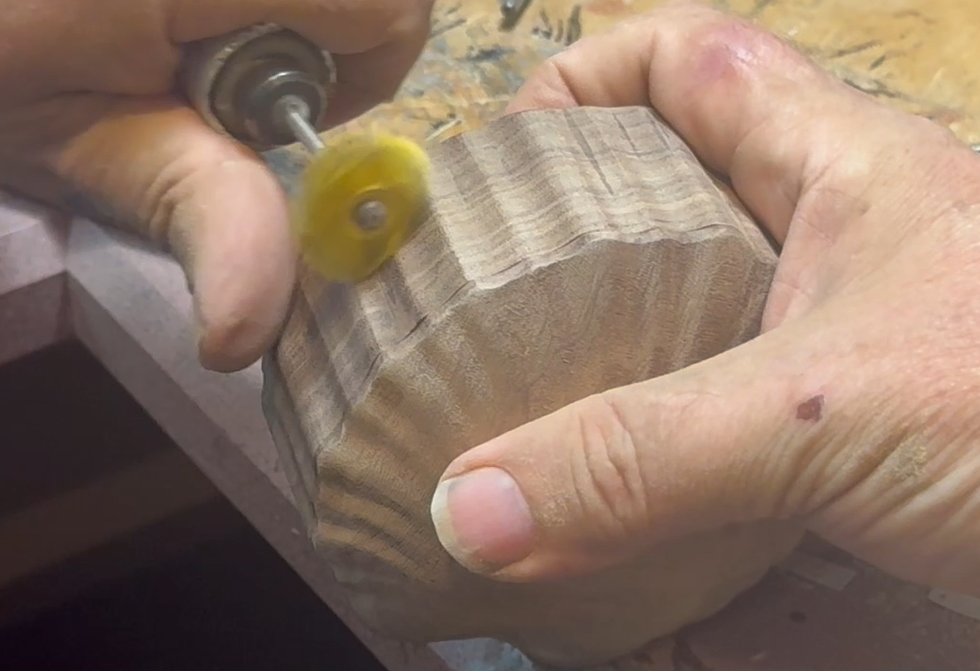
Use a sanding mop to polish the assembly.

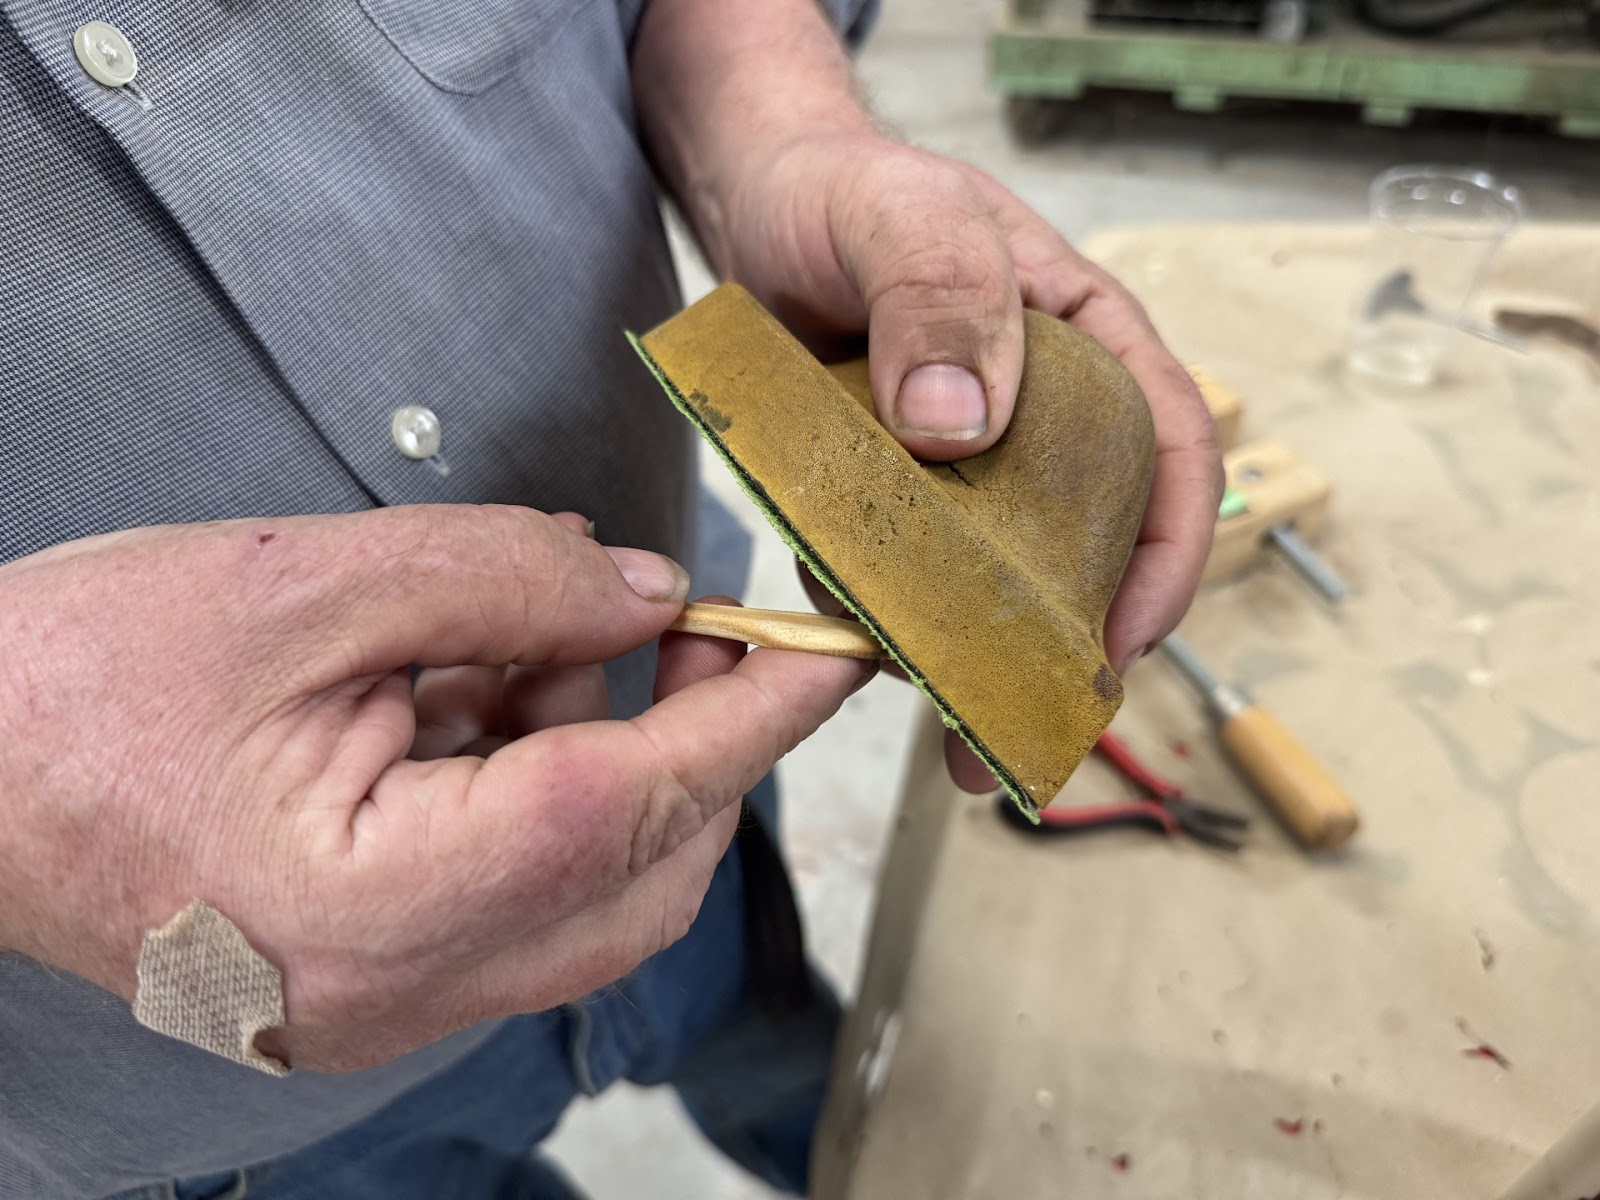
Shape the bottom side of the spoon.
STEP 6 – Finishing
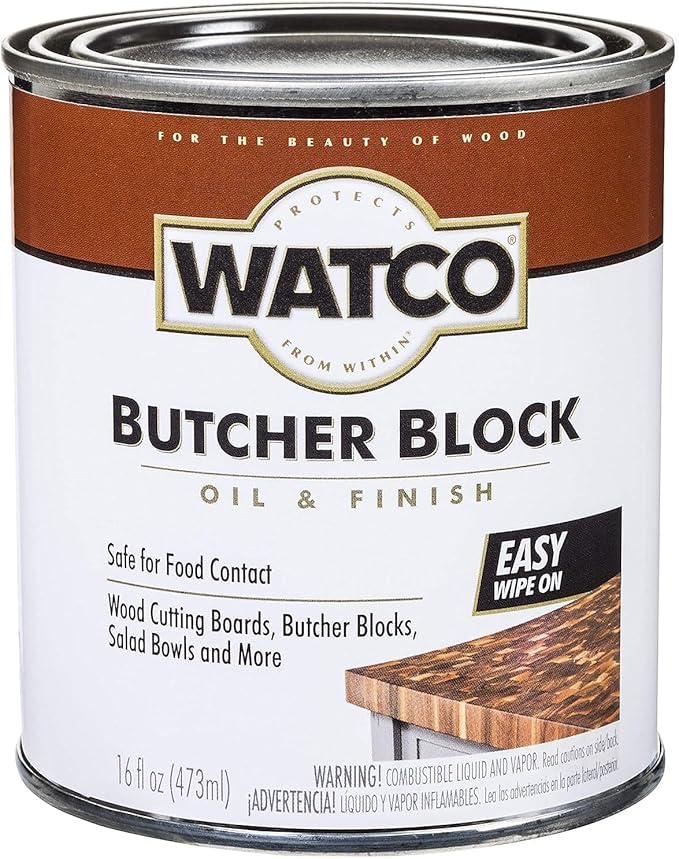
Finish the project with any food safe finish. I used Watco Butcher Block Oil & Finish on these parts.
We hope you enjoy these projects!
Thanks!