Metal Embossing and More!
When I first set out to make the chocolate molds from my last blog post, I had an idea for making custom tins for packaging the chocolates. What if I could stamp metal and create a custom embossed tin box? This will take some thinking and some experimenting, but I think I can pull it off. To start off, lets do a test.
Testing The Idea
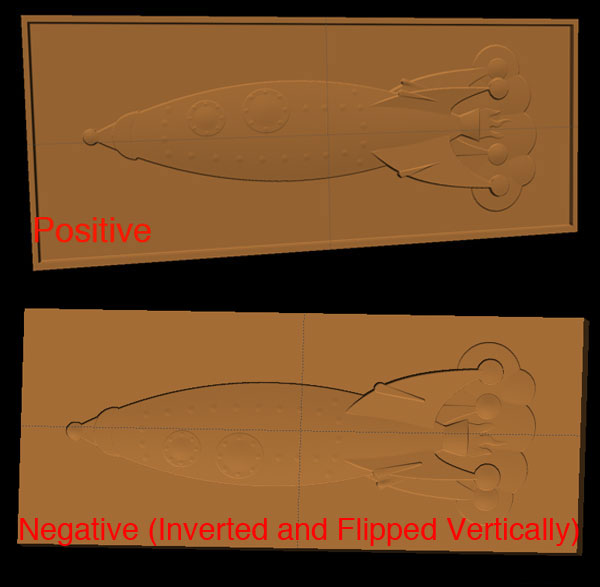
I selected the rocket chocolate design and laid it out on a 5″x12″x.75″ board. I set it to 1/8″ deep and then created a rectangular carve region at the same depth almost to edge of the board. I uploaded this, set the quality to normal, and named it rocket positive. Then I deleted the carve region, inverted the rocket pattern, and then flipped it vertically so the two carvings will fit together. DON’T FORGET TO FLIP THE PATTERN! I MADE THIS MISTAKE SEVERAL TIMES AND HAD TO RE-CARVE SO THEY WOULD FIT TOGETHER. Invert tool can be found under the carving menu at the top and the flip tool can be found in the right click menu with the pattern selected. After setting the feather to none, I uploaded it as, set the quality as normal, and named it rocket negative.
Then lets go to the machine and carve these out. Since this is a test, I am just using cheap 1″x6″ pine cut to 19″ long so it will stay under rollers.

Ok, I got my patterns carved. The positive carve I cut off the raised edges so it was able to fit right into the negative. It was a perfect fit.
I bought some craft metal at the local Hobby Lobby to do some testing. I got some aluminum and some copper. These came in rolls, so I unrolled some of it and sandwiched it in between the two carves. Then I pressed it together with my hands initially just to get the two halves to match up.
Next I need some more pressure. We have a kick-press here in the shop that I decided to try. With my sandwiched metal cut to size and in between the two halves I put a piece of metal on top and stomped the press down all over the surface to get a nice and even stamp.
This worked great. The detail came out nicely.
I ran several more tests with the copper and also with some much thicker flashing material we had laying around. The flashing material didn’t get as much detail, but it gave enough for me to get some ideas on how to do this better.
I would call this a very successful test. I am certain this can be done very well now with a little more planning. So, let’s do some more, but with more planning.
Making Stamped Tin Boxes
I found some blank metal tins at a party supply store and then, after some measurements, went back to the CarveWright software and began laying out a new design to put on these boxes. Again, like the last design, I made a positive and then a negative with the invert tool and uploaded them to carve. I made the pattern fit the lid of the box perfectly so I could easily lay in the box lid and not have a lot of trouble indexing it.
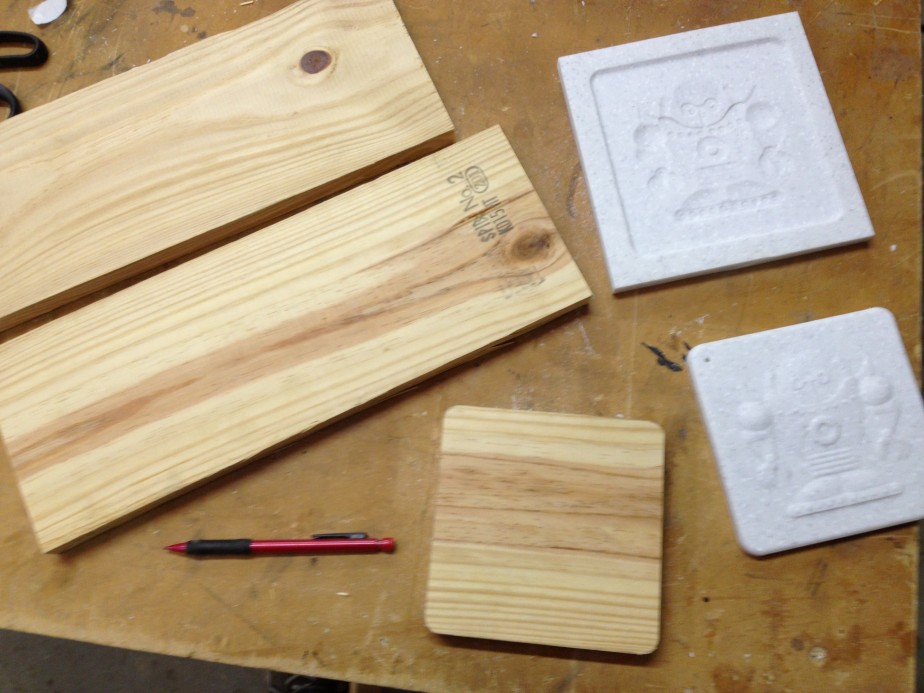
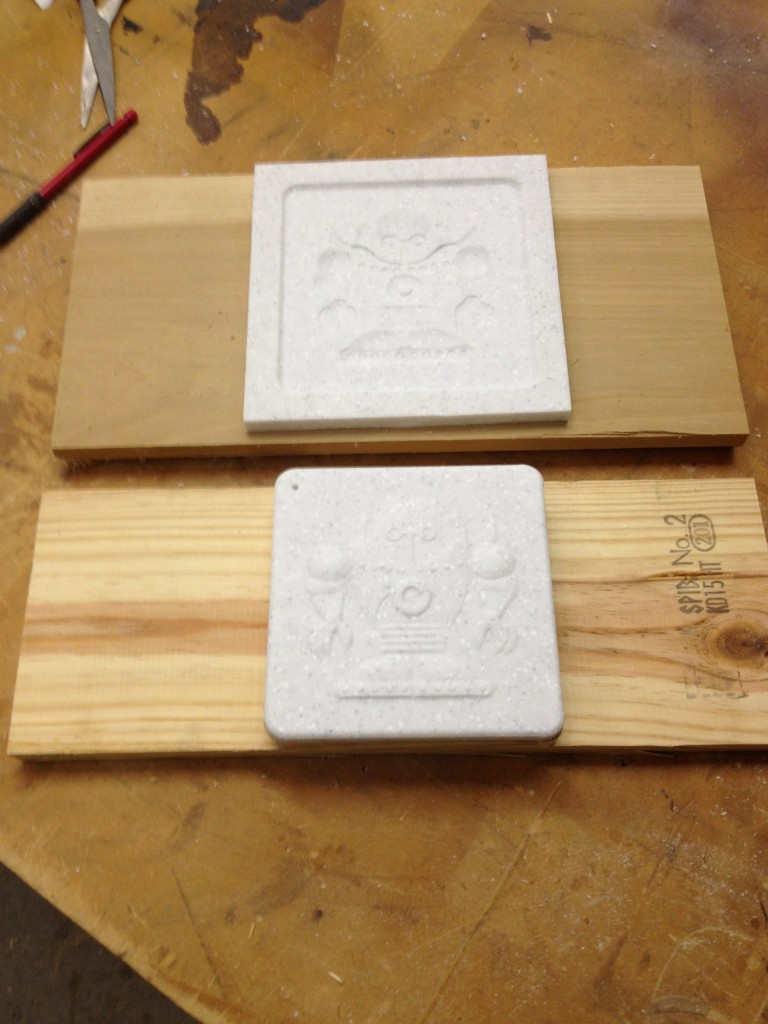
The test I did earlier had been carved in pine. Although it showed me this can be done, the softness of the pine kind of rounded out and flattened after doing a few tests. I wanted to use something harder this time. I have all this 1/2″ Corian I acquired for carving my chocolate molds, so I’ll try it and see how it works.
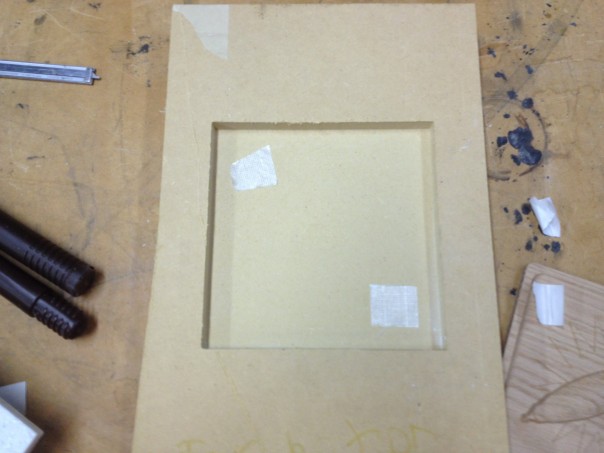
First I’ll need to make a jig. I designed these to carve on 7″x7″ squares in 1/2″ material, so I’ll have the machine carve these sized regions into some boards at least 8″x14″. This way I am certain they will stay under the rollers for my carves and I’ll have plenty extra to hold on to. Once the jig is made, I’ll put some double-sided tape down and place in my 7″x7″ piece of corain.
Now, lets load these into the machine and carve them out.

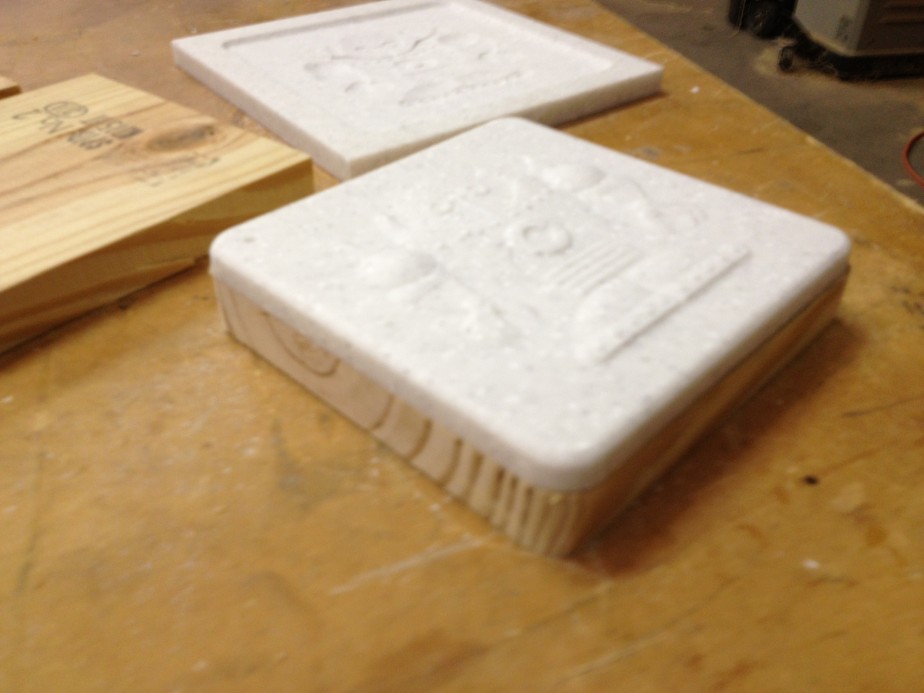
They carved out great! Perfect detail and very clean fit. Now, I’m going to make a jig to index these together. I want to be able to reliably fit these two halves together when I have my material in between. It won’t look good unless I can get them to match up perfectly every time. The way I’ll do this is with some scrap material I have around cut into about 14″ lengths. Then I’m going to cut a piece exactly the same size as my positive piece.
Next with super glue, I’ll glue the positive piece to that piece, basically just increasing it’s thickness.
Next, I’ll glue that to the center of one of my 14″ boards. Then, fitting the negative on top of the positive, and then stacking the other board on top of that I can position it all so it lines up with the bottom pieces. Mark it and then glue the negative side together.
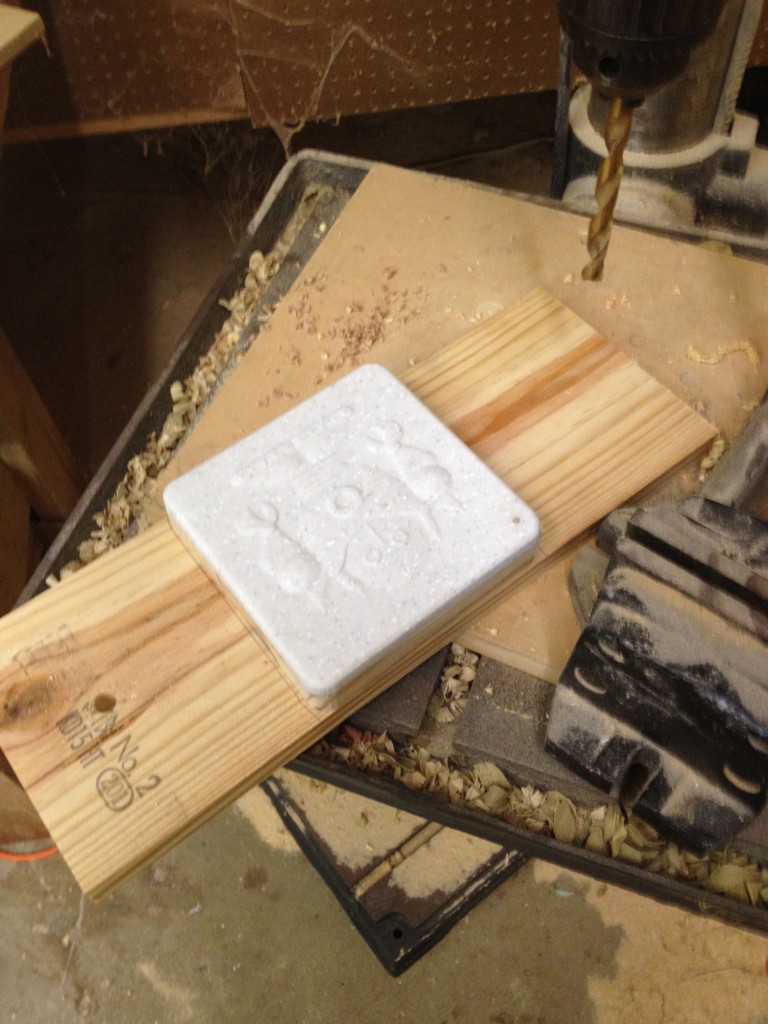
No we have our two sides to the die. We still need a way to make sure these perfectly match together though. We’ll do this by drilling holes on both sides and using dowels to peg them together.
Now my die is ready to do some tests with to see how it works. I’ll start with the thin aluminum and then try the flashing material before I try the box lids. I’m also going to try using a hydraulic press this time.
Aluminum came out well. A little bit of wrinkling around the edges, but the details came out perfect.
The flashing material also came out great. Lots of detail and very little wrinkling.
I am pleased enough with these to try one of my box lids.
Box lid is perfect!
Now, with a label design printed and wrapped around the tins.
Now, I just need to fill them with my gummie treats and chocolates and I have developed my own product line.
What Else Can I Stamp!
Just for fun, I decided to do some other playing around with my die to see what else I could emboss. Here are some results:
Paper
Dear skin – I used a spray adhesive on the back and put paper on it as a sizing to hold the embossing in place. Worked perfect.
Hard leather – This has no sizing. Just the leather pressed.
Vinyl (fake leather) – This required some heat first. I used a heat gun to heat the material and then pressed it with piece of railroad tie. An anvil or something else heavy would work as well.
The process seems pretty solid. I really like the leather stuff. Wonder what project I’ll think of to make use of that?
Explore Project Categories
Customer Stories
News
Subscribe To Our Newsletters
Learning, projects, customer highlights, and promotions in your inbox!


