Skip to content
RAVEN’s precision opens a lot of possibilities that were never available with older model CarveWright CNC systems. Fine engraving for one wouldn’t even be a consideration, but now is not only possible but easy too!
Check out this project we did that shows the process and find links to everything you need to try it yourself!
Creating The Jig
To do engraving, we needed to find an easy way to clamp the material so it wouldn’t move. We came up with a simple wedge clamp that we even made on the RAVEN itself with one bit. This jig concept can be adopted for many types of projects, including lithophanes.
When designing you own jig, please note:
- Design a region slightly larger than your material.
- Include a bump-out area to place the touch plate for finding the bit tip.
- Design a pocket region within the jig for the wedge to drop into.
- Add a drill hole in the pocket for the T-handle Allen wrench to pop the wedge out when necessary.
- Create a small hole in the corner of the jig as the location hole for the bit.
- Making the whole the same diameter of the bit you intend to use can make it easier to locate your starting corner.

Engraving Resolution
Small engraving requires high resolution, so Designer 5 has options for setting the resolution when creating a new board. For very fine detail projects like this, set the resolution to at least 512 or up to 1024 if needed.
Tips on Working in High Resolutions
- Never use high resolutions outside of very small projects. It will not affect the quality of larger projects, but it will certainly bog your computer down and cause you difficulty.
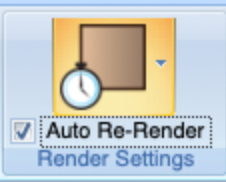
- The software will keep the resolution low while you are working. In order to fully see the project at resolution, you will need to use the Preview Full Res button in the view toolbar.

- In order to use the Preview Full Res button, you must have Auto Re-render selected in your Board Settings.

Control Engraving Boldness
Engraving is done by dragging a diamond tipped bit along the path. You control the force applied to the drag bit with adjustments to the depth settings. More force will create a bolder engraving. RAVEN’s drag functions use the servo motors force feedback to cap the amount of force being applied. This means, even if you set the bit depth to something crazy like 1” deep, RAVEN will stop pushing when it hits its maximum threshold. A good bit depth range is 01”-.05”.
Optionally, you can also set up multiple passes to make the engraving deeper.

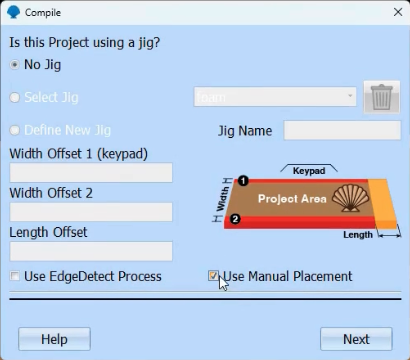
Compile With Manual Placement
When compiling the engraving project check the Use Manual Placement box. After choosing that, it will not ask anymore positioning questions.
Using the Jig
After carving the jig project, secure the AccuTrack belt to it. Some users are using more permanent glues when a jig is intended to be used repeatedly. I’ve found that applying pressure along the tape and belt makes it adhere very well without additional adhesives, but you can determine what works best for you.

To load the jig, simply drop the brass plate into its pocket and wedge it securely.
Use the T-handle to pop the wedge out for plate removal when needed.

Position the Bit
When running the project, it will ask you to Jog to Origin. This will be the starting corner of your project.
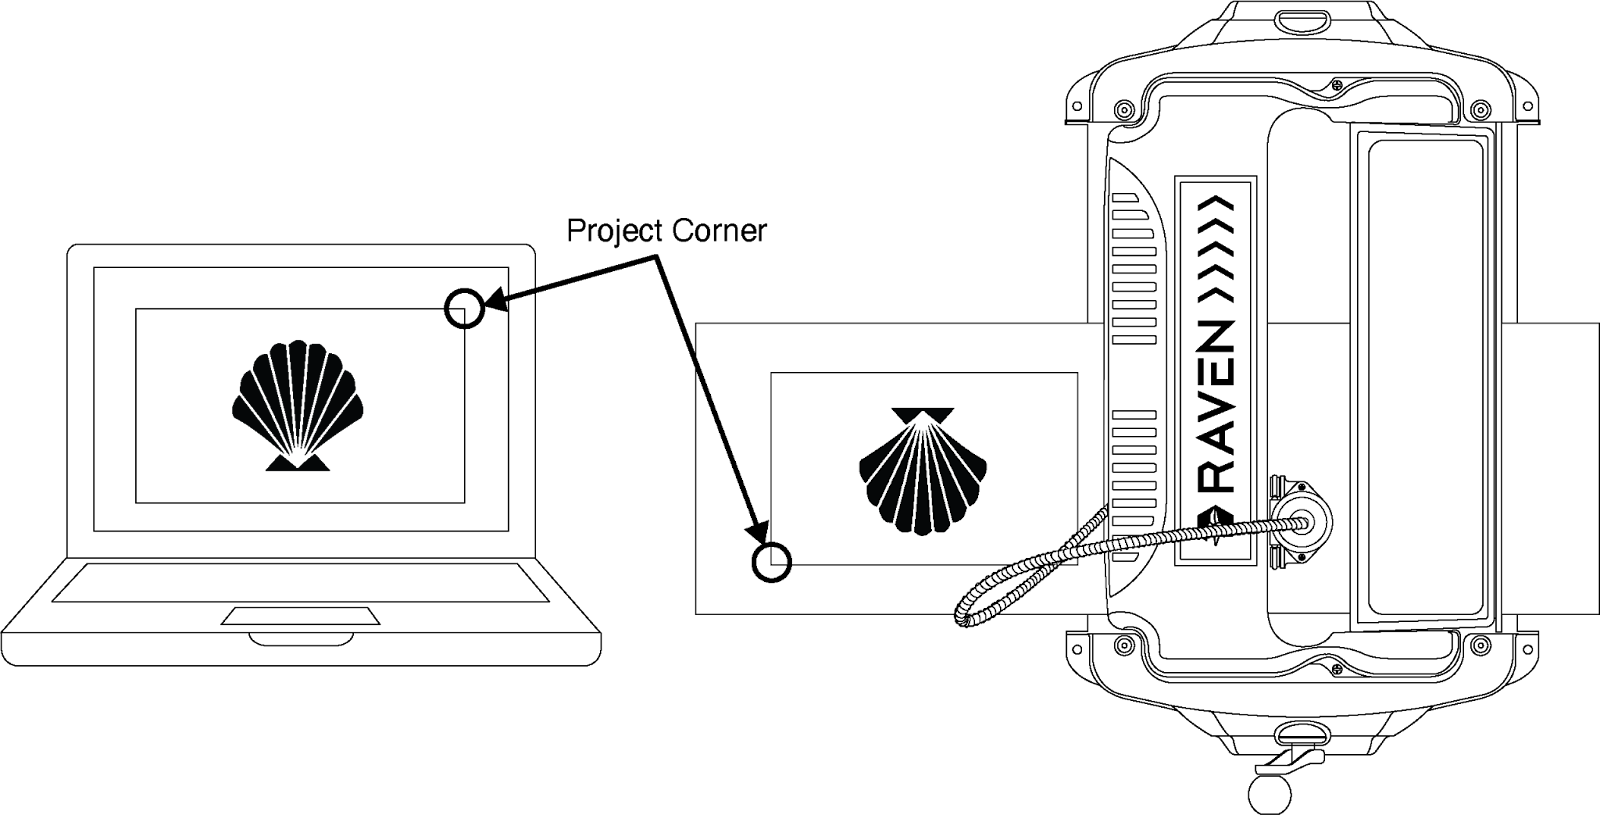
Manually move the machine’s truck and use the arrow keys to position the bit. The Ravne automatically turns on the internal light so you can see better. Tap the buttons to move the bit in small increments until it drops perfectly into the location hole.
Finalize the Setup
After the corner is selected, it will ask to locate the bit. Place the touch plate into the bump out area and jog the bit to its touch position.

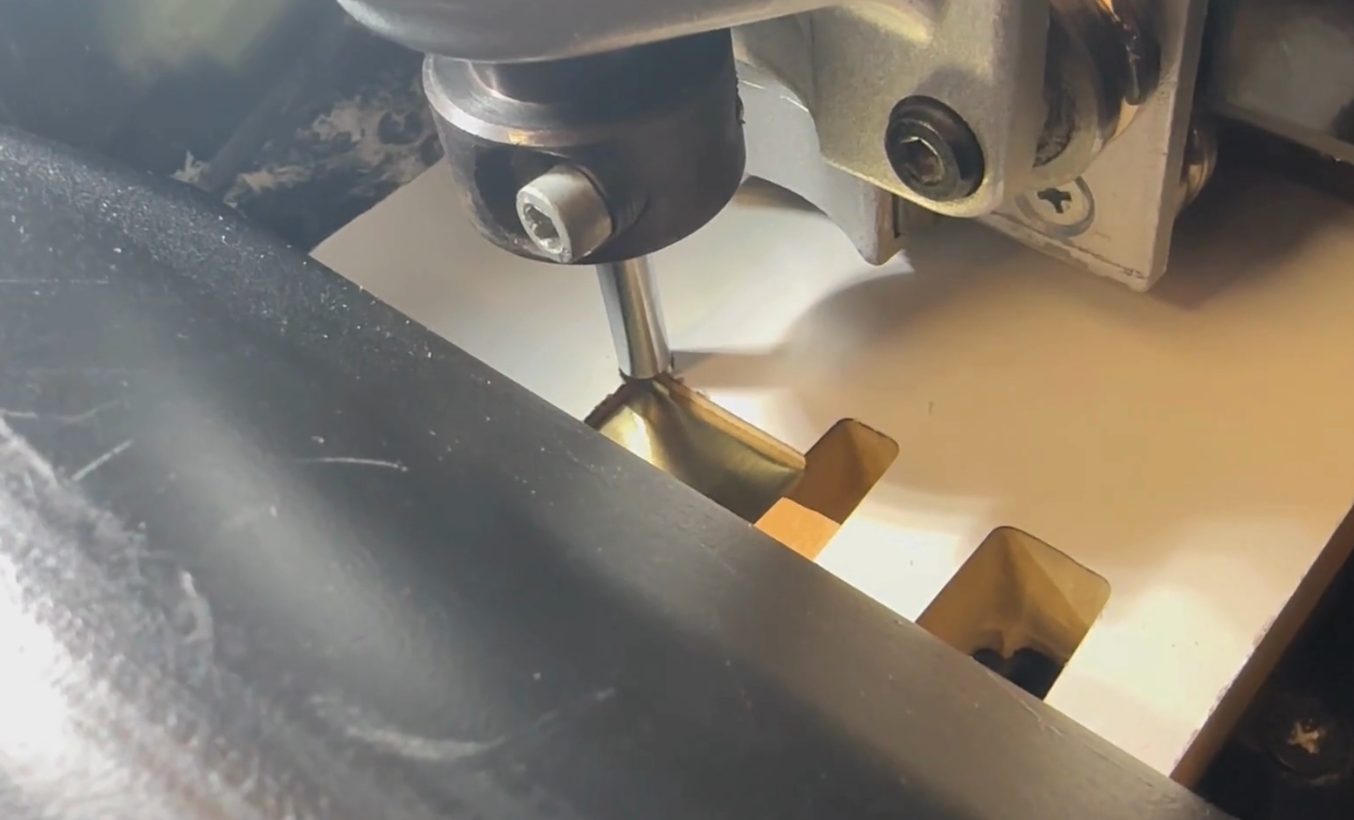
Engraving!
When engraving the spindle motor isn’t running so the entire process is also very quiet!