RAVEN Guide to Inlaying
We’re creating inlays using the RAVEN CNC machine! With this guide, learn the tips and techniques on setting up your project files for precise inlay cuts. Follow along as we walk you through each step of the process, from design creation to final finishing touches. Whether you’re a beginner or an experienced maker, this guide will empower you to elevate your craftsmanship and create intricate inlays with ease using the RAVEN CNC.
Material:
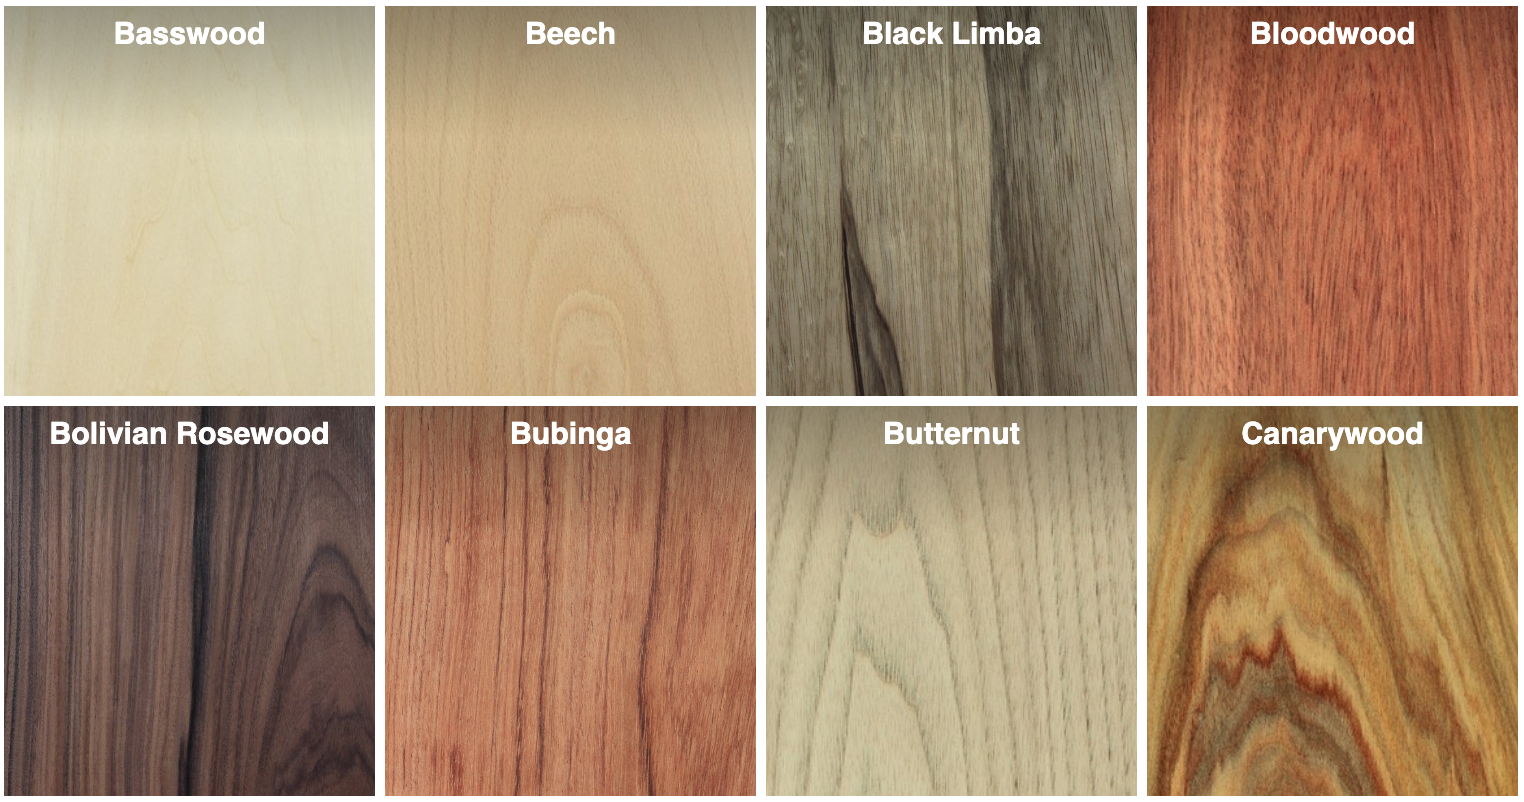
I have found that 1/16 inch thick inlay material is easy to work with and gives good results. Here is a link to a source I have used. https://ocoochhardwoods.com/lumber/
Steps:
- Prepare the inlay design
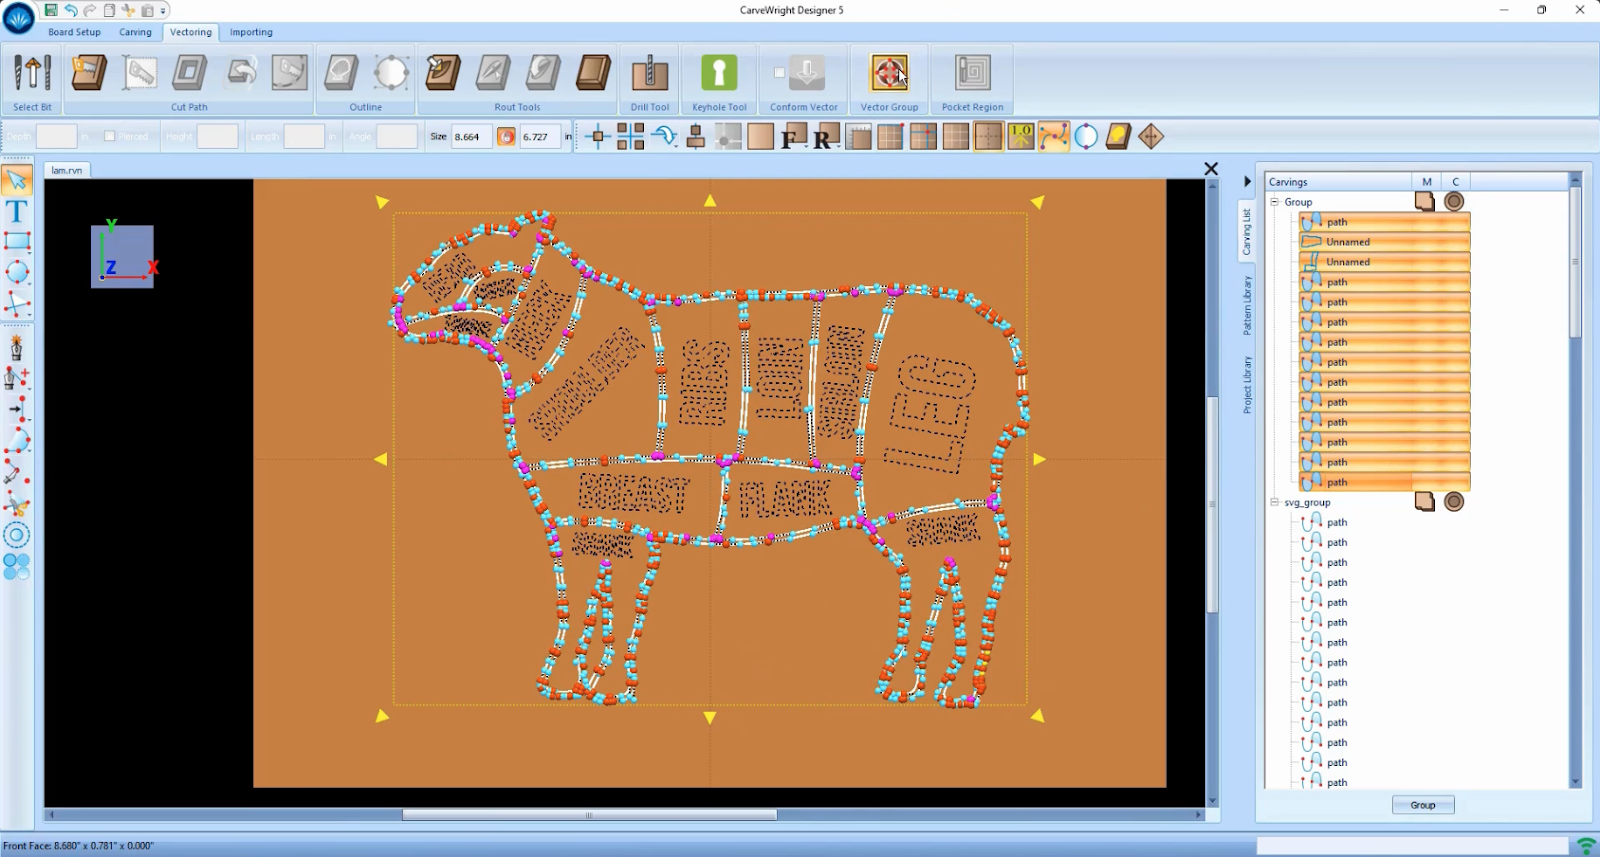
- Create a board at 512 dpi resolution.
- Clean up the vectors to be used by removing any unneeded vertices and generally smoothing the paths.
- Round sharp corners whenever possible.
- 60 degree V bit will be used so thicker inlay material will require larger radiuses.
- Create a Vector Group
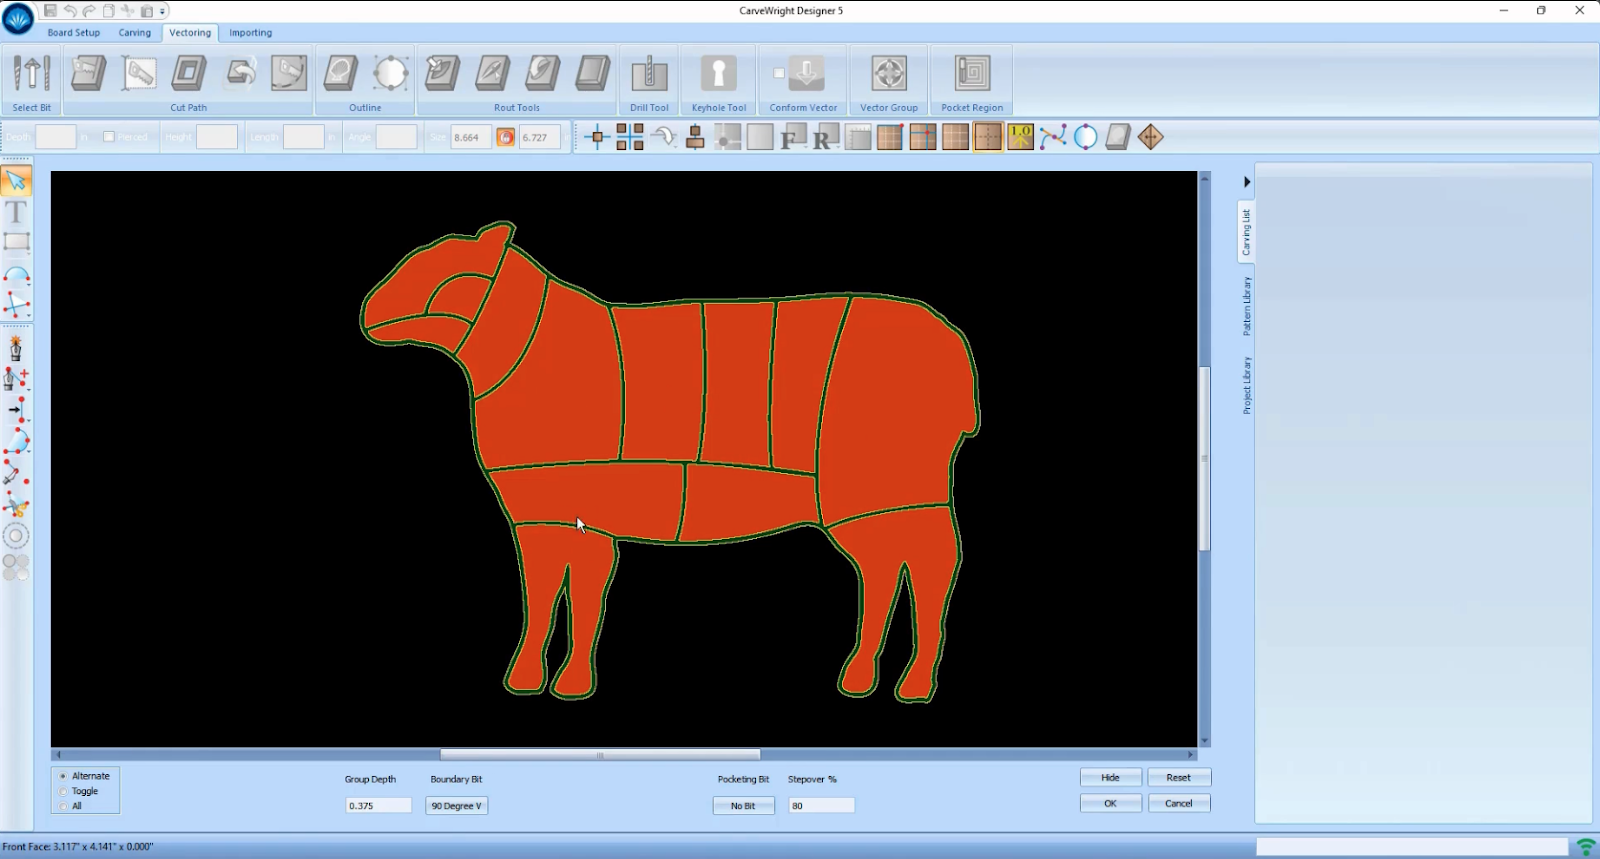
- Use 60 degree V bit for boundary bit
- Set the feed at .5 in/sec (can go slower if you wish)
- Set cleaning pass at .005 feed .5 in/sec (can go slower if you wish)
- Set the depth to .01 inches deeper than the thickness of the inlay material
- Use an ⅛ endmill for the pocketing bit.
- Create the inlay pieces
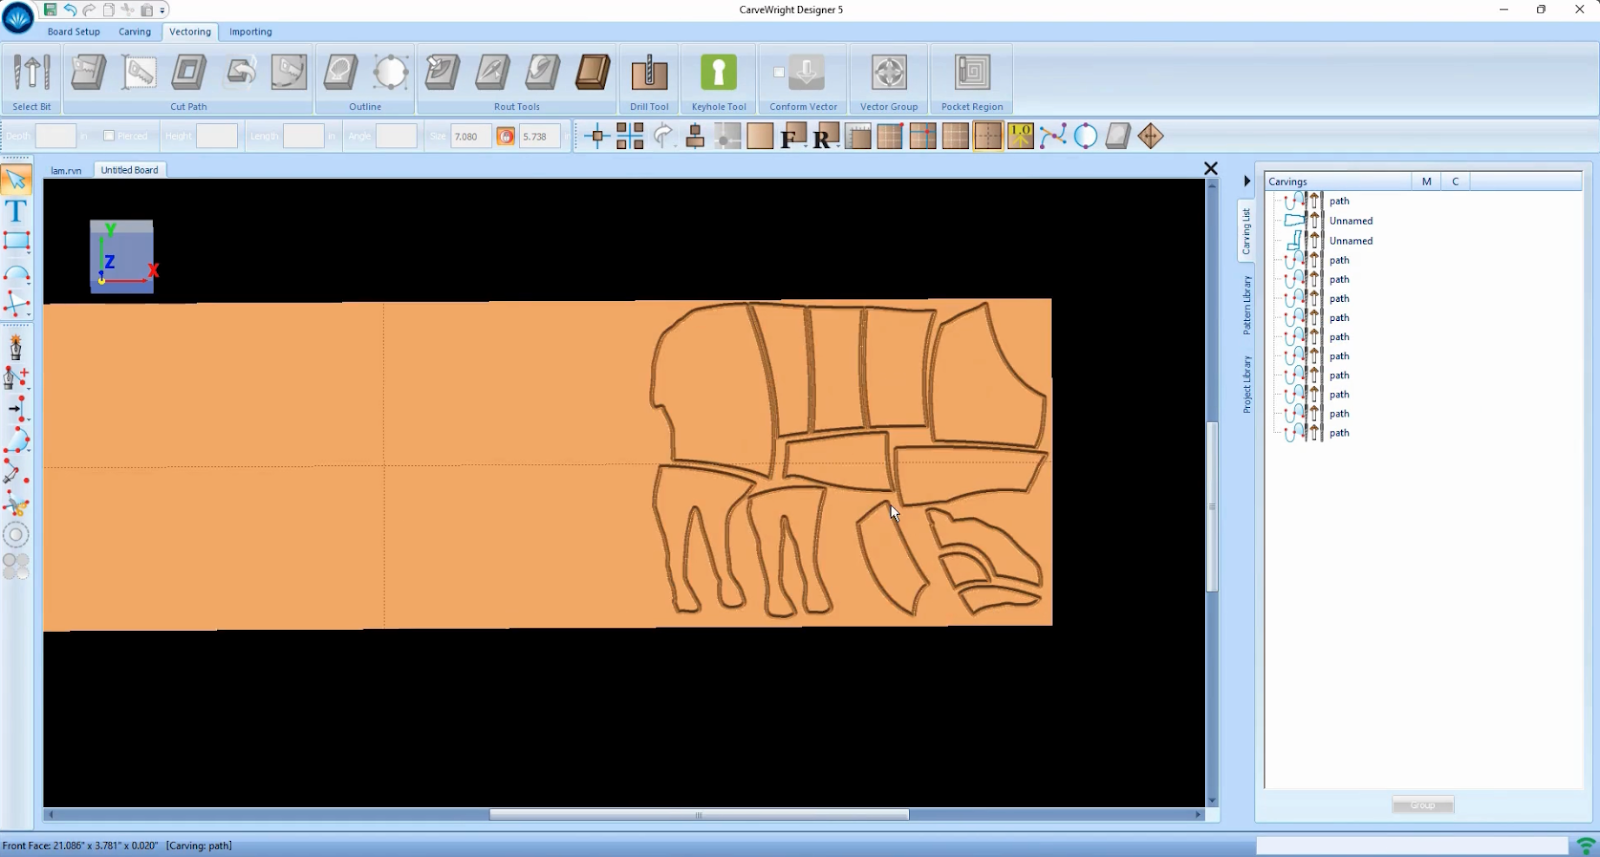
- Create a new board at 512 dpi resolution.
- Copy the all of the vectors used in the Vector group to the new board
- Select all the vectors and use the “Flip Horizontally” function to create a mirror of the geometry.
- Position the paths to fit on the inlay material board. Take care not to modify the paths in any way.
- Apply 60 degree V bit with the depth set to .01 inches deeper than the thickness of the inlay material.
- Set the feed at .5 in/sec (can go slower if you wish).
- Set cleaning pass at .005 feed .5 in/sec (can go slower if you wish).
- Cutting the parts
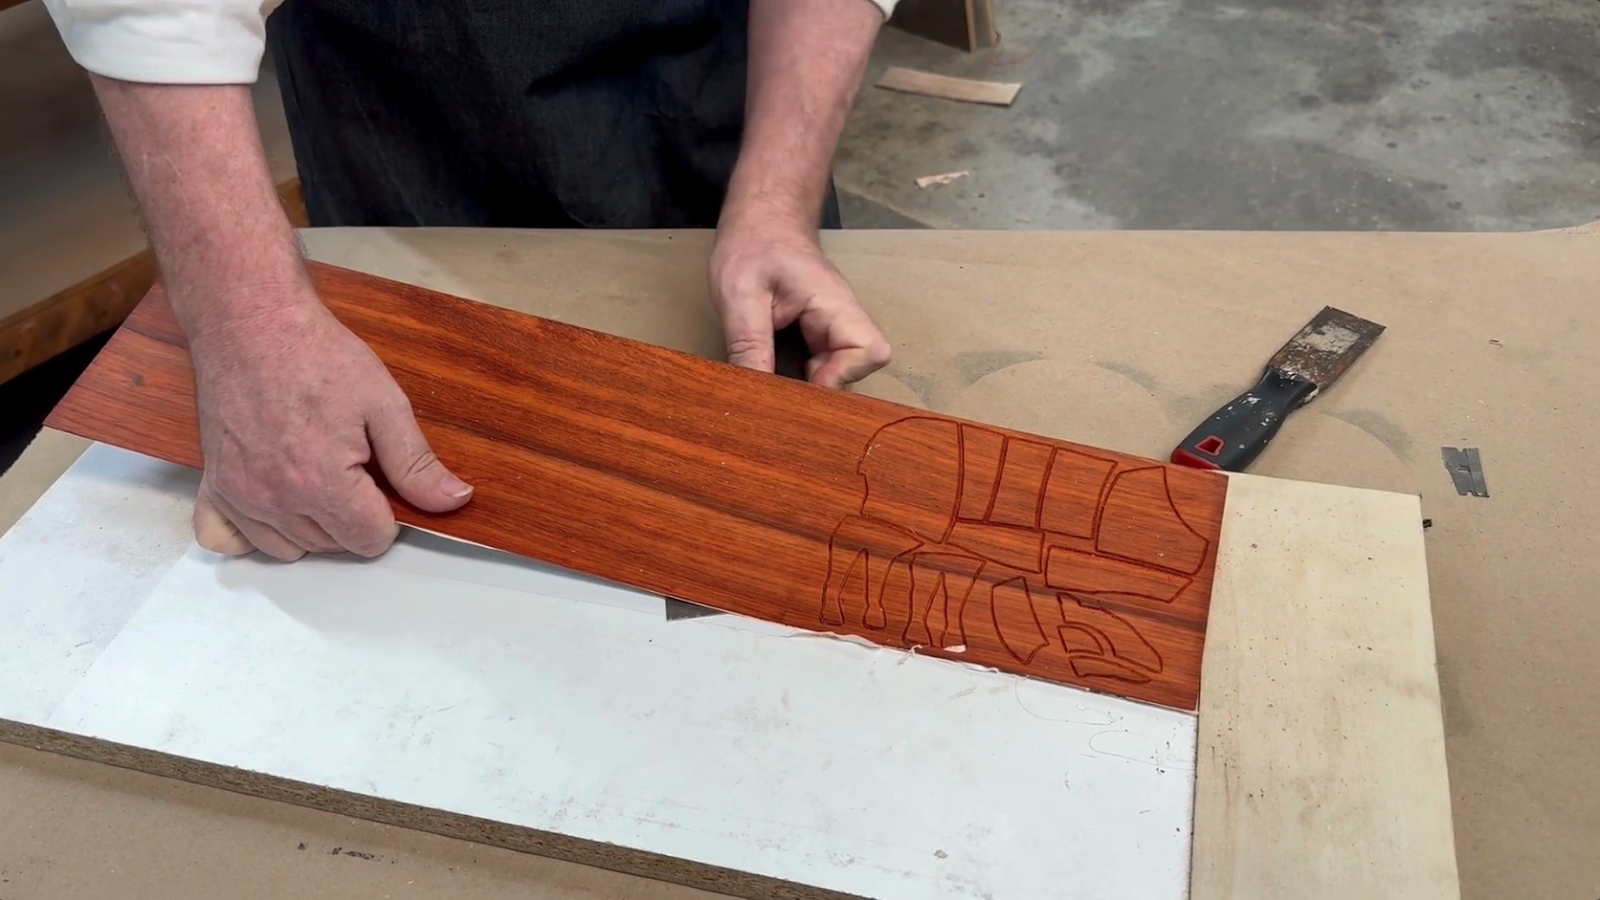
- Use a sharp high grade V bit.
- Make sure the machine is level and the material is flat.
- Use shelf paper on the carrier board and the inlay material.
- Use 3M super 77 applied to the self paper to hold the inlay material in place.
- Use a thin putty knife to remove the inlay parts.
- Cleaning up the inlay pieces
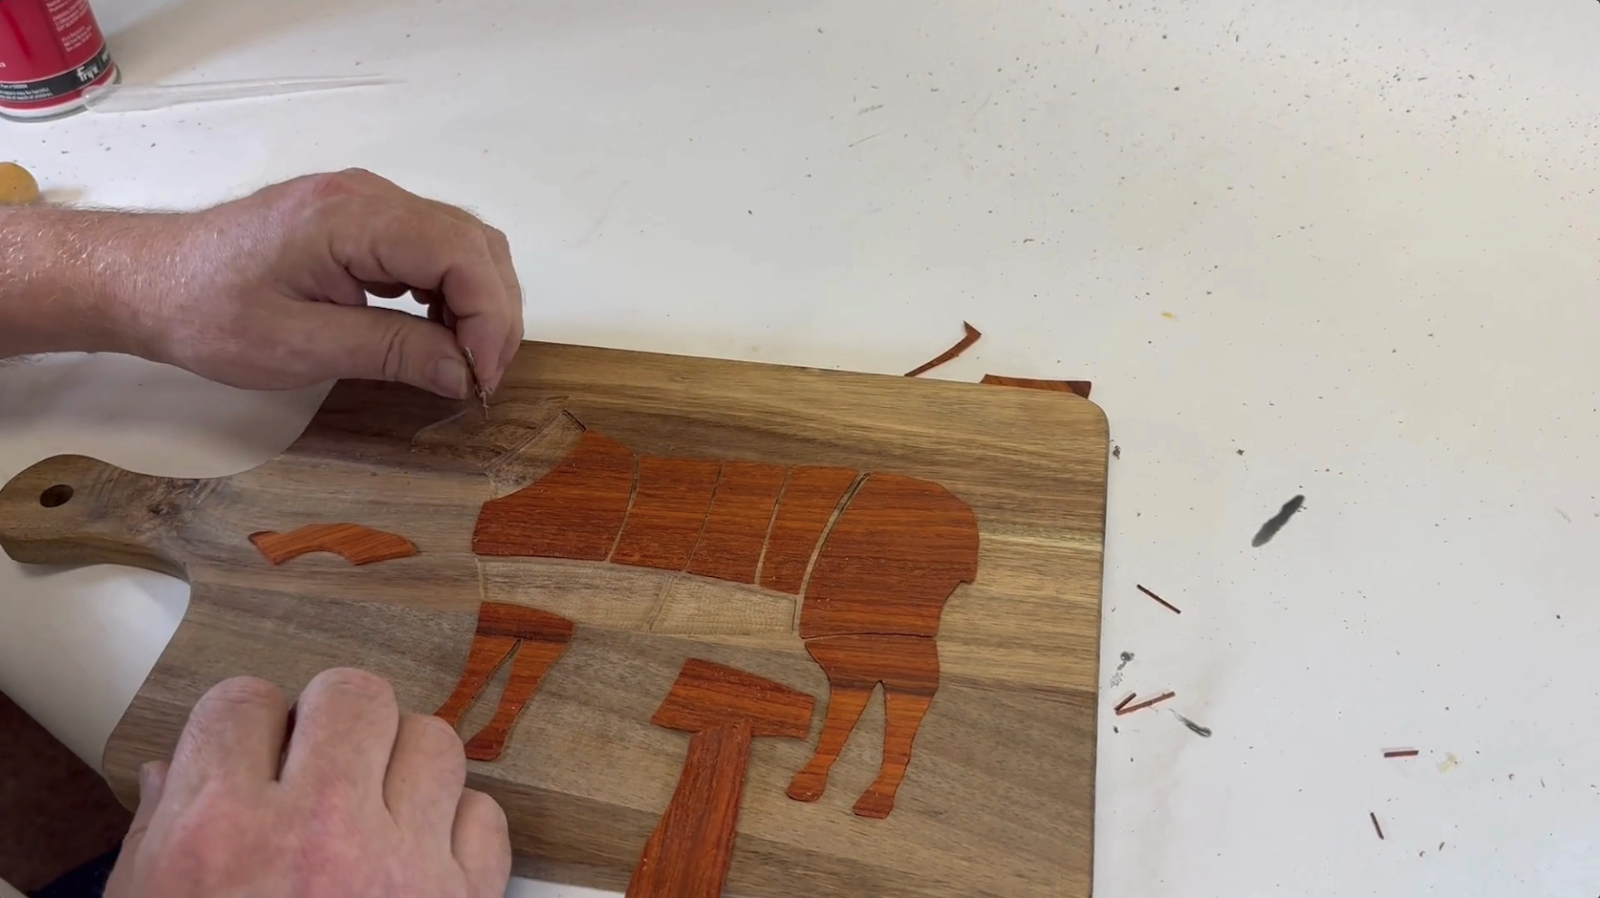
- Use a sharp chisel to remove material where the ⅛ inch bit could not fit.
- Use a sharp chisel and razor blades to clean up the edges of the base material and the inlay parts.
- Fit the inlay pieces into the base material. The parts should fit in with only a little material standing above the base material. If a part is not fitting down into the cavity look for spots that need to be chiseled out more or where the edges need to be cleaned better.
- Be patient and take your time.
- Apply adhesive to the base material
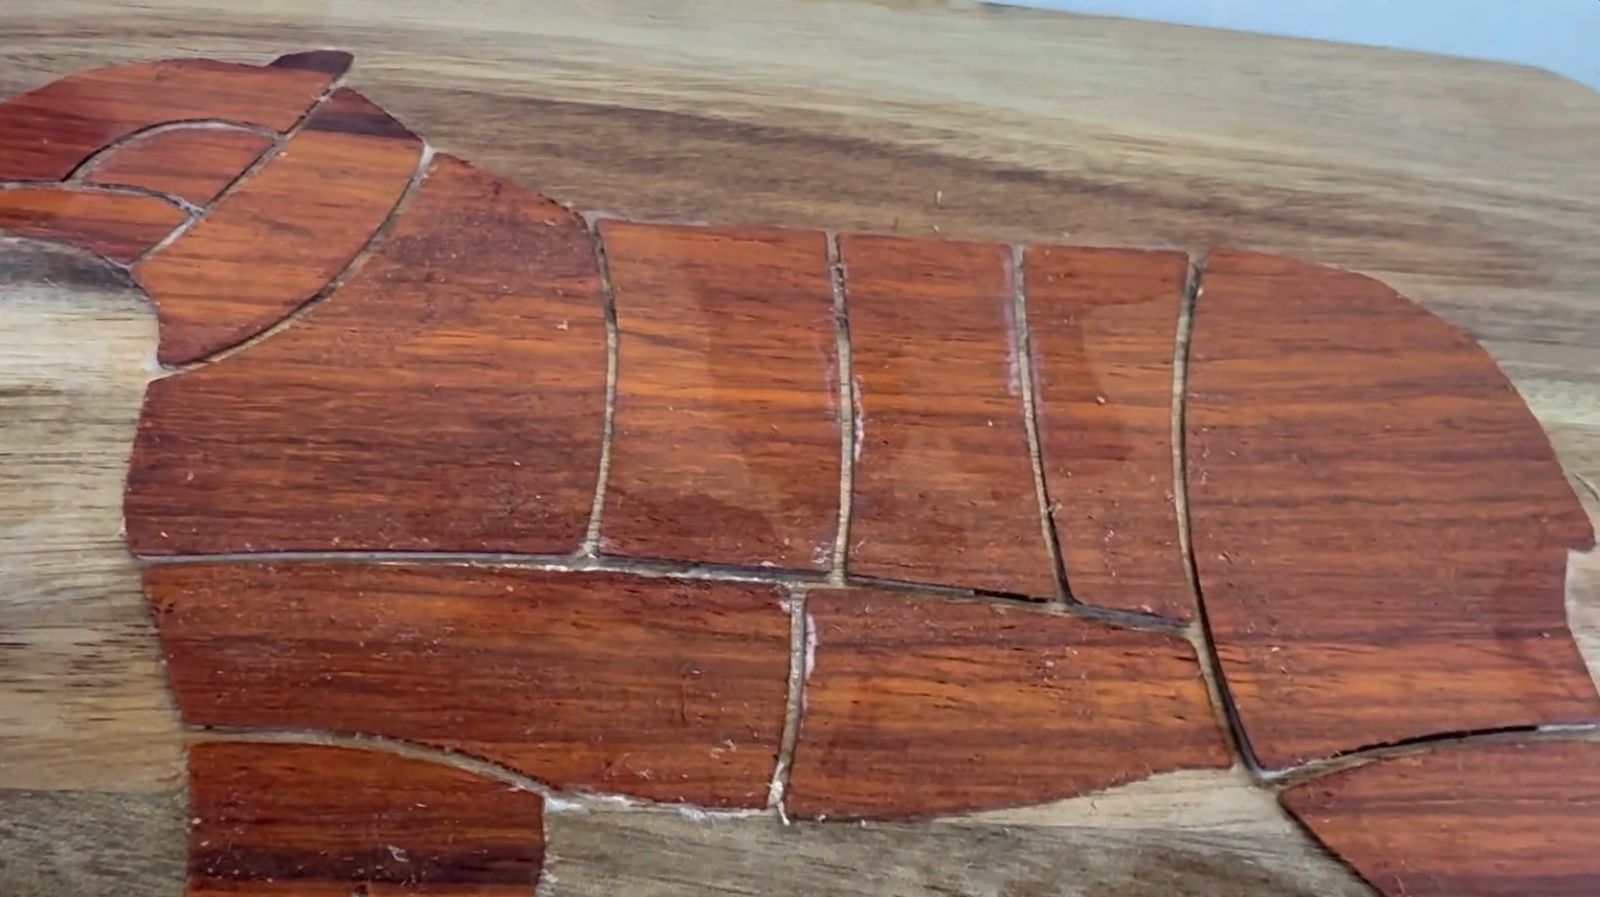
- Apply a thin layer of adhesive to a cavity making sure to apply to all edges.
- Press the inlay piece into the base cavity.
- The parts will swell a little and curve up as they absorb moisture from the glue. This is ok.
- After all parts are glued, wipe away any excess adhesive.
- Clamp the inlay pieces in place
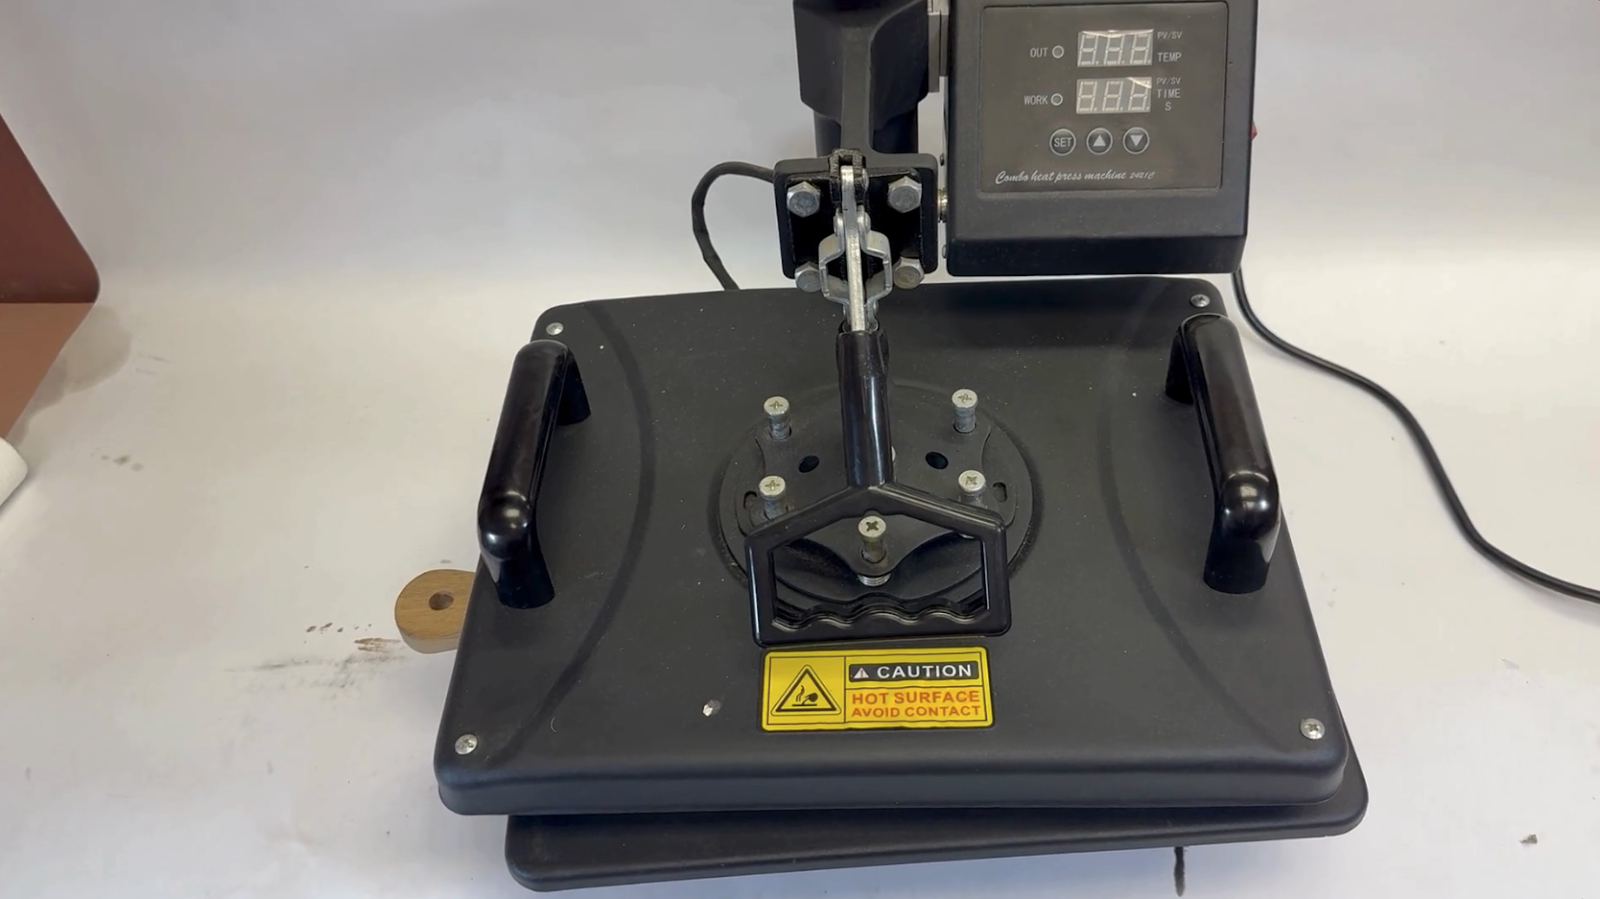
- Use a press to clamp the inlay while the adhesive dries. You need to apply a significant amount of force to have a good inlay.
- Allow the adhesive to dry completely.
- Sand the inlaid surface
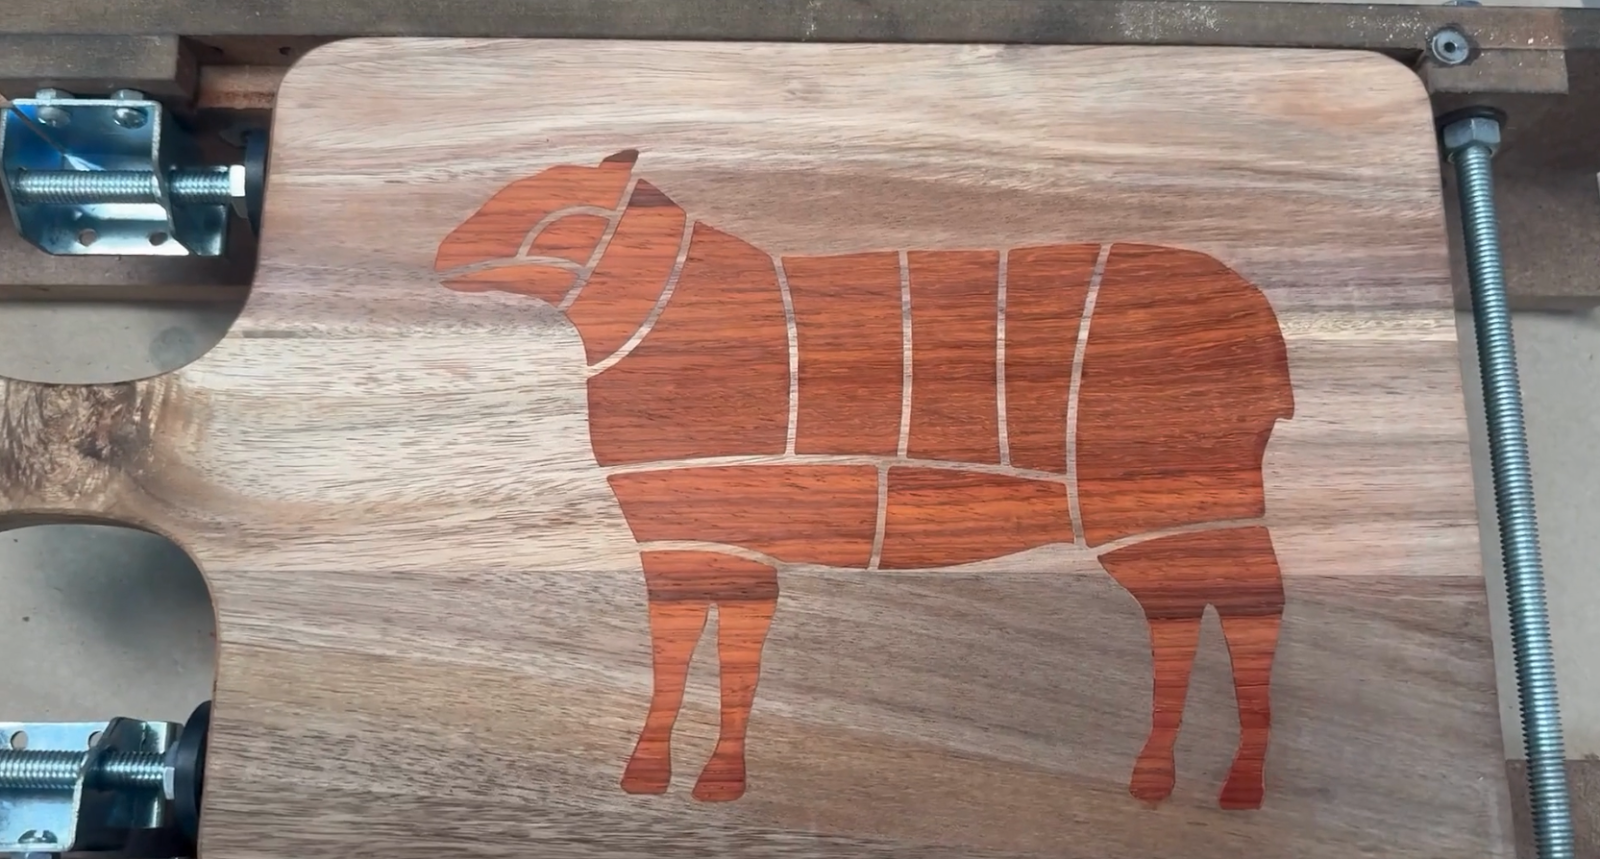
- Once the adhesive is dry, sand the inlaid surface to smooth it.
- The materials used in an inlay will have different hardnesses so care needs to be taken when sanding. Use sharp sand paper around 120 grit. Go slowly and sand evenly. Do not press hard or focus on one spot when sanding.
- If you plan on adding additional detail to the inlay keep in mind that sanding of the inlay will shrink the boundaries of the geometry.
Explore Project Categories
Customer Stories
News
Get The Latest Updates
Subscribe To Our Newsletters
Learning, projects, customer highlights, and promotions in your inbox!


