

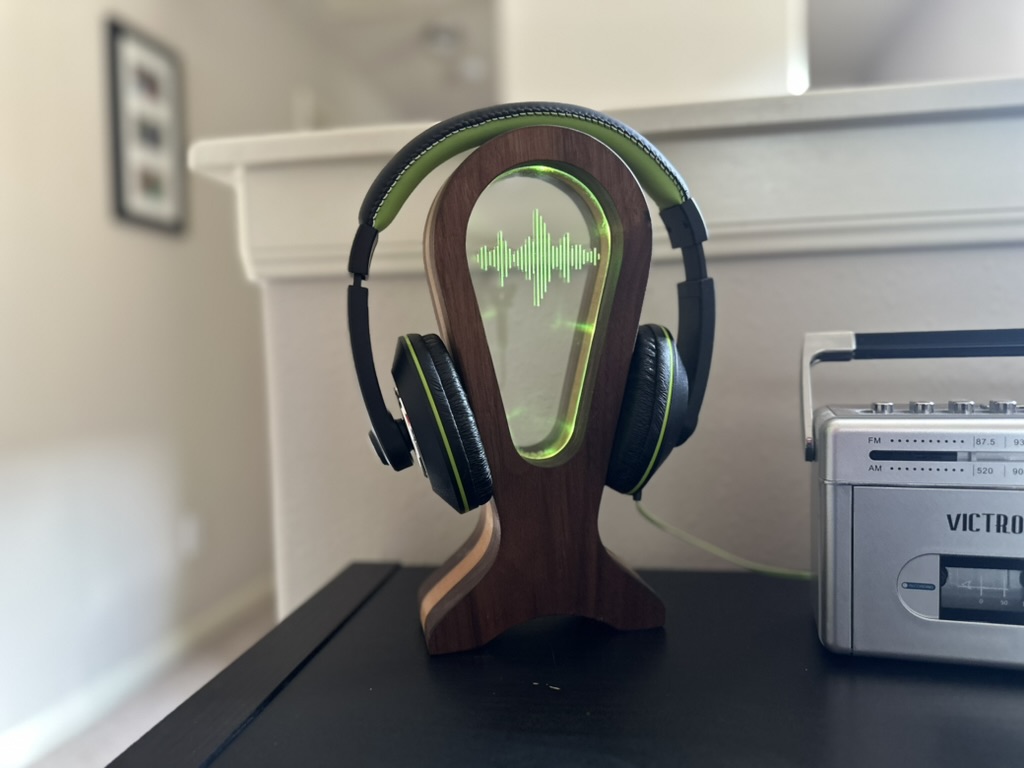
In this digital world headphones have become a regular part of your daily lives. But when the headphones are not on our heads we need someplace to put them. This edge lit stand us not only functional, but it looks cool too.
This is a simple clean line headphone stand that is very easy to produce and customize.
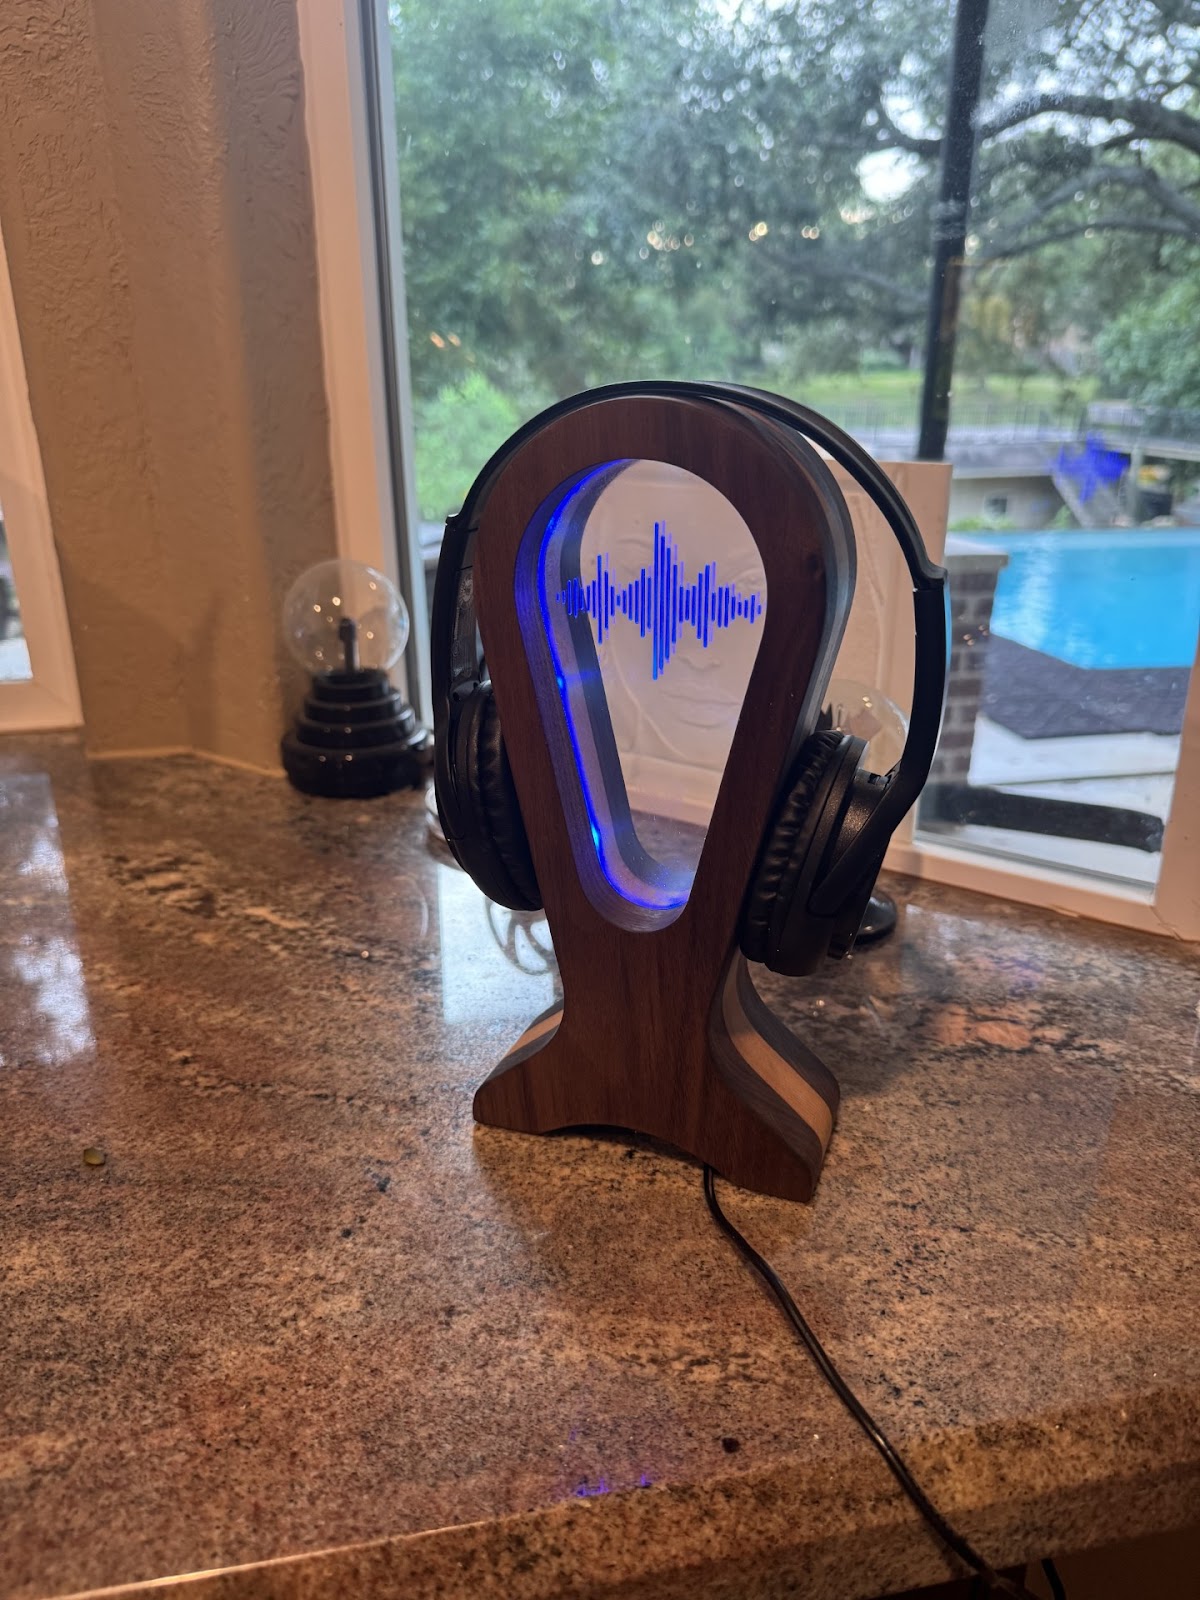
STEP 1 – Wood Parts
The wood parts of this project have been set up to be cut out of two different types of wood. If you wish to make this out of only one board you can copy and paste all of the geometry to a new board.
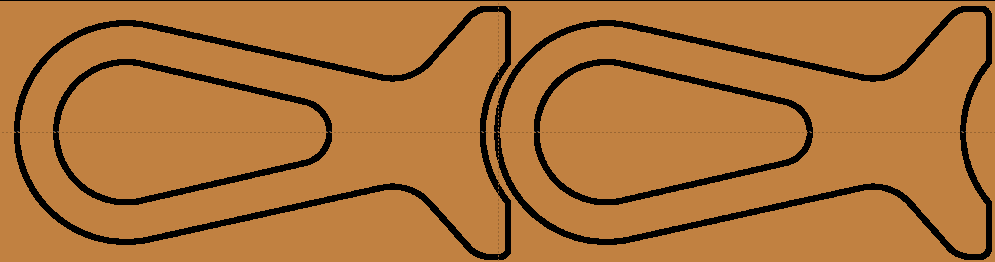
The controller slot in HeadphoneStand2.rvn is sized for this LED strip light with controller. If you use a different LED strip be sure to adjust the controller slot as needed.
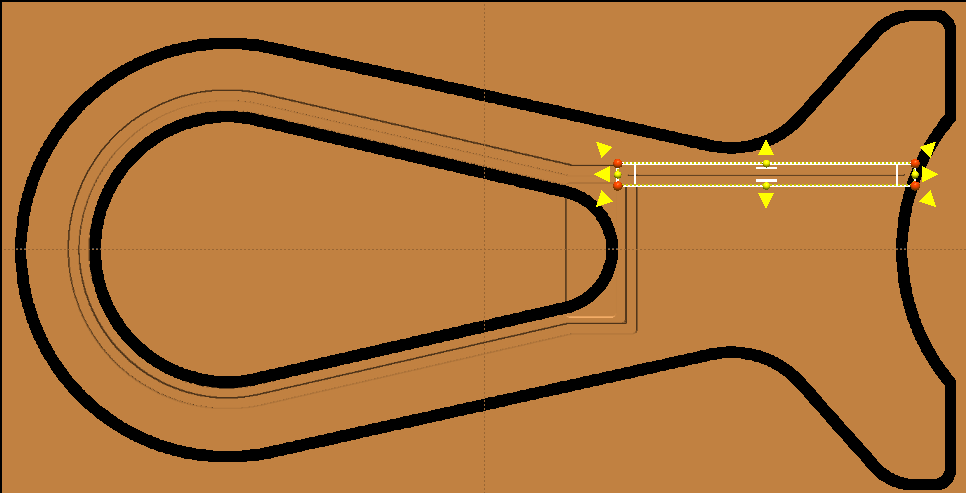
This project was created to use the RAVEN Universal jig. If you are not running the project in the Universal jig be sure to compile the board so that it will be kept under rollers.
This project only uses vector geometry so there is no quality option to select.
NOTE: Carve times are as follows:
HeadphoneStand1- 12 mins
HeadphoneStand2- 10 mins
STEP 2 – Polycarbonate Parts
Polycarbonate is used for this project because of the unique glow it creates wherever it is cut. The Insert is layout on a 4”x6.5” size board which is the minimum size.
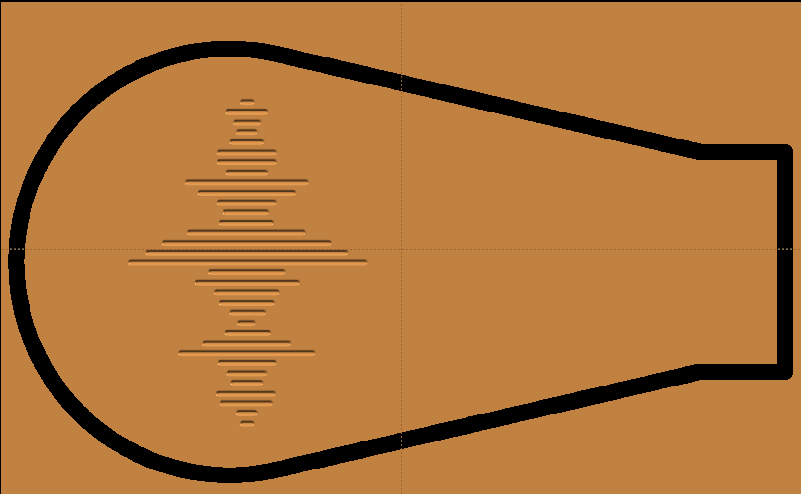
You can cut the Insert out of any size of material as long as it is not smaller than the minimum size.
NOTE: Carve time: – 5 mins
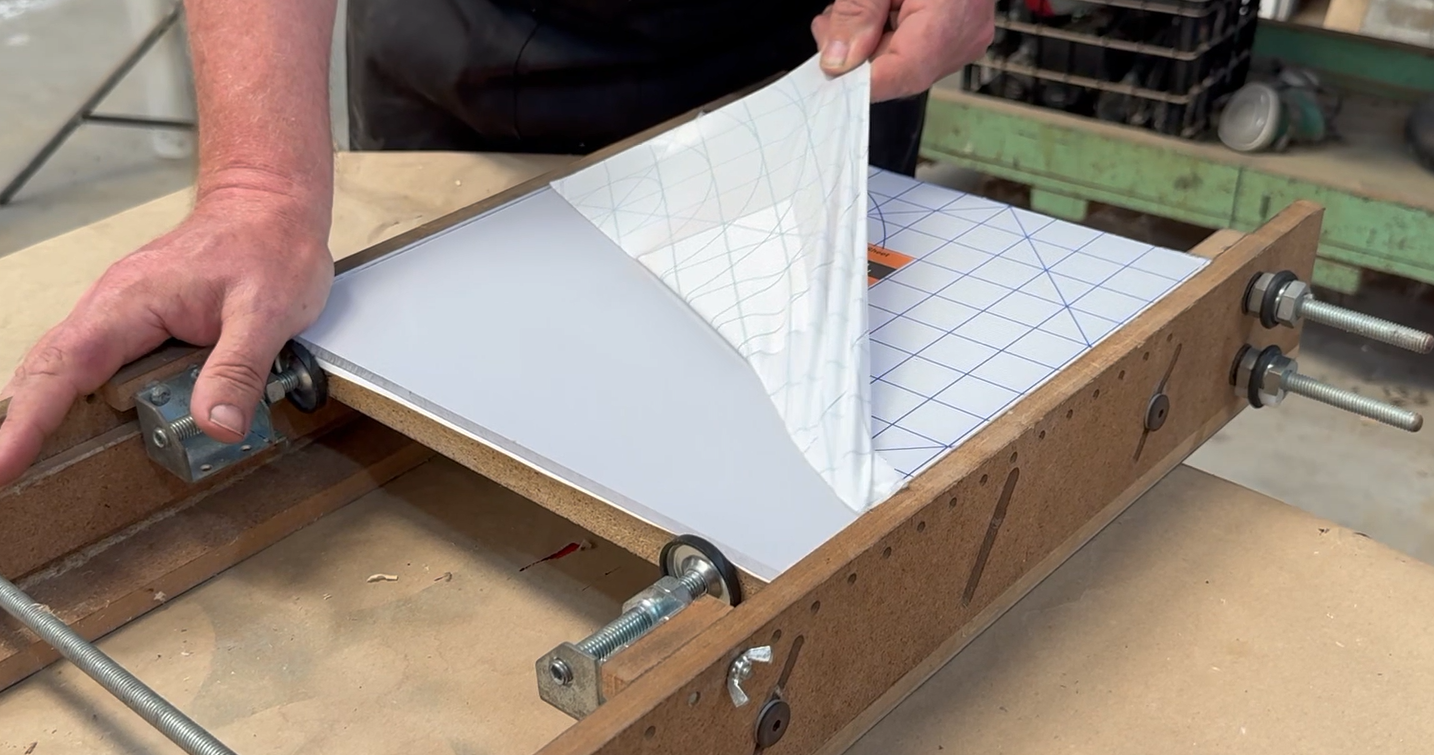
To hold the polycarbonate, start by making a backer board. The backer board should be at least ½” thick and made the size (or slightly smaller) of the piece of polycarbonate you are using.
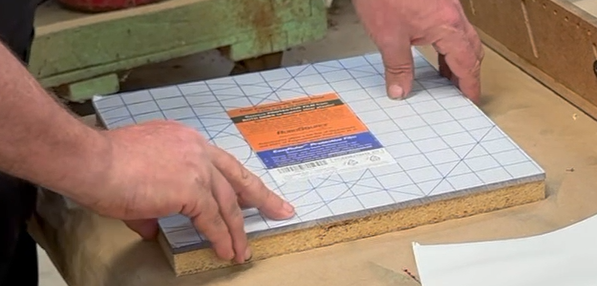
Cover the backer board with shelf paper.
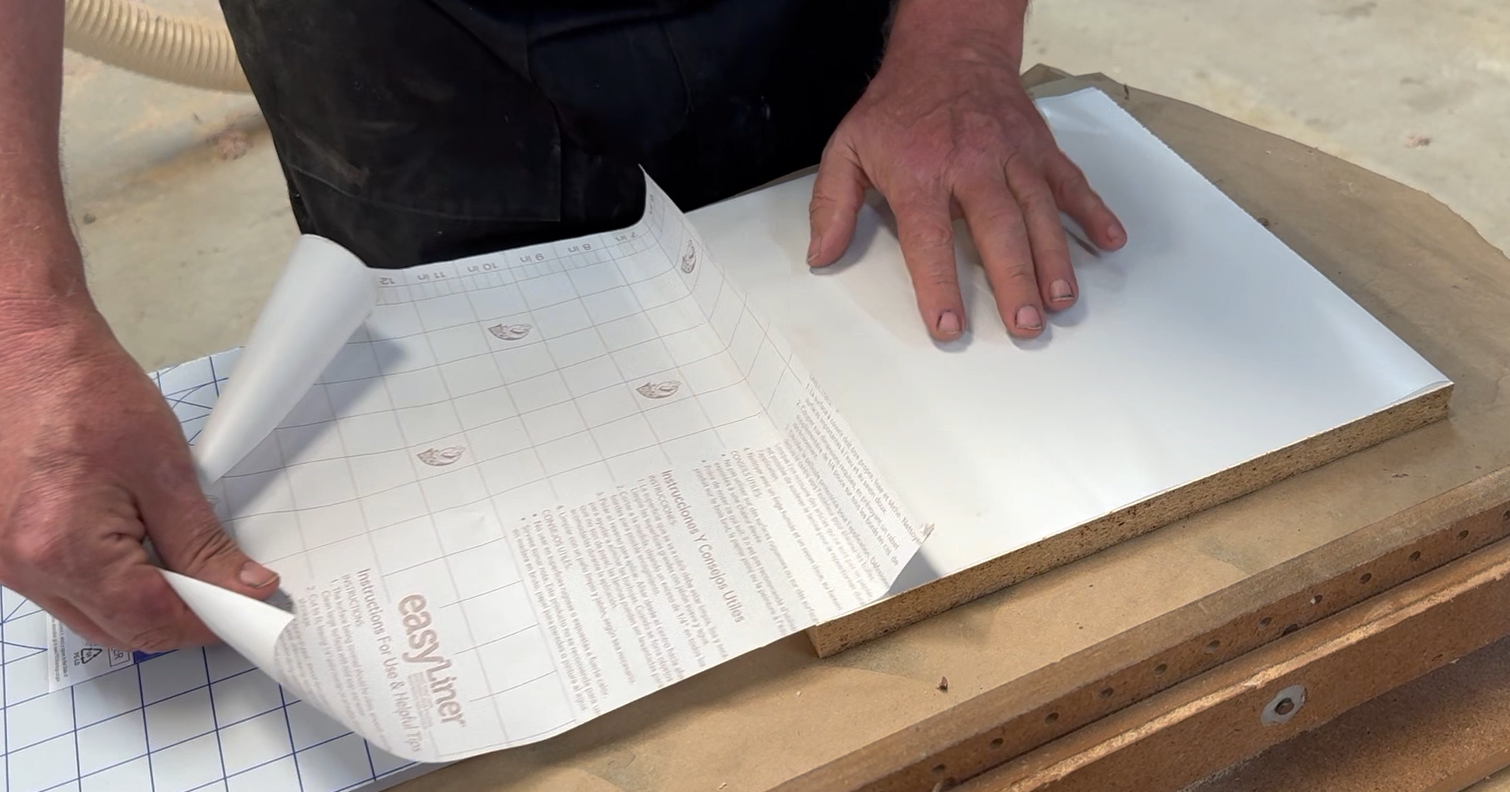
Spray the shelf paper with spray adhesive and with the protective film still on, glue the polycarbonate down.
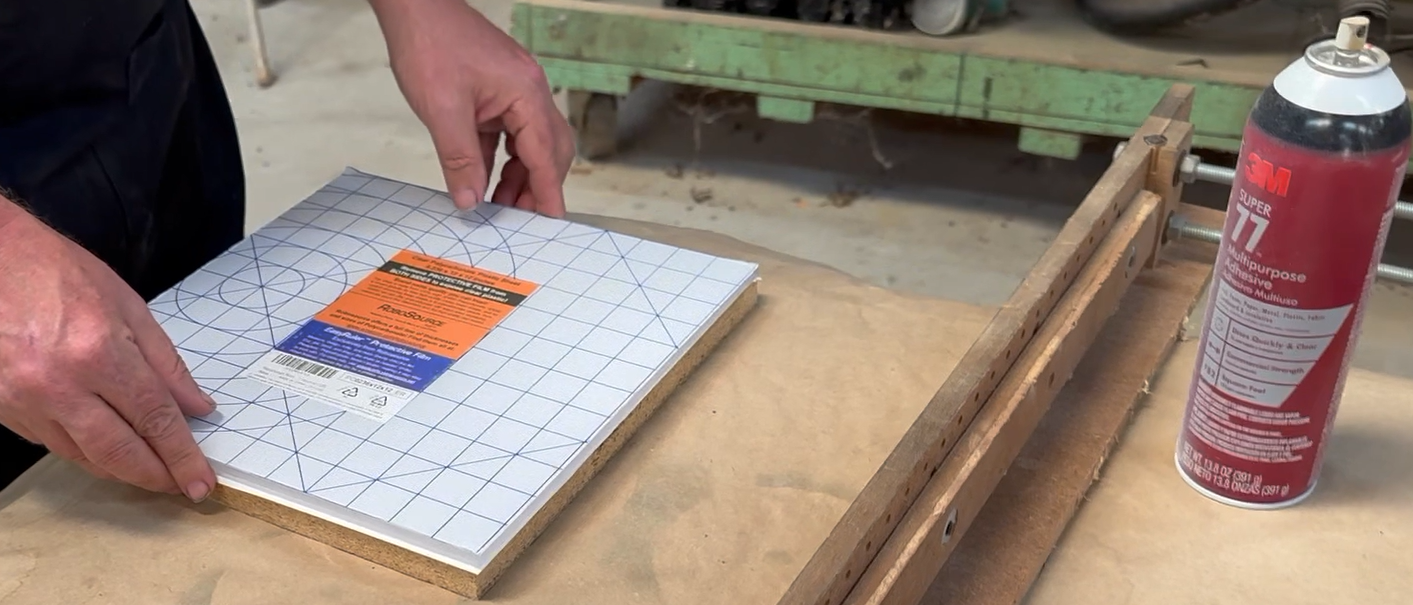
Mount the polycarbonate on the backer board into the Raven Universal Jig, remove the top protective film and cut the Insert.
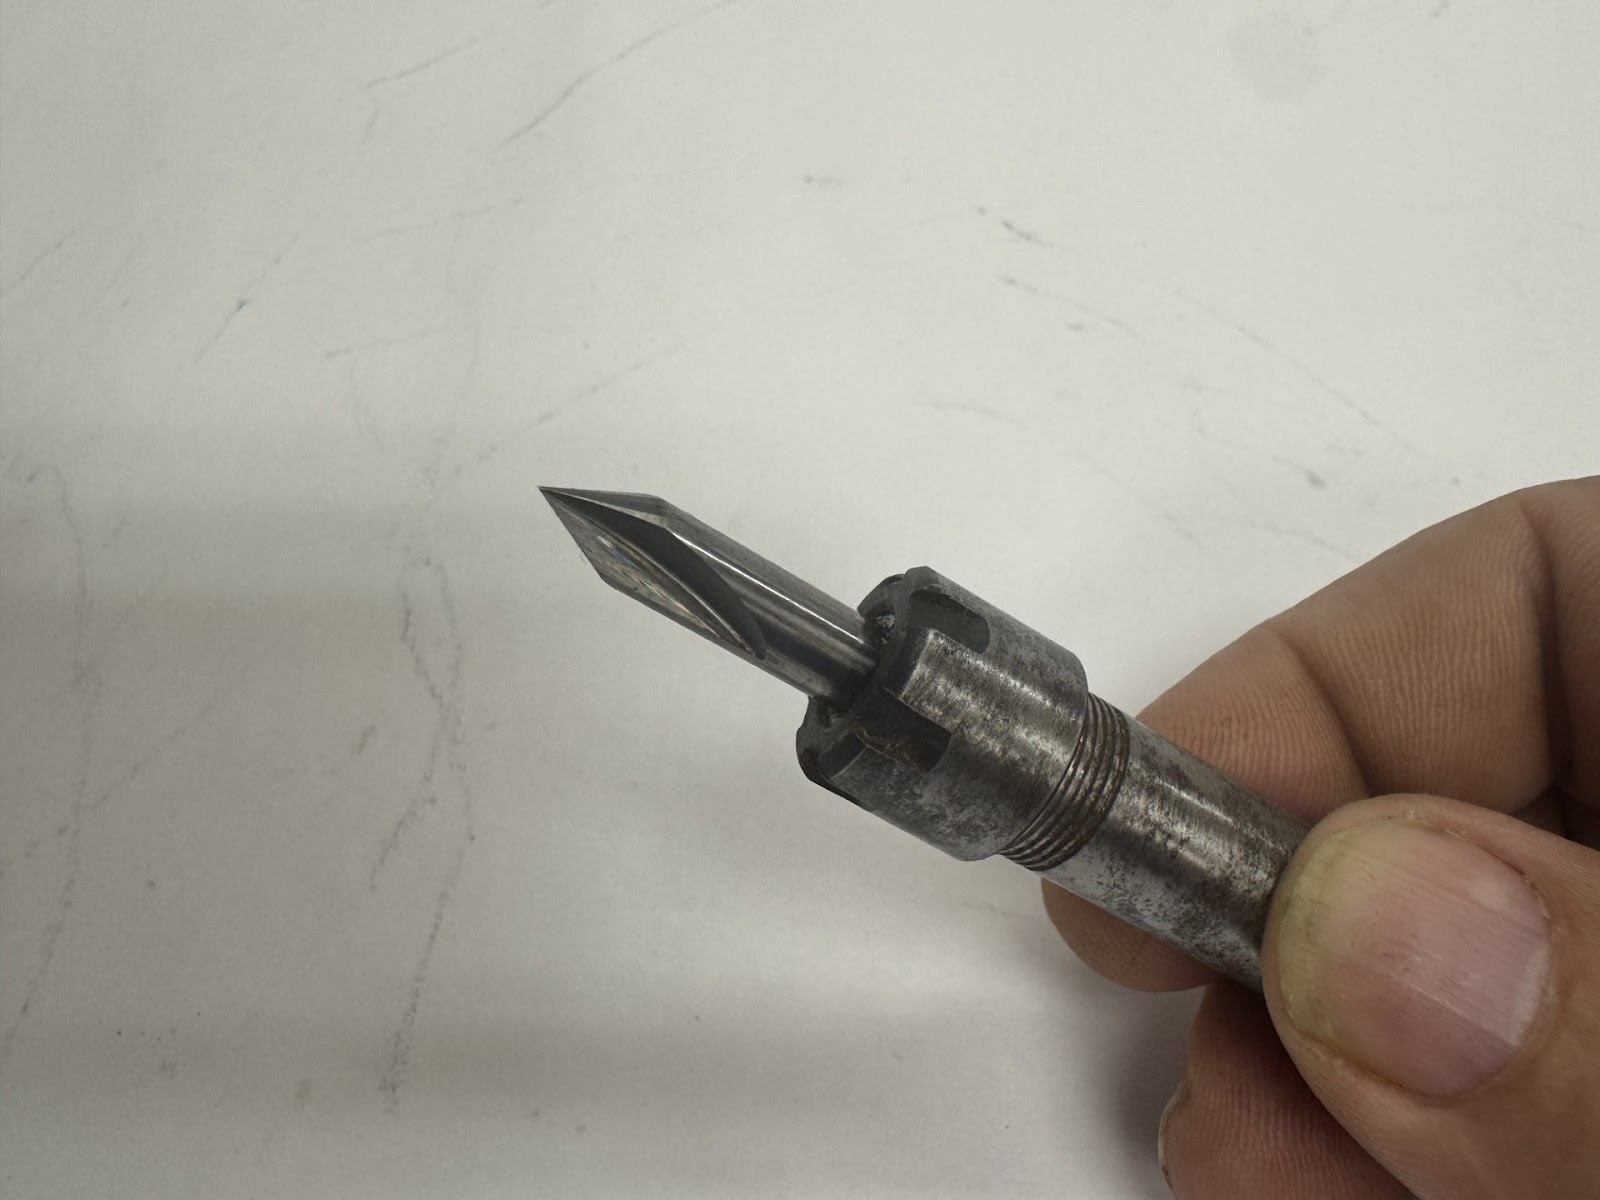
When cutting polycarbonate it is important to use very sharp uncoated bits. The V bit I used in this project was a two flute solid carbide bit mounted in an ER11 adapter.
STEP 3 – Separate the Parts
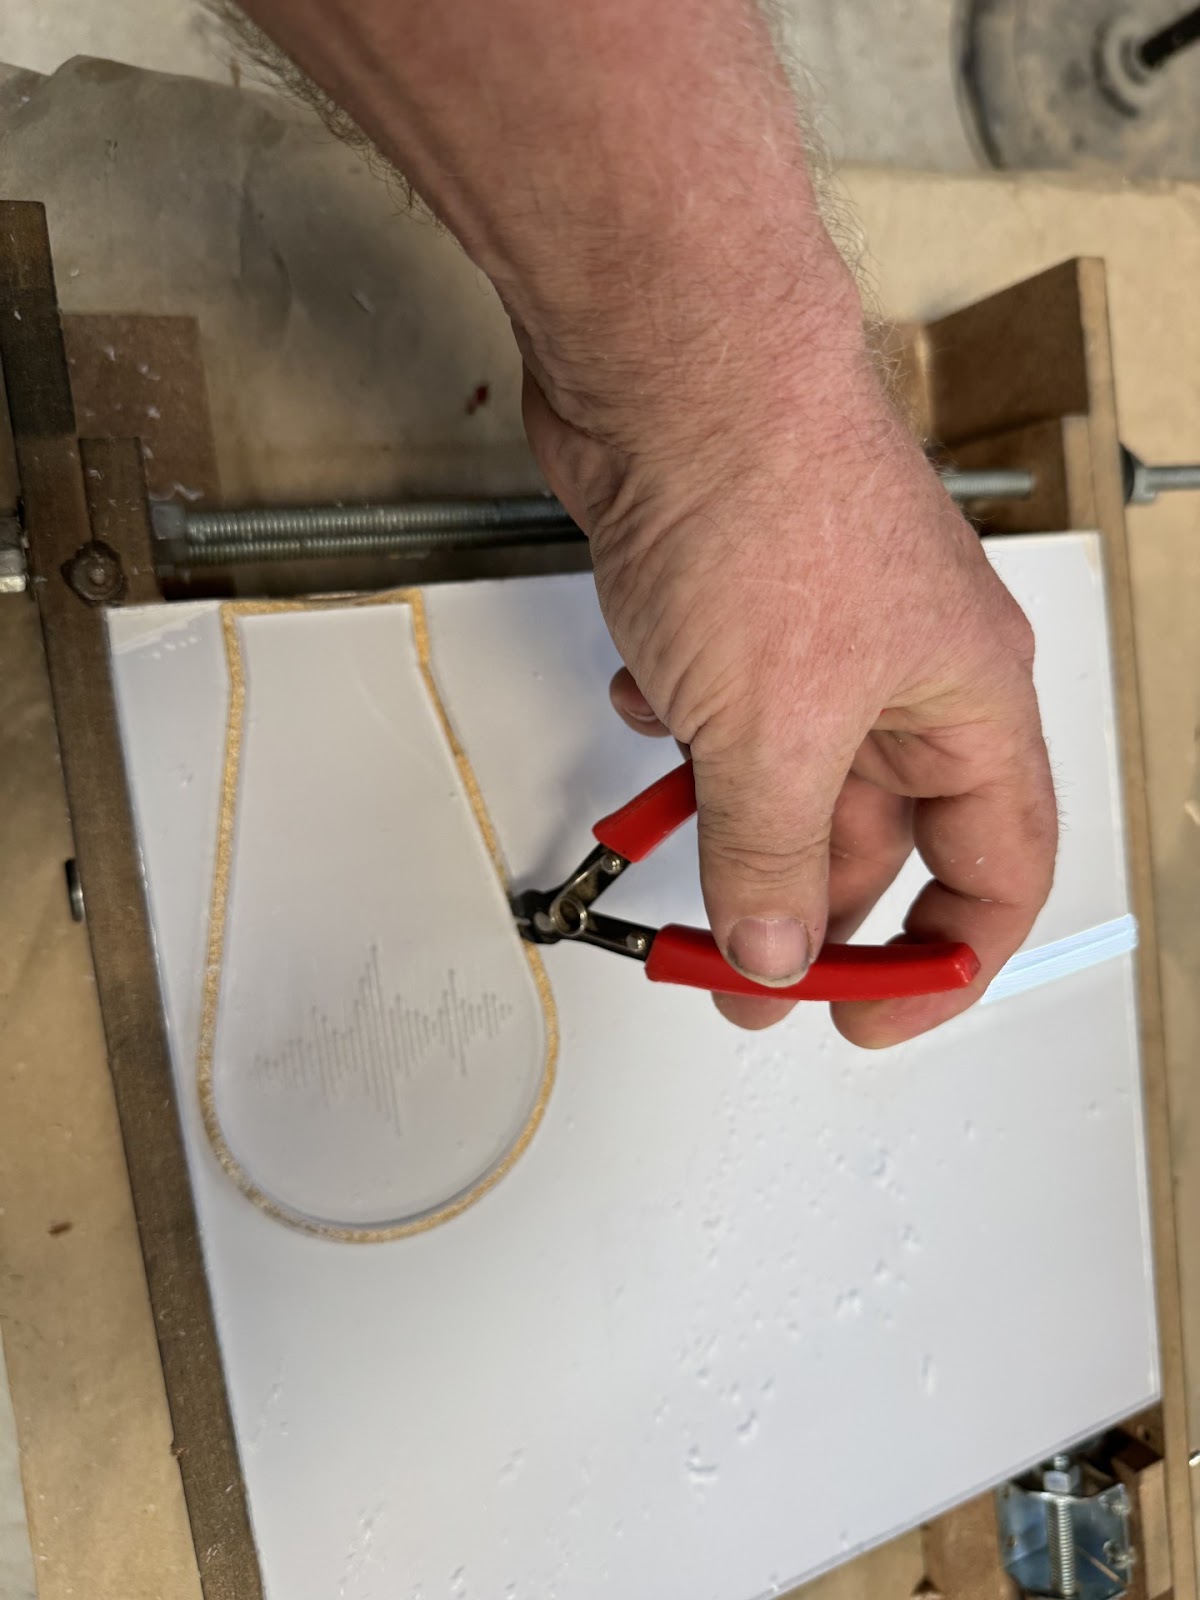
Cut the tabs using a small side cutter, thin saw blade or a sharp chisel.
On the Insert use a pair of small side cutters to cut the tabs. This way the inset can be removed while leaving the rest of the material mounted on the backer for future projects.
STEP 3 – Assembly
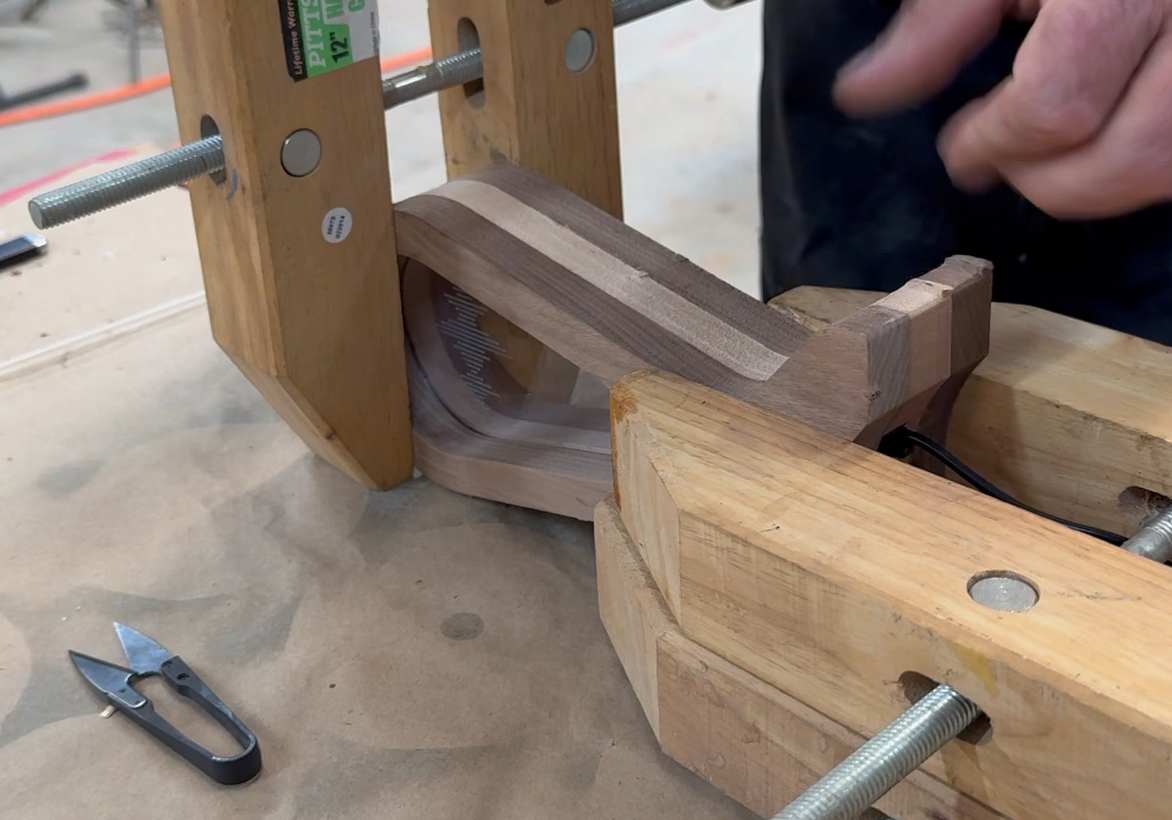
Start by gluing up the middle and one of the outside pieces.
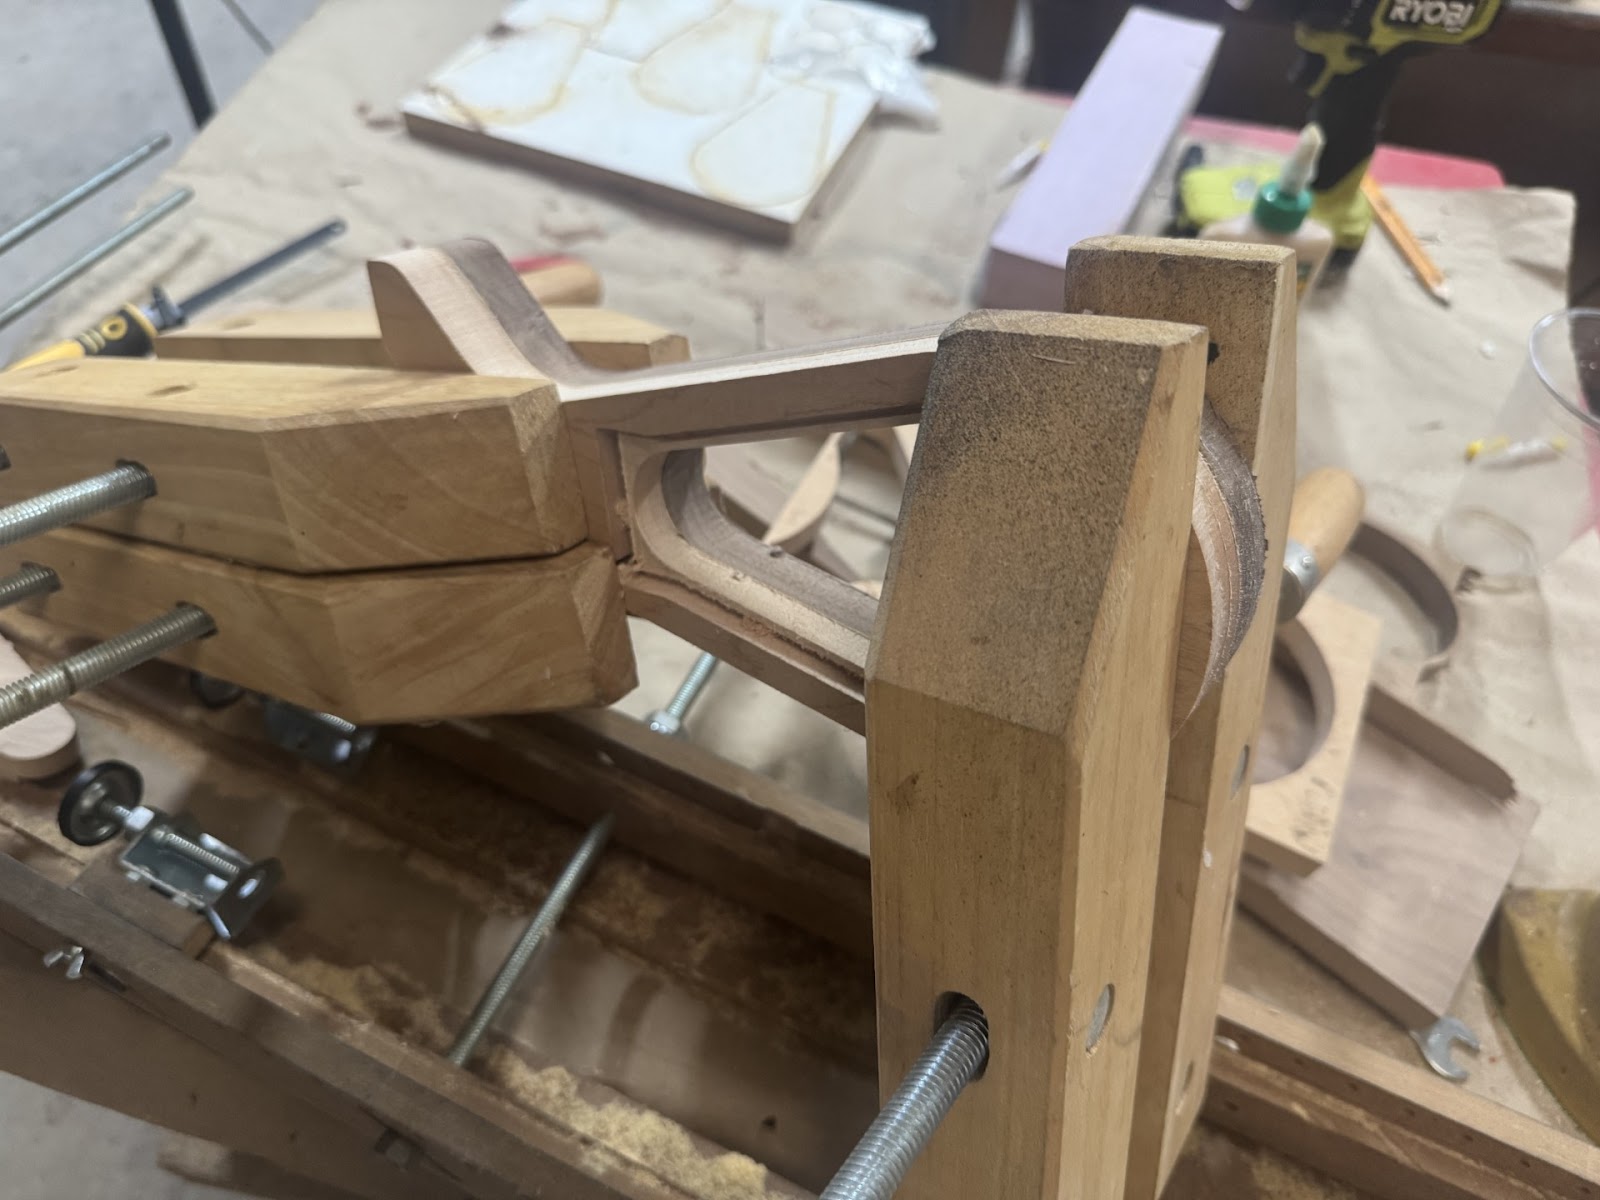
Sand the insides of the glued up piece as well as the remaining outside piece. You will not be able to sand this area without scratching the insert after it is assembled. A spindle sander will make this easy.
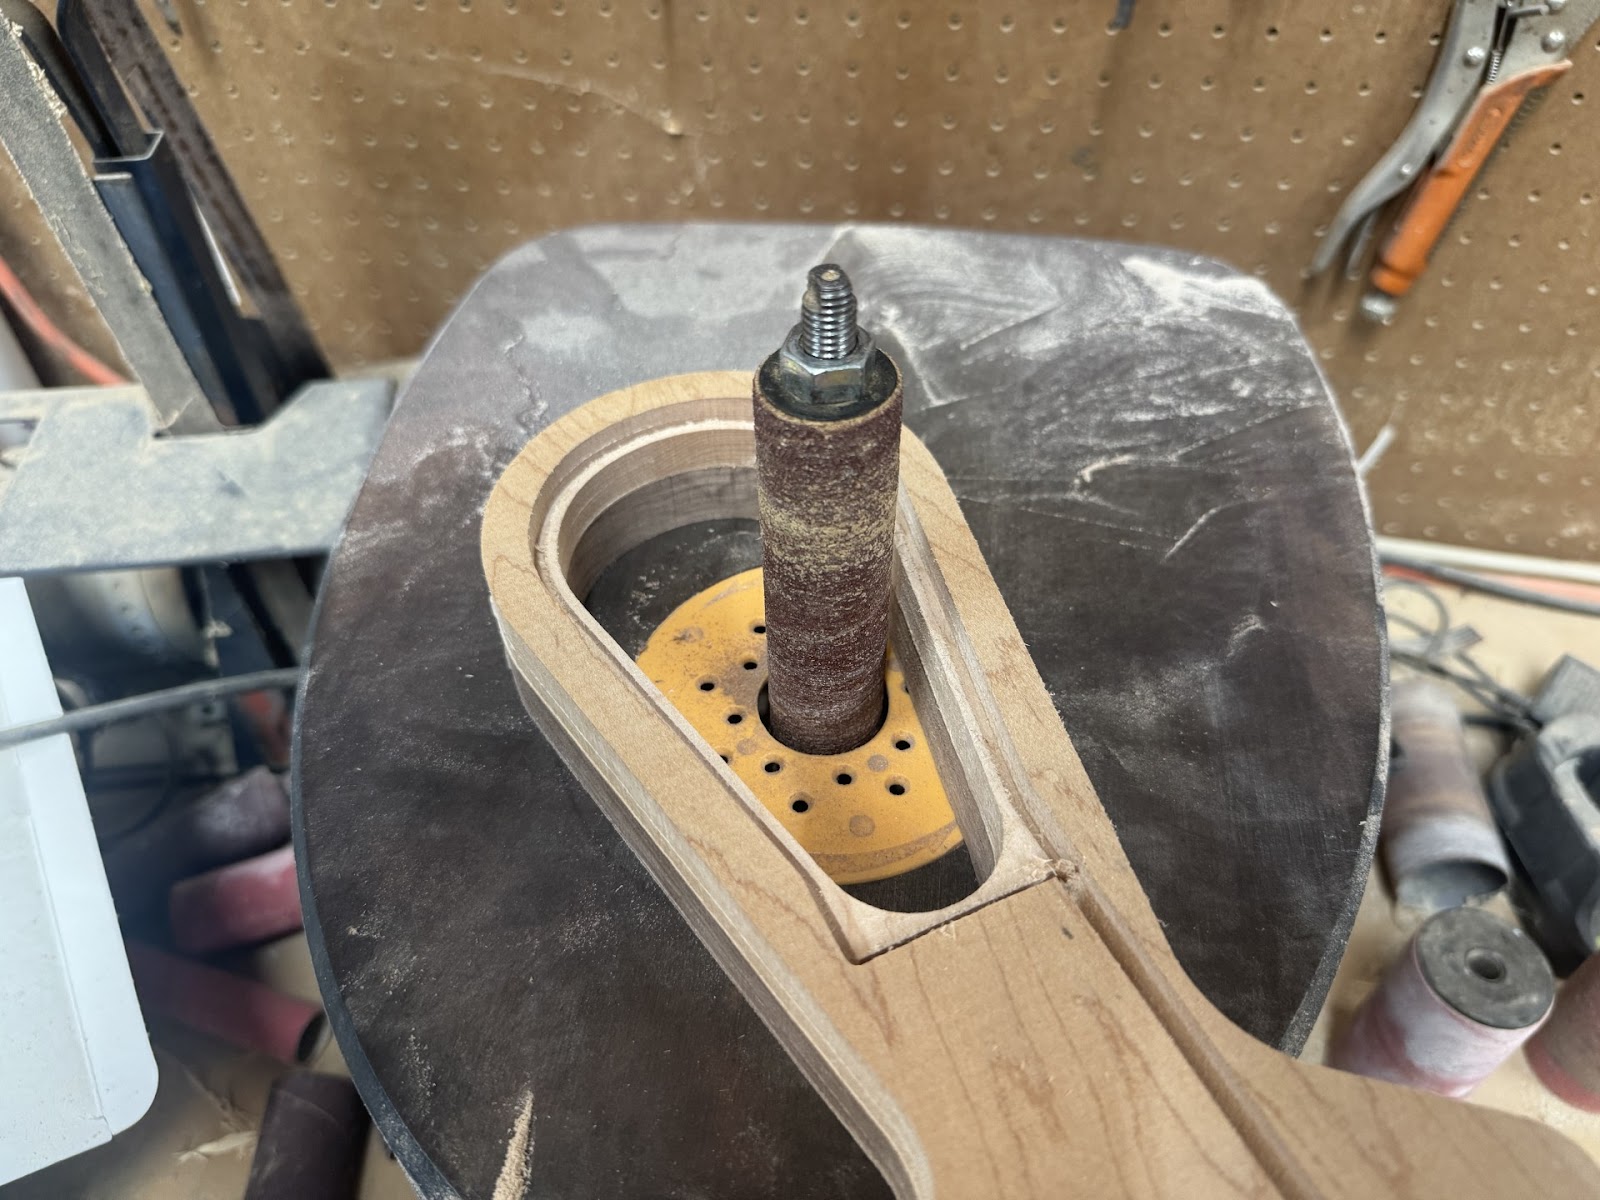
Once the insides have been sanded install the Insert and place the LED strip around it.
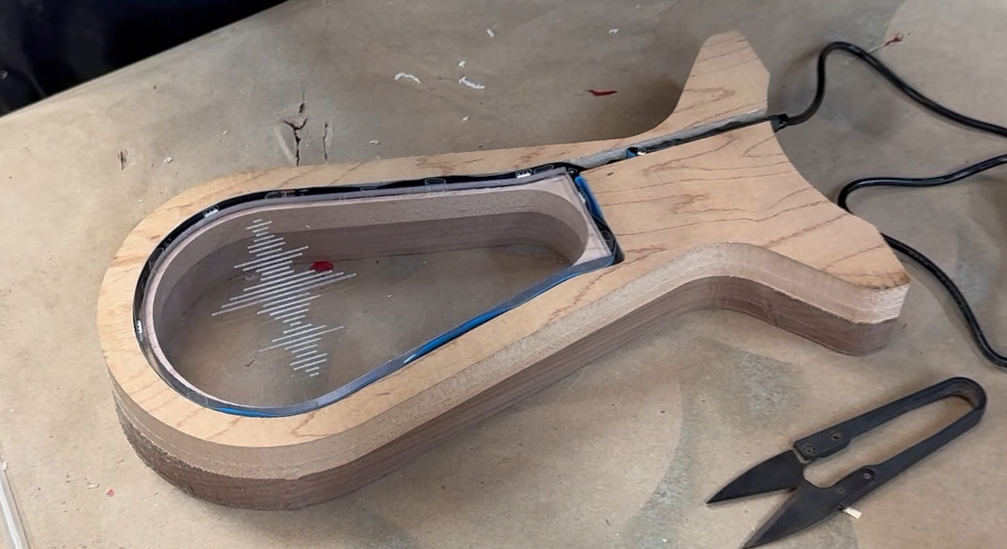
Press the controller into the controller slot so the IR sensor is sticking out. Leave enough extra length of the LED strip so the controller can be pulled out and replaced if in the future the controller fails.
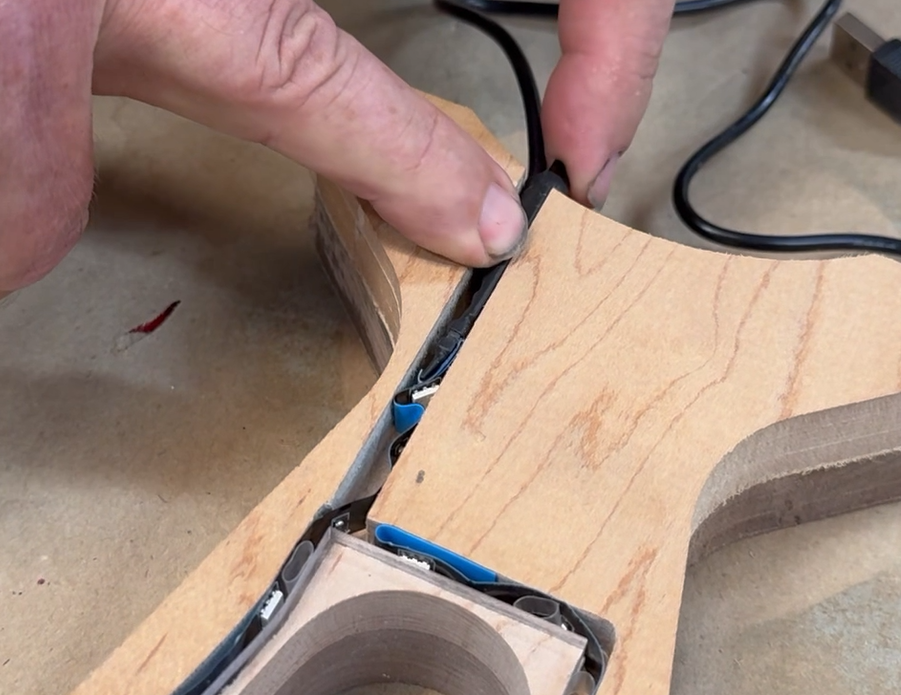
The difference in materials means the Insert needs to float in the assembly. The LED channel is also sized to accommodate thicker LED strips. To fill the gap and keep the Insert centered cut small pieces of a straw to act as spacers.
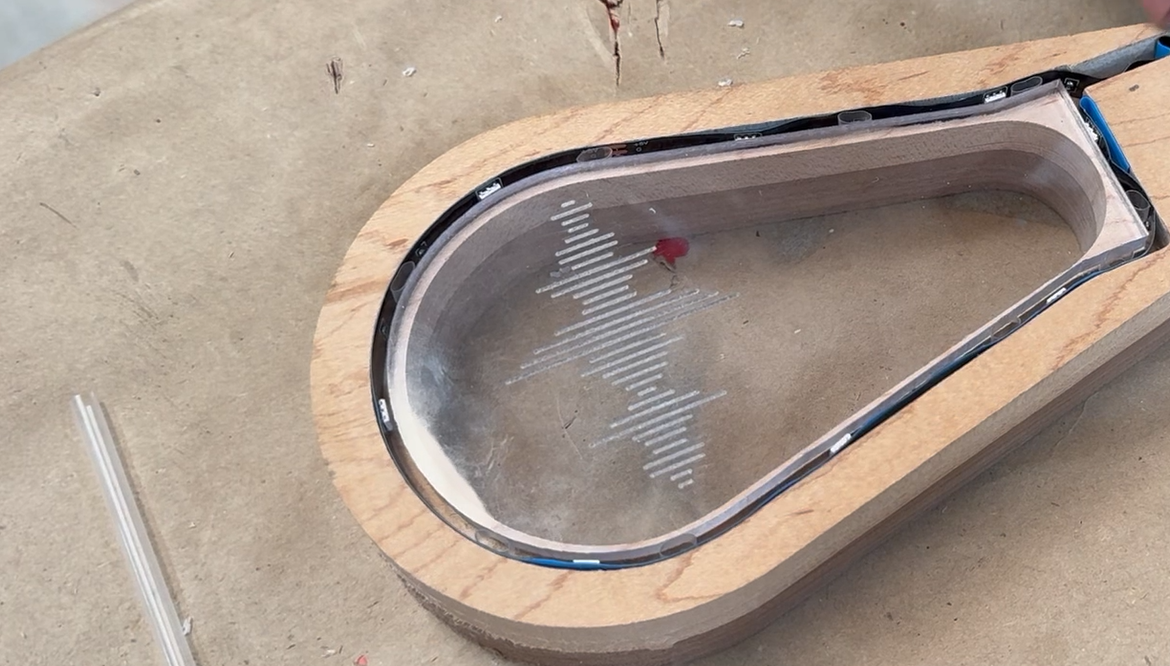
Test the LED strip once instaled then glue the outside piece on.
STEP 6 – Finishing
Sand the outside of the Headphone Stand and apply the finish you wish. I used a teak oil finish on this one.
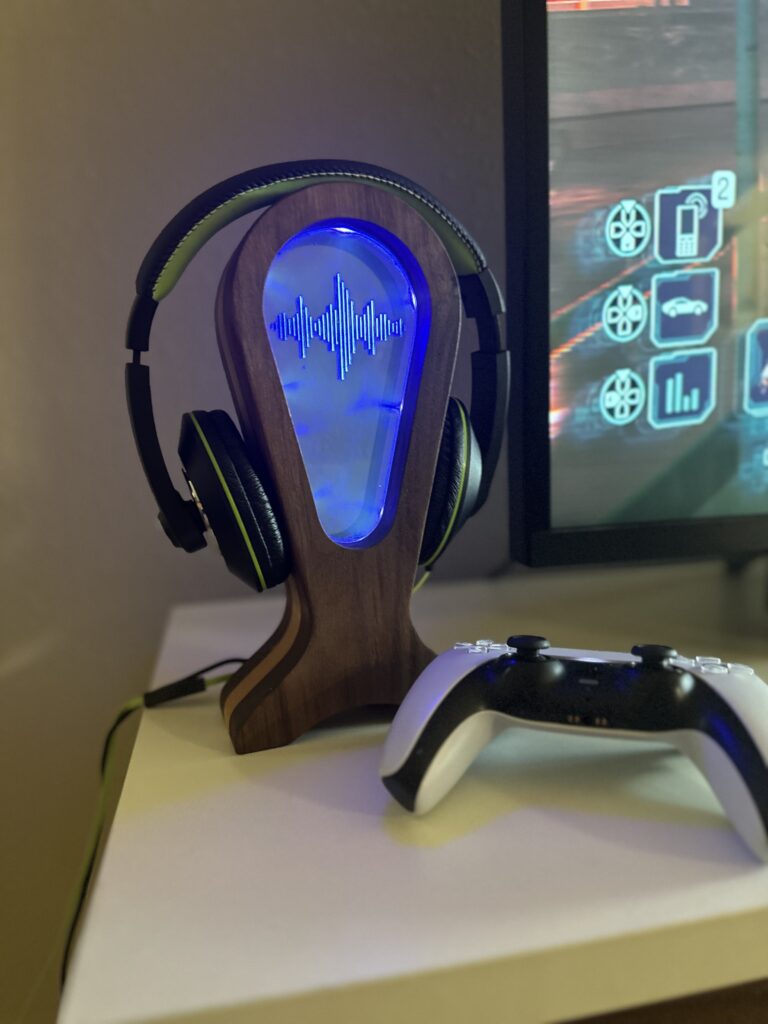
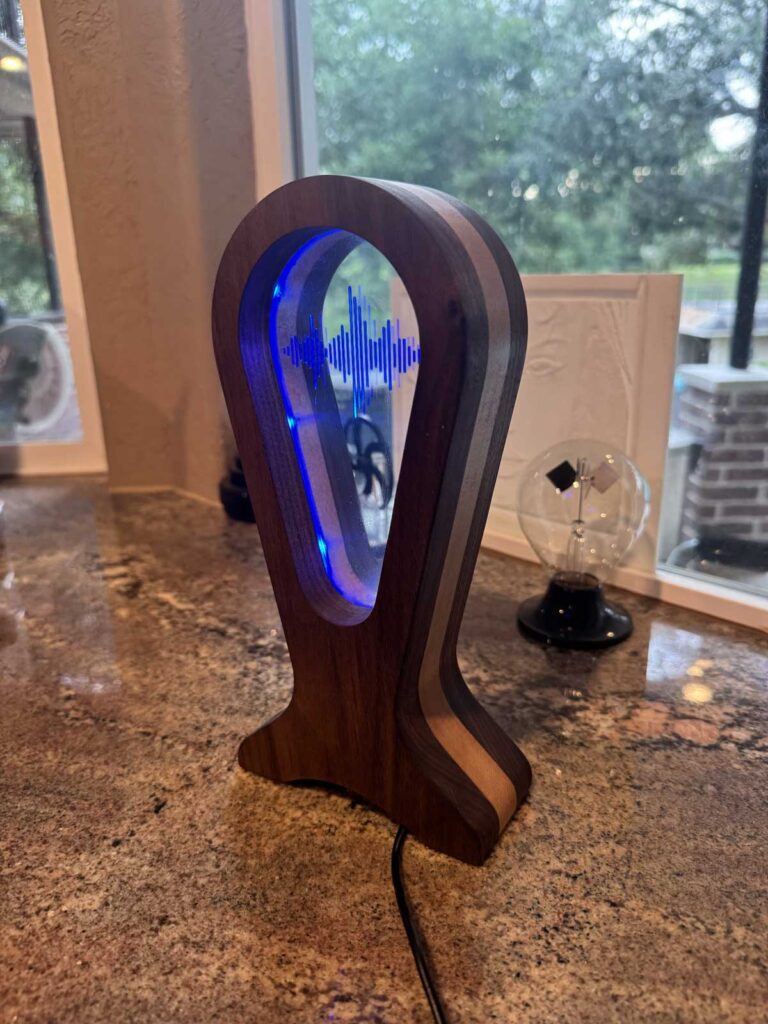
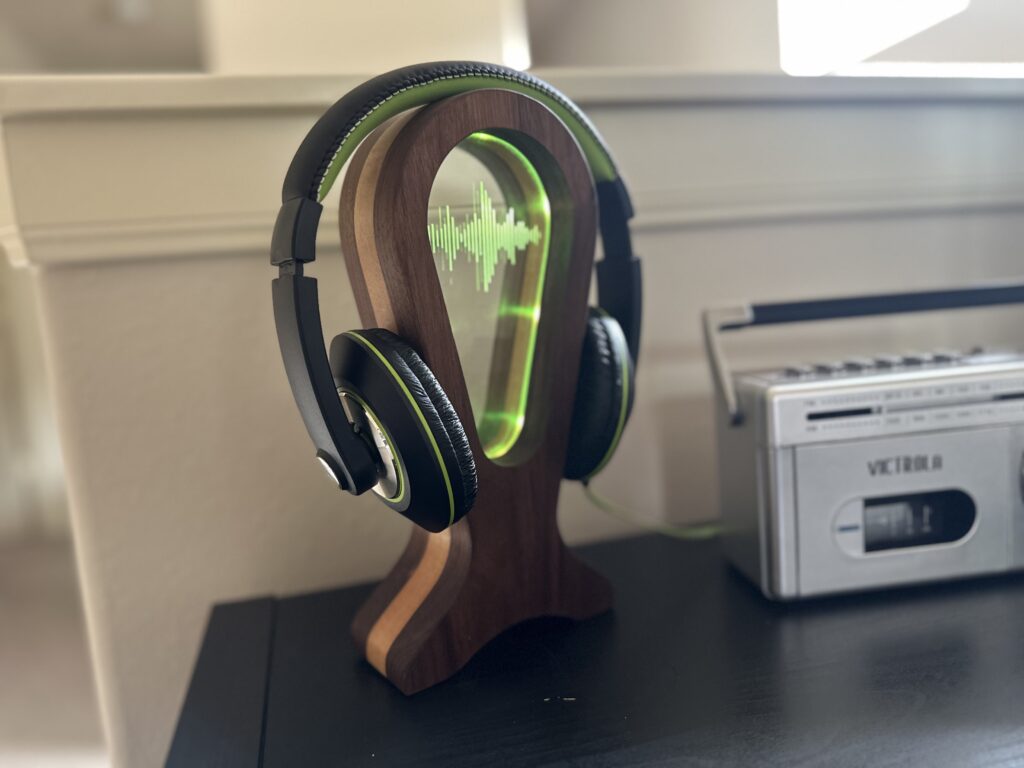
FINAL
We hope you’ve enjoyed this project and it gave you as much pleasure as it gave us to design and make it.
Thanks!
Lovchik Bros


